On this page
Getting started with cPanel
cPanel is the graphical dashboard that lets you manage every aspect of your Kualo hosting account, from files and databases to email and web applications.
cPanel is a graphical dashboard that lets you manage every aspect of your web hosting account, including files, databases, email, security settings, and web applications.
How to log in to cPanel
Your login link, username, and password are in the welcome email we sent when you opened your account. You can usually reach cPanel at:
https://www.your-domain.com/cpanel
You can also log in directly through your MyKualo client area: go to My Services > View Details > Login to cPanel.
The cPanel interface
Once logged in, you will see a screen similar to this:
The interface is divided into four main areas:
1 - Navigation bar (top)
- Shows your currently active account information.
- Use the Search Tools box to quickly find any feature you need.
- Click the user icon to manage preferences such as your password, language, and contact information.
- Click the notification icon to view messages, warnings, and errors for your account.
2 - Shortcuts (left sidebar)
Quick links to commonly used areas, such as Tools and WordPress Management.
3 - Find function
Filter through all available features and jump straight to the one you need.
4 - Features list
All available features, grouped by type. You can also use the search box at the top to locate a specific feature quickly.
How your website works
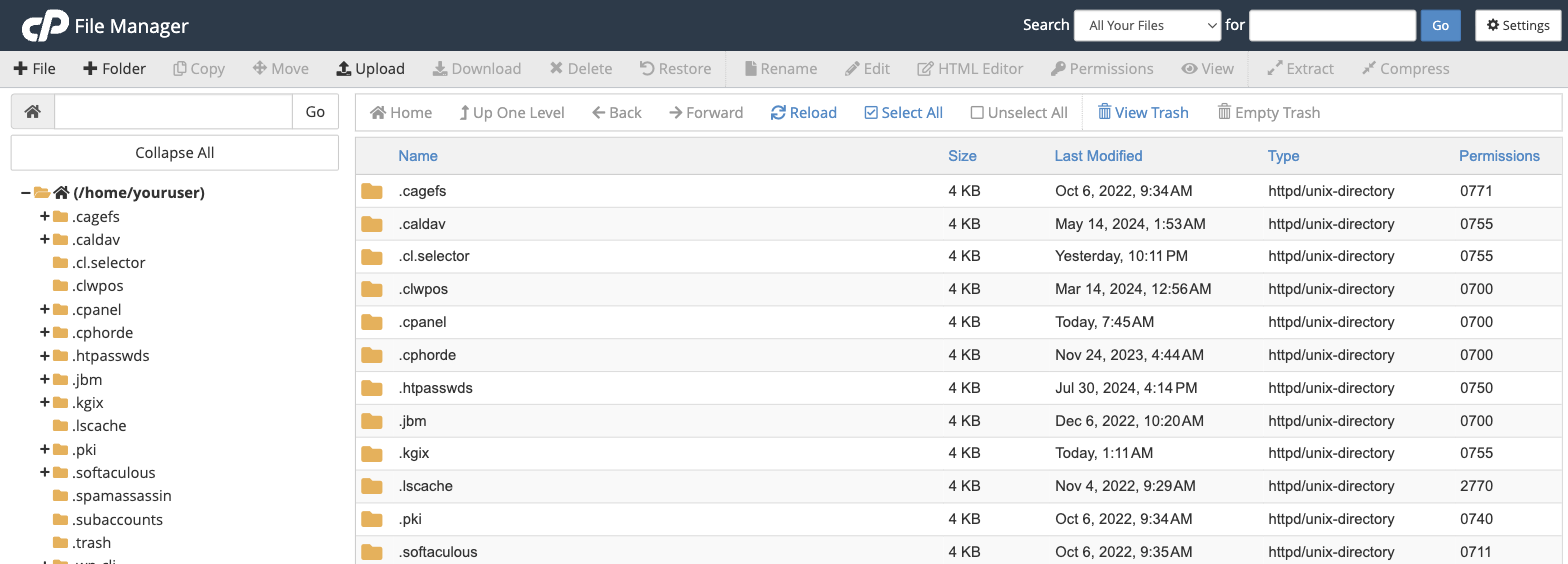
Your website is made up of files and directories, much like the Documents folder on your computer. The File Manager in cPanel gives you a clear view of this structure.
There are three key directories to know about:
- /home/youruser/ - Your home directory. It contains all your files, but anything placed here directly is not visible on the internet. When you connect via FTP, Web Disk, or File Manager, you start here.
- /home/youruser/public_ftp/ - Used for anonymous FTP access. Anyone can download files from this directory if anonymous FTP is enabled.
- /home/youruser/public_html/ - This is where your website files live. Anything in this directory (or a subdirectory of it) is publicly accessible on the internet. Note that
/home/youruser/www/points to the same location.
Always place files you want visitors to see inside public_html or a subdirectory of it. Files placed directly in /home/youruser/ are not publicly accessible.
Adding files to your site
You can add files to your site using the File Manager, Web Disk, or FTP.
File Manager
The File Manager lets you upload, view, modify, and delete your website's files directly from cPanel. Access it from the cPanel home screen by clicking File Manager, or by typing "File Manager" in the search box.
Once inside, click Upload to add files to your site.
Web Disk
Web Disk lets you manage, upload, and download your website's files as though they were stored locally on your computer. It is particularly useful if you need to move a large number of files or make frequent changes to your site.
FTP accounts
FTP (File Transfer Protocol) lets you upload files to your site using a dedicated FTP client. To get started, create an FTP account in the FTP Accounts interface within cPanel, then connect using an FTP client that suits your operating system.
See our FTP guide for a full list of recommended clients and setup instructions.
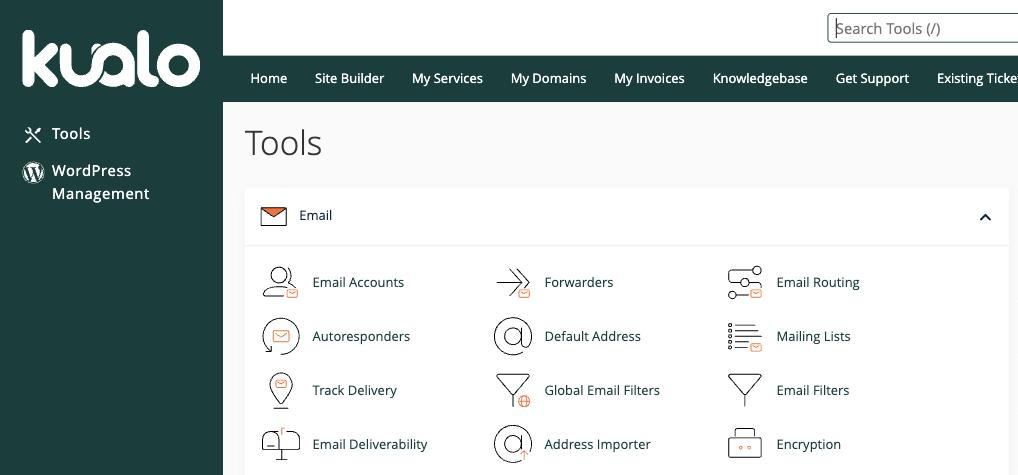
Email accounts
The Email section of cPanel lets you create and manage email accounts for your domain, set up forwarding, configure spam filtering, and more.
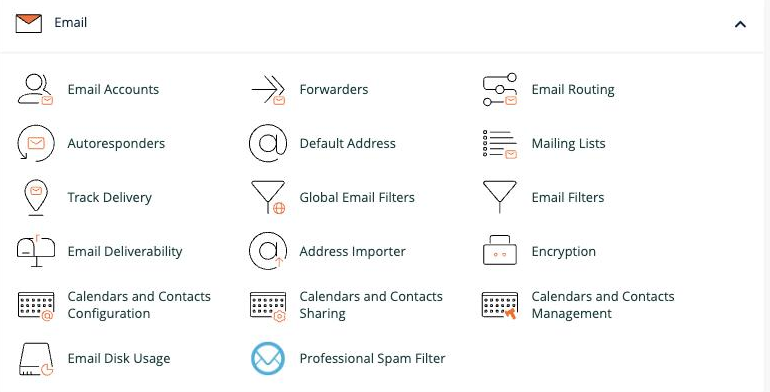
Here is a summary of the key email features:
| Feature | What it does |
|---|---|
| Email Accounts | Create, delete, and manage email accounts for your domain, including passwords and storage quotas. |
| Forwarders | Send a copy of mail from one address to another. The original address still receives the mail. |
| MX Entry | Change your domain's MX records to control which server handles incoming mail. |
| Autoresponders | Automatically reply to incoming messages - useful for out-of-office notices or support queues. |
| Default Address | Catches mail sent to any invalid address on your domain, or returns an error to the sender. |
| Mailing Lists | Send newsletters or updates to multiple recipients from a single address. |
| Track Delivery | View reports on email delivery attempts and trace message routes to diagnose issues. |
| Global Email Filters | Create and test filters that apply to your main account. |
| Email Filters | Create per-user filters, processed after the main account filters. |
| Authentication | Enable SPF and DKIM to help prevent spam and stop spammers from forging your domain. |
| Address Importer | Import email addresses or forwarders from a CSV or XLS file. |
| Encryption | Manage GnuPG keys to encrypt outbound messages. Only the recipient with the matching private key can decrypt them. |
| Remote MX Wizard | Configure MX records and related settings for a third-party mail provider in a few clicks. |
| Professional Spam Filter | Access the SpamExperts enterprise-grade spam filtering solution. |
Further reading:
- How to create an email account in cPanel
- How to set up email forwarding in cPanel
- How to use webmail from within cPanel
- How to install a script using Softaculous
- How to use the SpamExperts spam filter
Managing domain names
The Domains section is where you add new domains, manage subdomains, set up aliases (parked domains), configure redirects, and edit DNS zone records.
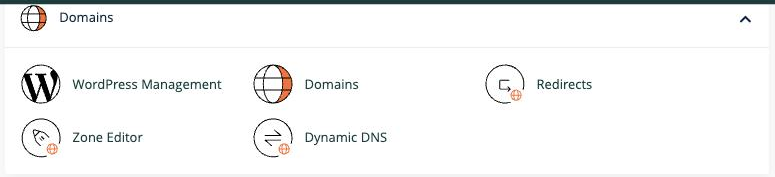
- Addon Domains: Add a fully functional additional domain to your hosting account (subject to your plan).
- Subdomains: Create a subsection of your site accessible at an address like
blog.example.com. - Aliases: Make your website available from an additional domain name - for example, pointing
www.example.nettowww.example.com. - Redirects: Automatically send visitors from one domain or page to another.
- Zone Editor: Create and edit DNS zone records, including A, CNAME, and MX records, to control how your domain resolves.
The Simple Zone Editor and Advanced Zone Editor have been merged into a single Zone Editor tool in current versions of cPanel.
Using the app installer
Softaculous is an auto-installer that comes free with every Kualo web hosting plan. It lets you install popular applications such as WordPress, Joomla, Drupal, and Magento with a single click.
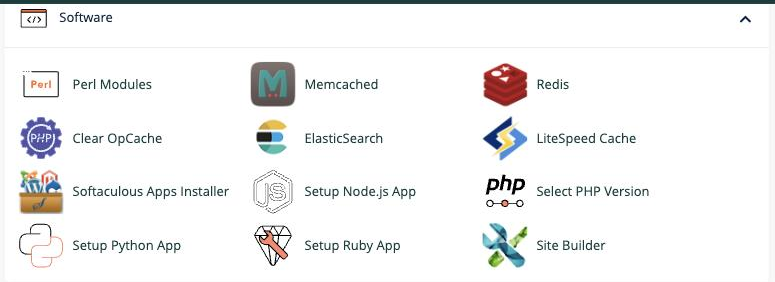
To access it, log in to cPanel, find the Software section, and click Softaculous Apps Installer.
For full details, see the Softaculous getting started article.
Need more help?
If you have questions or need help with more advanced features, browse our knowledgebase or open a support ticket through your MyKualo client portal.