On this page
Managing files and folders in FileZilla
Learn how to create, rename, and delete folders in FileZilla, and how to change file permissions on your remote server.
This guide covers the core file management tasks you can perform in FileZilla once you are connected to your remote server: creating and renaming folders, deleting them, and changing file permissions.
Creating a folder
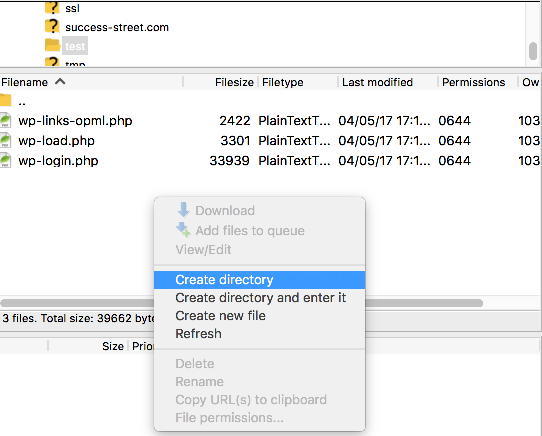
- In the remote server pane (right-hand side), right-click in an empty area of the directory listing.
- Select Create directory.
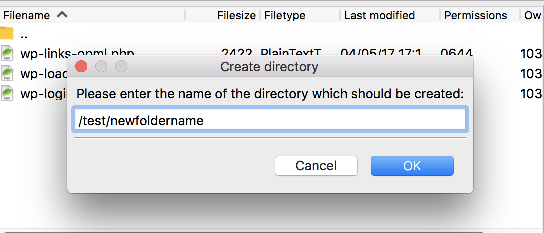
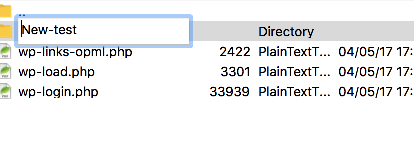
- Enter a name for the new folder, then click OK.
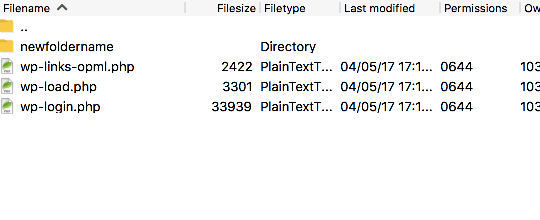
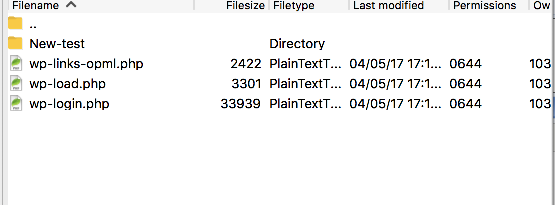
The new folder appears immediately in the remote directory listing.
Renaming a folder
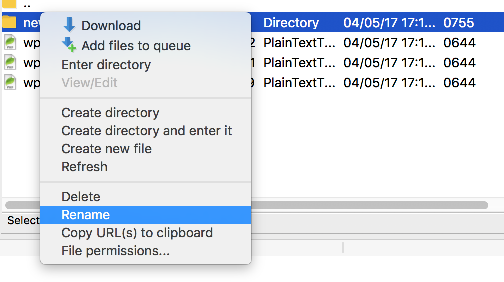
- Right-click the folder you want to rename.
- Select Rename.
- Type the new name and press Enter.
The folder is renamed in place.
Deleting a folder
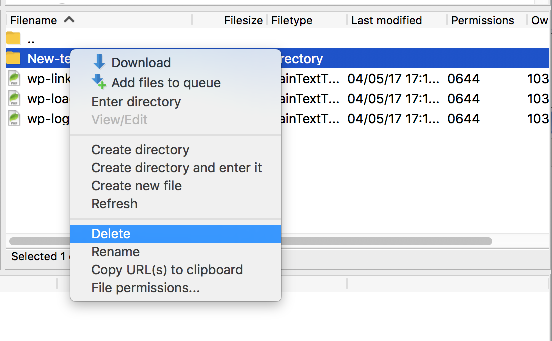
- Right-click the folder you want to remove.
- Select Delete.
Deletion via FTP is permanent. FileZilla does not move files to a trash folder, so make sure you have a backup before deleting anything important.
Changing file permissions
File permissions control who can read, write, or execute a file. You may need to adjust these when installing scripts or troubleshooting access issues.
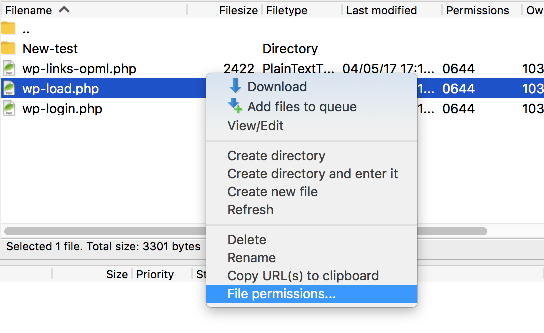
- Right-click the file whose permissions you want to change (for example, wp-load.php).
- Select File Permissions.
- Tick or untick the permission checkboxes as required, or type the numeric value directly into the Numeric value field.
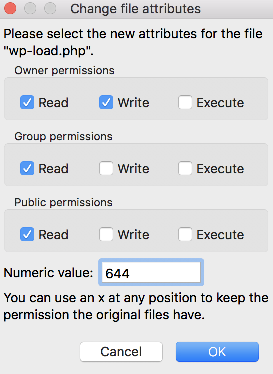
- Click OK to apply the changes.

The new permissions are applied to the file on the server immediately.