On this page
How to use Dynamic DNS in cPanel
Dynamic DNS in cPanel keeps a domain or subdomain pointed at an IP address that changes, such as a home or office connection.
Most home and small-office internet connections have a dynamic IP address that changes from time to time. Dynamic DNS lets you keep a domain or subdomain pointed at such a connection automatically - useful for reaching a device, server, or camera at home by name rather than by its current IP address.
Create a Dynamic DNS entry
-
Log in to cPanel and, in the Domains section, click Dynamic DNS.
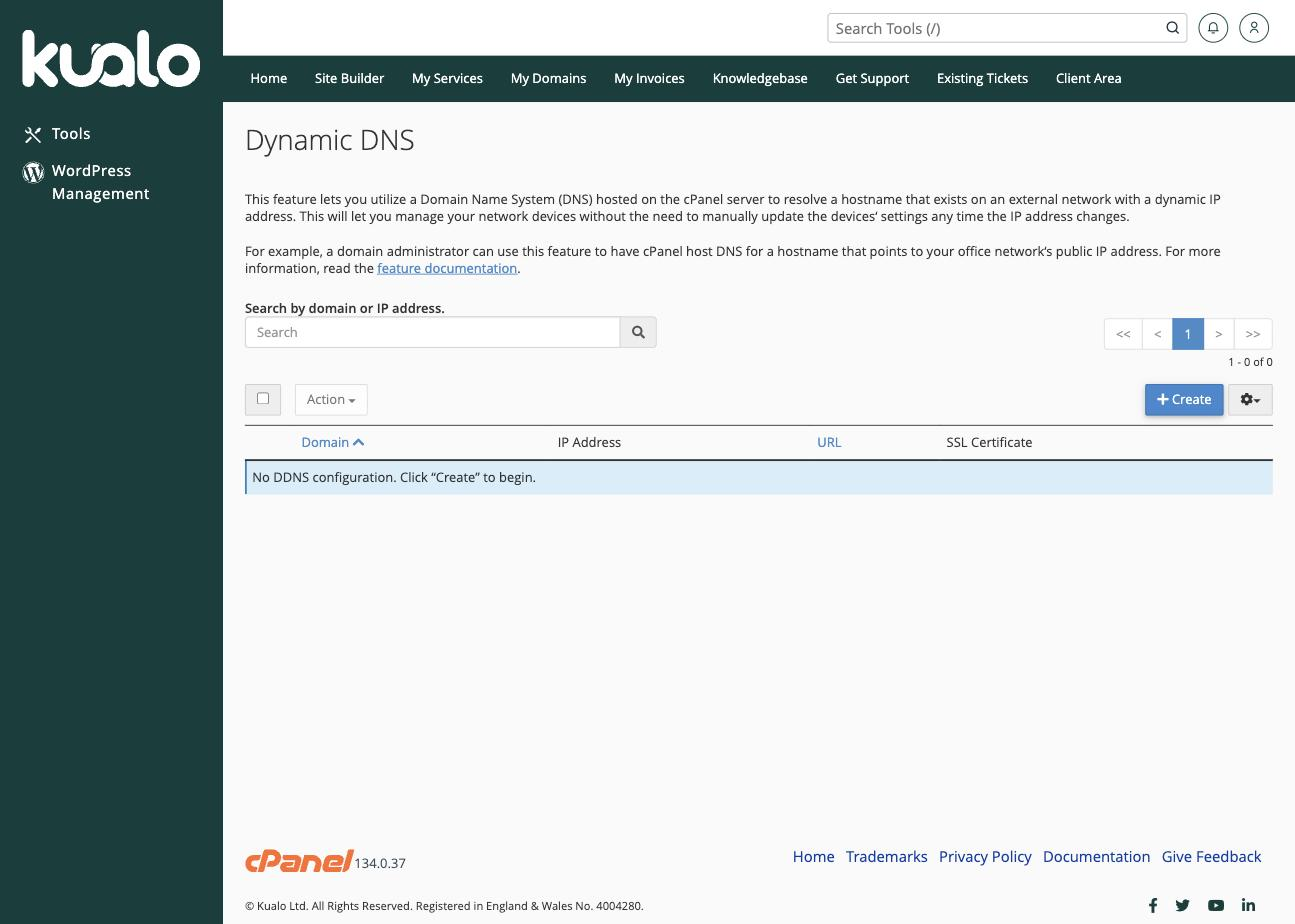
-
Click + Create, then choose the Domain (or enter a subdomain) you want to keep updated, add an optional description, and confirm.
-
The new entry appears in the table with a unique URL. Copy this URL - it is how your connection will tell cPanel its current IP address. cPanel can also issue an SSL certificate for the hostname, shown in the SSL Certificate column.
Keep the IP address up to date
Configure your router or a dynamic-DNS update client to request the update URL periodically (for example, every few minutes). Each time the URL is requested, cPanel records the IP address the request came from and updates the DNS record, so the name always points to your current connection.
Many routers have a built-in dynamic-DNS ("DDNS") updater. If yours supports a custom or URL-based provider, paste the update URL from cPanel into it.