On this page
How to add an MX entry in cPanel
Add or change MX records in cPanel to route your domain's email to a different mail server.
MX (mail exchanger) records tell the internet which server should receive email for your domain. You might set a custom MX record to route your email to a third-party provider (such as Google Workspace or Microsoft 365), or to add a backup mail server.
In current versions of cPanel, MX records are managed in the Zone Editor, alongside your other DNS records.
Add an MX record
-
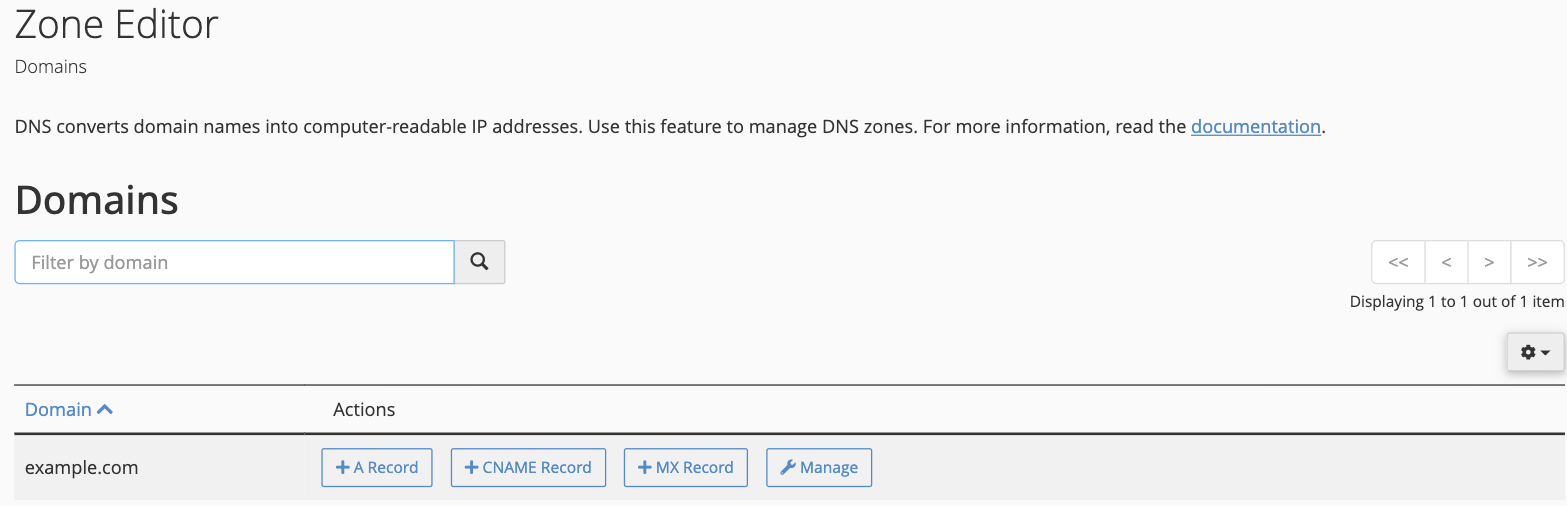
Log in to cPanel and open Zone Editor from the Domains section.
-
Find your domain in the list and click + MX Record.
-
Fill in the record:

- Priority - a number that sets the order mail servers are tried in. Lower numbers are tried first, so a server with priority
0is contacted before one with priority10. - Destination - the hostname of the mail server that should receive the email, for example
mail.example.com.
- Priority - a number that sets the order mail servers are tried in. Lower numbers are tried first, so a server with priority
-
Click Add An MX Record.
After changing your MX records, check your Email Routing setting so the server knows whether to deliver mail locally or hand it to an external provider. Open Email Routing from the Email section of cPanel and choose Local Mail Exchanger (email is hosted here) or Remote Mail Exchanger (email is hosted elsewhere).
Edit or delete an MX record
To change or remove an MX record, click Manage next to your domain in the Zone Editor, then use Edit or Delete beside the record. For full detail on managing every record type, see How to add or manage DNS records in cPanel (Zone Editor).
DNS changes can take from a few minutes up to a few hours to take effect across the internet.
If you need a hand, our support team is available 24/7 - just open a support ticket.