On this page
FTP getting started guide
A beginner's guide to FTP: choosing a client, creating an FTP account in cPanel, and uploading your website files.
FTP (File Transfer Protocol) is one of the main ways to transfer files between your computer and your web hosting account. This guide walks you through choosing an FTP client, creating an FTP account, and uploading your files.
What is FTP?
To connect to your hosting account via FTP you need an FTP client - a piece of software that manages the connection. The most popular options are FileZilla and Cyberduck, both available for Windows, macOS, and Linux. See our article on what is FTP for a full list of clients.
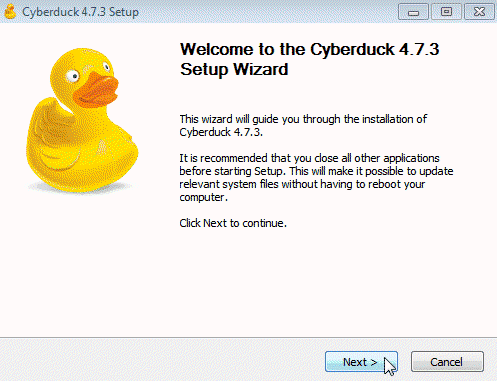
How to download and install Cyberduck
Download Cyberduck from cyberduck.io.
Windows
- Run the Cyberduck installer you downloaded.
- Follow the prompts: Next > Next > Install > Finish.
macOS
Install Cyberduck from the Mac App Store.
How to download and install FileZilla
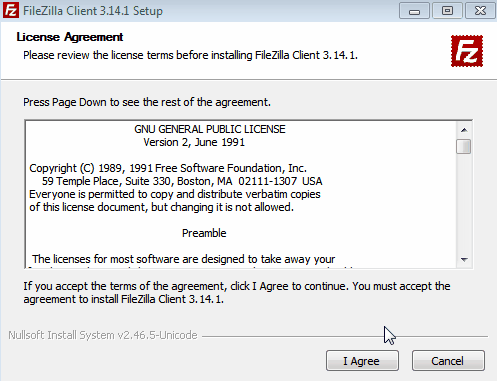
Download FileZilla from filezilla-project.org.
Windows
- Run the downloaded
.exefile. You will need a Windows account with administrative privileges. - Accept the licence agreement by clicking I Agree.
- Choose whether to install for all users or just yourself.
- Select the components you want and the destination folder, then complete the installation.
macOS
- Download the correct package for your processor from the FileZilla site.
- Double-click the package file - it will extract automatically.
- Move FileZilla to your Applications folder and open it.
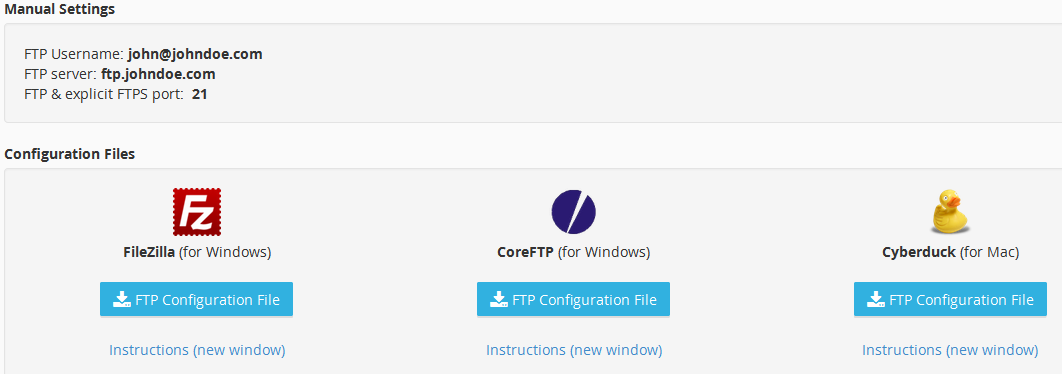
Creating an FTP account in cPanel
Before you can connect, you need an FTP account.
-
Log in to cPanel and open FTP Accounts.
-
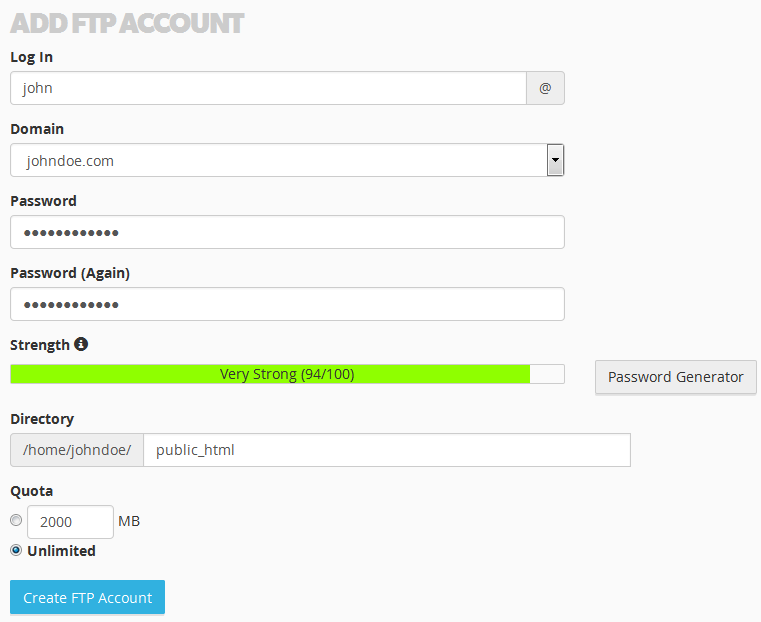
Fill in the fields to create a new account:
- Log In - the username for the FTP account.
- Domain - the domain the account is associated with.
- Password - choose a strong password, or use the Password Generator.
- Directory - the top-level directory this account can access. For example, entering
public_html/johnrestricts the account to/home/johndoe/public_html/john/and its subdirectories; it cannot access/home/johndoe/public_html/itself. cPanel pre-fills this withpublic_html/username. - Quota - set a disk space limit or choose Unlimited.
-
Click Create FTP Account.
-
Once created, click Configure FTP Client next to the account.

This shows your connection settings and lets you download configuration files for Cyberduck or FileZilla.
Connecting with Cyberduck
The quickest way to connect is to use the Cyberduck configuration file.
-
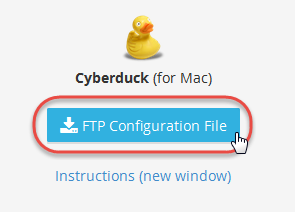
In cPanel, go to FTP Accounts > Configure FTP Client and download the Cyberduck FTP configuration file.
-
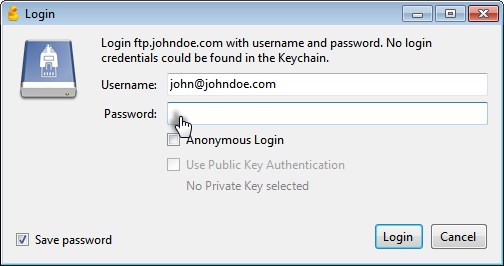
Double-click the downloaded file. Cyberduck will open with the FTP server and username already filled in.
-
Enter your FTP password and click Login.
-
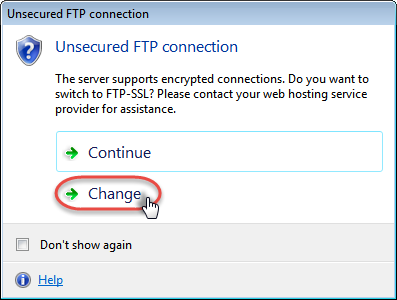
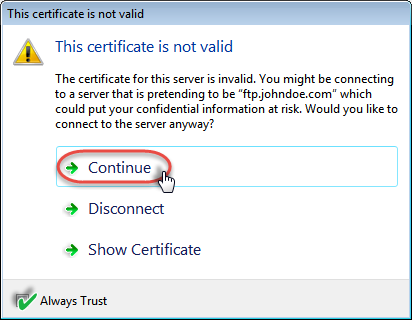
If prompted to switch to FTP-SSL (our servers support encrypted connections), click Change.
-
If a certificate warning appears, tick Always Trust and click Continue. This warning shows because the SSL certificate is issued for the server hostname rather than your domain name.
You are now connected. The Cyberduck main window shows your server files.
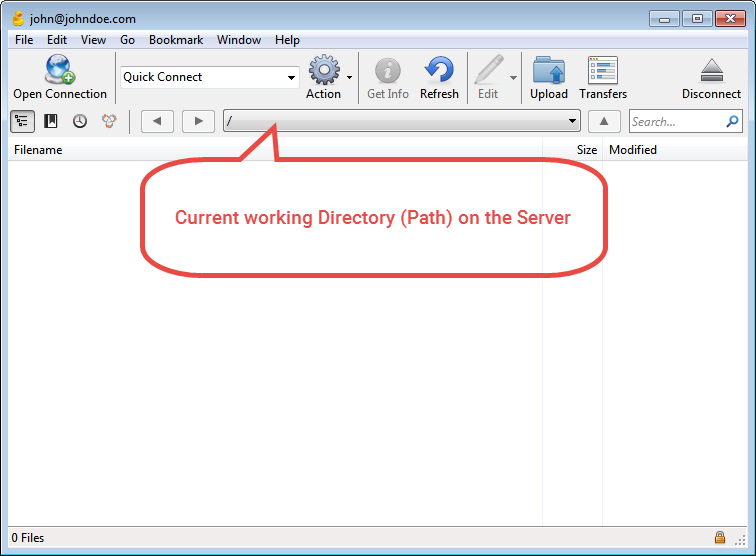
To upload a file or create a new folder, right-click in the main window and choose the relevant option.
Connecting with FileZilla
-
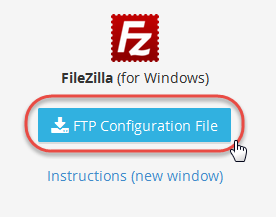
In cPanel, go to FTP Accounts > Configure FTP Client and download the FileZilla FTP configuration file. Save it to your desktop.
-
Open FileZilla and go to File > Import, then select the
.xmlconfiguration file you just downloaded.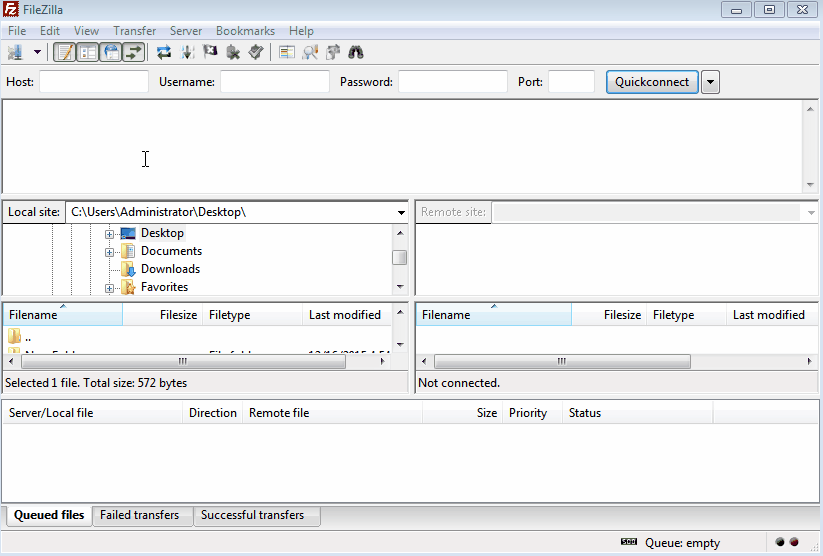
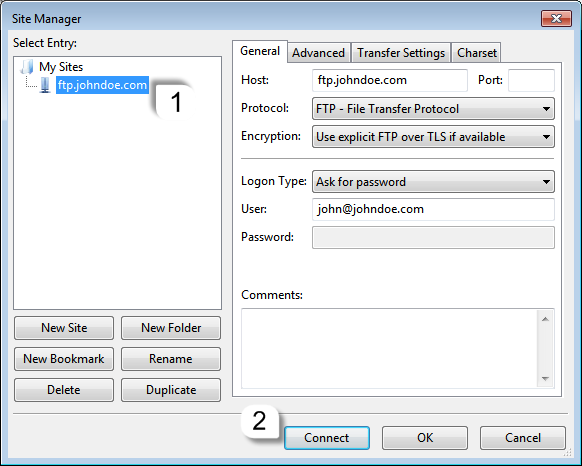
-
Your FTP details are now saved in FileZilla's Site Manager. To connect, go to File > Site Manager, select your server from the list under My Sites, and click Connect.
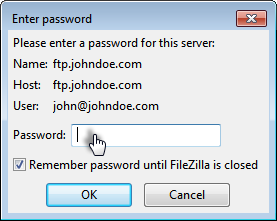
-
When prompted, enter your FTP password. Tick Remember password until FileZilla is closed if you prefer, then click OK.
You are now connected. Your local files appear on the left and your server files on the right.

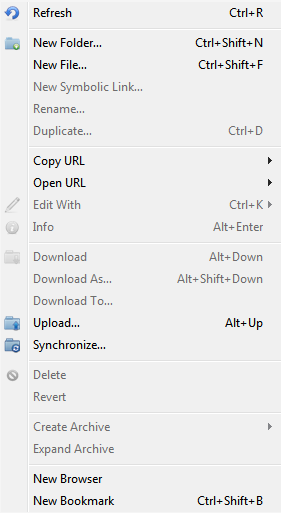
- To upload a file, locate it on the left (local) side and double-click it, or right-click and select Upload.
- To create a new folder or file on the server, right-click in the right (remote) side and select Create directory or Create new file.
Where to upload your website files
Your hosting account has a directory structure similar to the folders on your computer. Understanding it helps you put files in the right place.

The three key directories are:
| Directory | Purpose |
|---|---|
 /home/johndoe/ |
Your home directory. Files here are not visible on the internet. FTP, Web Disk, and File Manager all start here. |
 /home/johndoe/public_ftp/ |
Used for anonymous FTP access. Anyone can download files here if anonymous FTP is enabled. |
 /home/johndoe/public_html/ |
Your website's public root. Files here (and in subdirectories) are visible to anyone on the internet. /home/johndoe/www/ points to the same location. |
Always upload website files to public_html or a subdirectory of it. Files placed in your home directory (/home/johndoe/) will not be visible on the internet.