On this page
How to configure a secure IMAP email account in Outlook 2016
Learn how to add a secure IMAP email account to Outlook 2016 using SSL encryption and the correct server settings from cPanel.
IMAP syncs your messages across all your devices, so it is the recommended choice if you check email on more than one computer or phone. POP3 downloads messages to a single device instead. This guide walks you through adding a secure IMAP account in Outlook 2016.
Before you start
You will need your incoming and outgoing server hostnames. To find them:
- Log in to cPanel.
- Go to Email Accounts.
- Click Manage next to the relevant email address.
- Scroll down to Mail Client Manual Settings and note the hostnames listed under SSL/TLS Settings (Recommended).
Add the account
-
Open Outlook 2016, click File, then click Add Account.
-
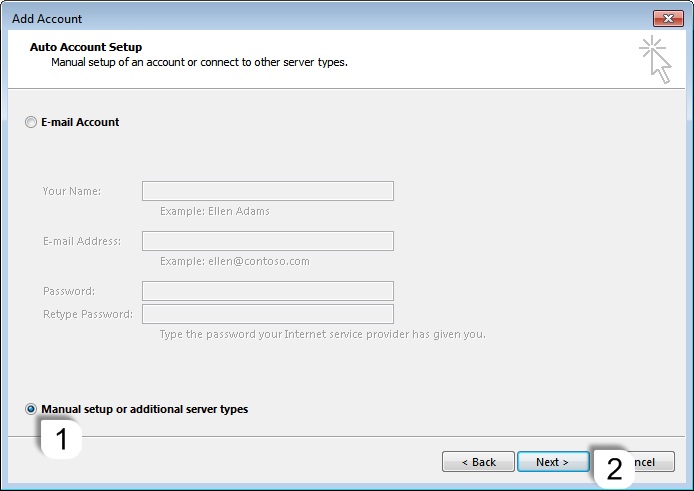
Select Manual setup or additional server types, then click Next.
-
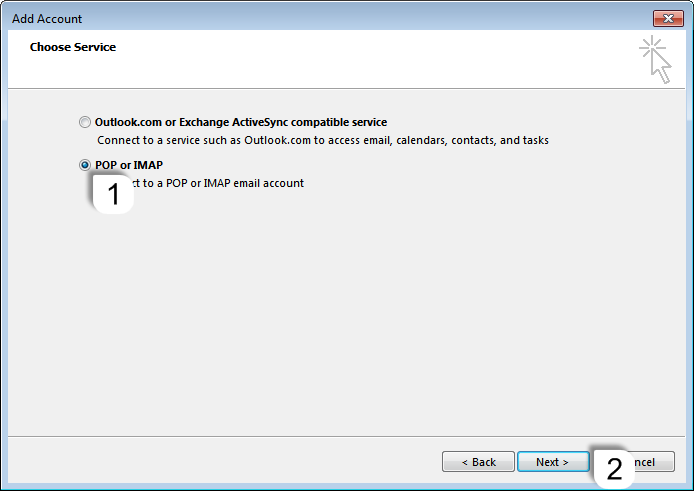
Select POP or IMAP, then click Next.
-
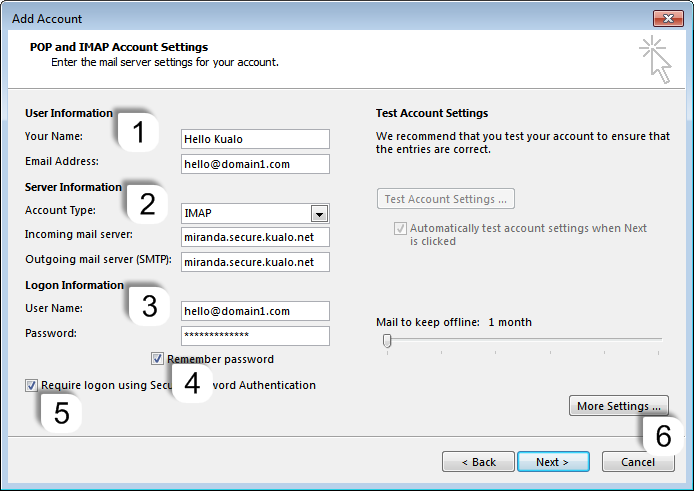
Fill in the account details as follows.
User information
- Your Name - the name you want to appear in the From field of outgoing emails.
- Email Address - the email address you are configuring.
Server information
- Account Type - select IMAP.
- Incoming mail server - use the SSL incoming server hostname from cPanel.
- Outgoing mail server (SMTP) - use the SSL outgoing server hostname from cPanel.
Logon information
- User Name - your full email address.
- Password - the password for this email account.
- Tick Remember password.
- Leave Require logon using Secure Password Authentication (SPA) unticked unless your network specifically requires it.
Then click More Settings.
-
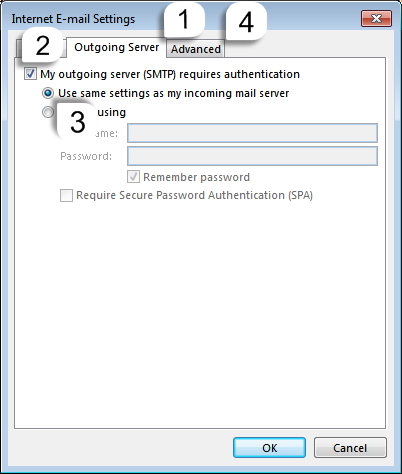
In the More Settings window, go to the Outgoing Server tab. Tick My outgoing server (SMTP) requires authentication and select Use same settings as my incoming mail server.
-
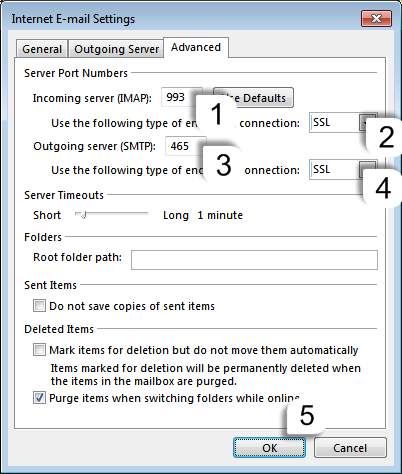
Switch to the Advanced tab and enter the following port and encryption settings:
Setting Value Incoming server (IMAP) port 993 Incoming server encryption SSL/TLS Outgoing server (SMTP) port 465 Outgoing server encryption SSL/TLS Click OK.
-
You will return to the main account settings window. Click Next.

-
Outlook will run a quick connection test. If everything is configured correctly, both tasks will show a green tick.
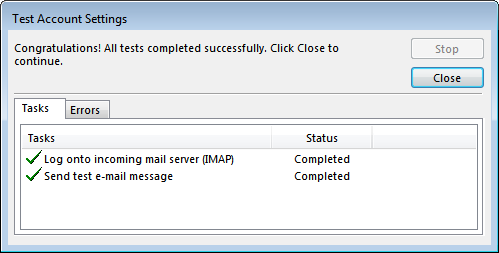
If the test fails, go back through steps 4 to 6 and double-check your server hostnames, ports, and encryption settings.
-
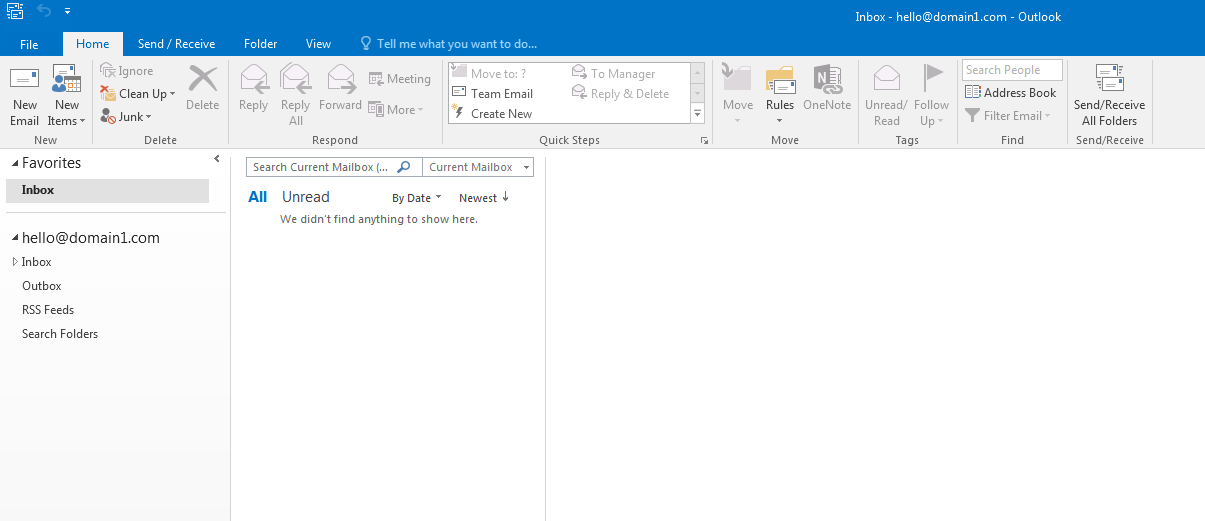
Click Close on the test results screen, then click Finish.

Outlook will open your new inbox and begin syncing your messages.
If you need help, open a support ticket from within your Kualo client area.