On this page
How to upload a photo
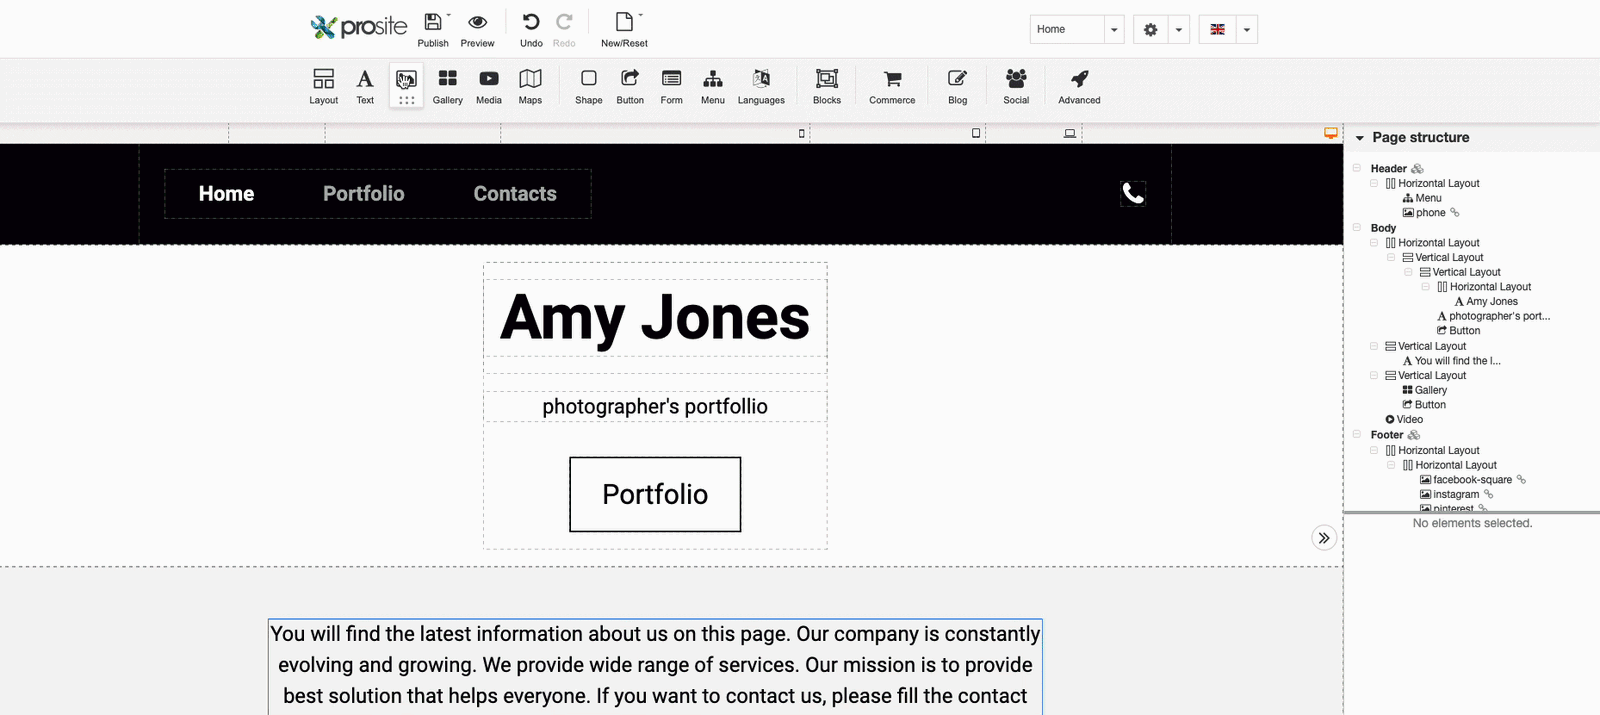
Add a photo to your ProSite page by dragging in the Picture element, then choose or upload an image.
Add a photo to any page in your ProSite website by using the Picture element. You can upload your own image, use one you have already added, or search the built-in free gallery.
Adding a photo
-
Log in to your ProSite Builder editor.
-
Drag and drop the Picture element on to the canvas, placing it where you want the photo to appear.
-
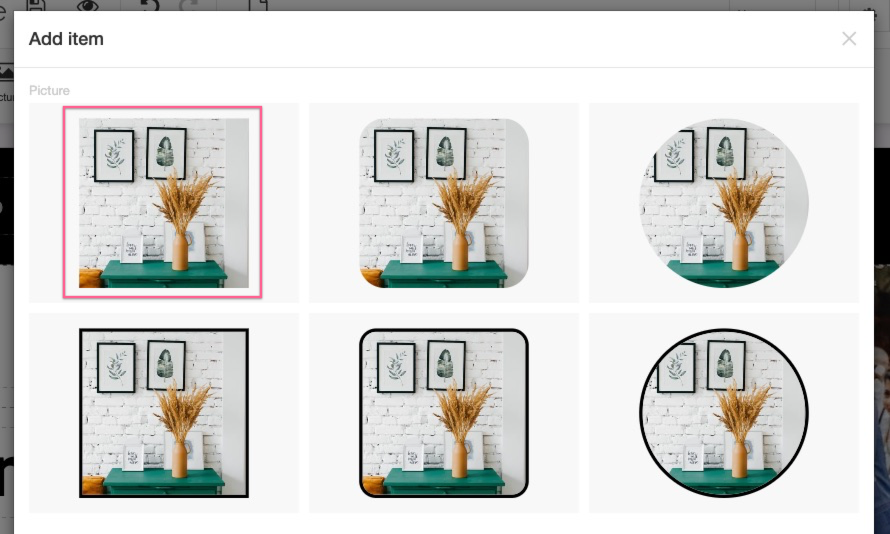
Select the style you want for your photo. If you do not want a border, choose the plain square option at the top left.
-
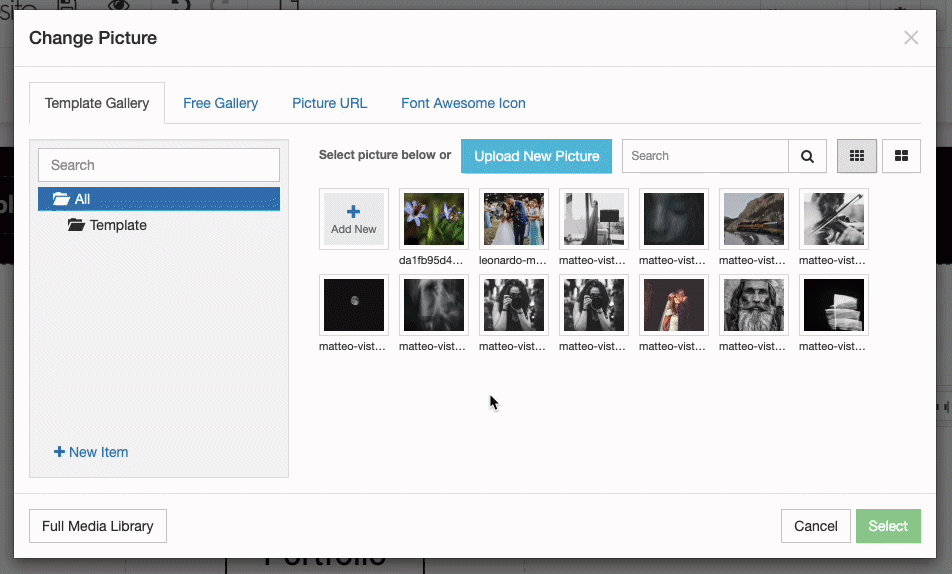
Choose your image from one of three sources:
- My uploads - an image you have already uploaded to ProSite.
- Free Gallery - search for free stock photos directly within the editor.
- Your computer - drag and drop an image file from your desktop to upload it.
Unsplash is a good source of high-quality free images you can download and upload to your site.
-
Click the image you want to use so that it is highlighted.
-
Click Select to insert it into the page.

Your image will appear on the page.
Relocating images
To move a photo to a different position on the page, drag it to where you want it. For more detail on arranging content in ProSite, see this article.
Resizing images
To resize a photo, drag one of the handles on the edge of the image to scale it.
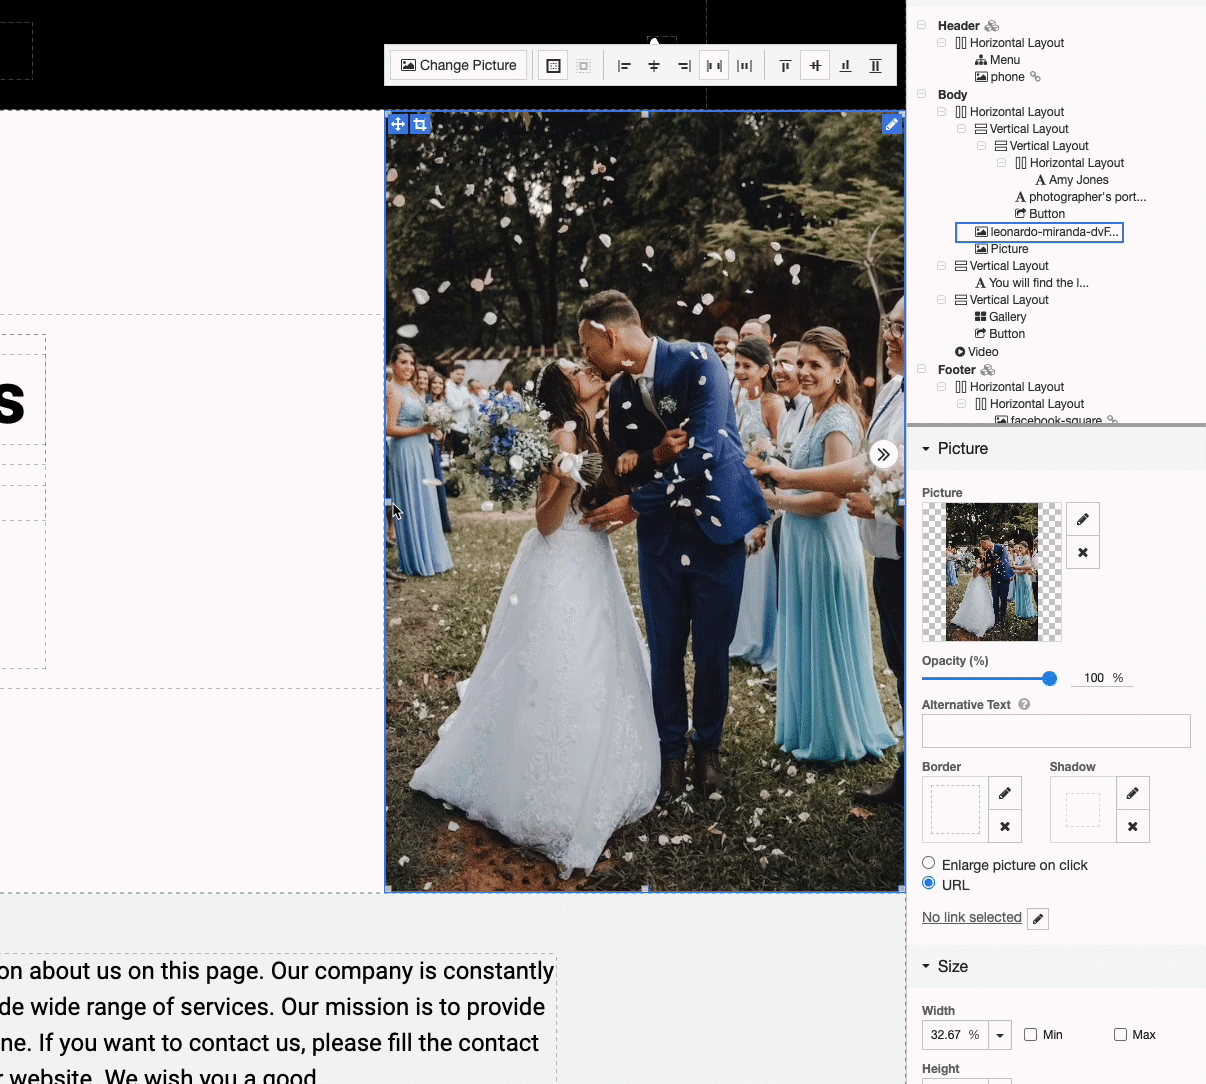
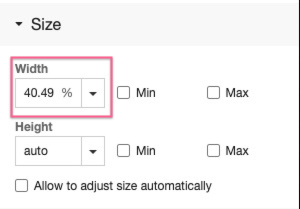
You can also set an exact size in the Size pane. The minimum and maximum size controls let you define how large or small the photo can appear across different screen sizes. We recommend checking how your photo looks on all device sizes after you add it, and using the min and max size settings to make sure it looks right on every device.
Cropping images
To crop a photo, select the cropping tool and adjust the visible area. Use the mouse wheel to zoom in and out.
If you want to display several images in a grid layout, see this article for the best approach. Using a background image is often the easiest way to achieve this.