On this page
How to disable wp-cron.php and set a real cron job in cPanel
WordPress runs scheduled tasks using wp-cron.php, which fires on every page load by default. Replacing it with a real server cron job means tasks run on a fixed schedule, independently of visitor traffic. This guide covers both the quick way using WP Toolkit and the manual approach.
WordPress runs periodic maintenance tasks - such as publishing scheduled posts, sending emails, and running plugin routines - using a built-in script called wp-cron.php. By default this script fires on every page load, which can slow your site down if a heavy task happens to trigger mid-request. Replacing it with a real server cron job means tasks run on a fixed schedule, completely independently of visitor traffic.
The quick way: use WP Toolkit
The easiest approach is to let WP Toolkit handle everything for you.
- Log in to cPanel and open WordPress Management on the left side.
- Locate your WordPress installation in the list and click into it.
- On the Dashboard tab, under Performance, locate Take over wp-cron.php and toggle this to On.
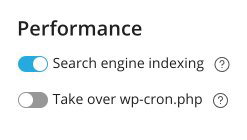
WP Toolkit will add DISABLE_WP_CRON to your wp-config.php and create a cPanel cron job that runs the WordPress cron twice per hour automatically.
The manual way
If you prefer to configure this yourself, follow the two steps below.
Step 1 - disable wp-cron in wp-config.php
-
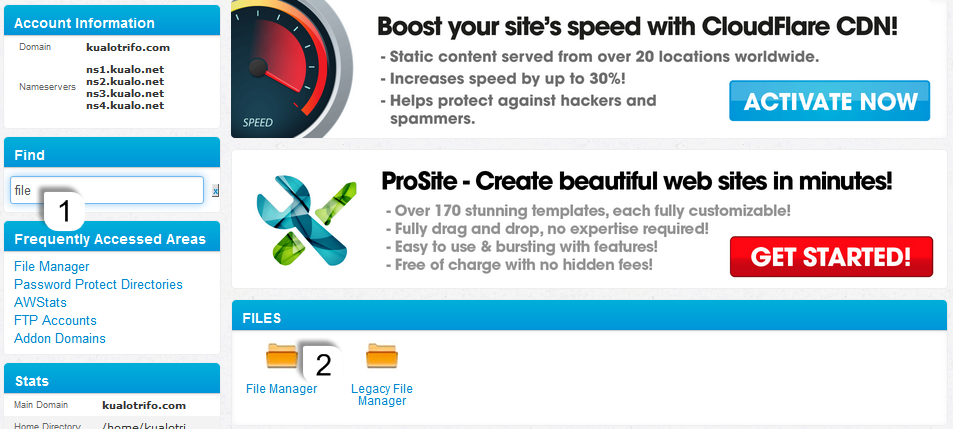
Log in to cPanel and open File Manager.
-
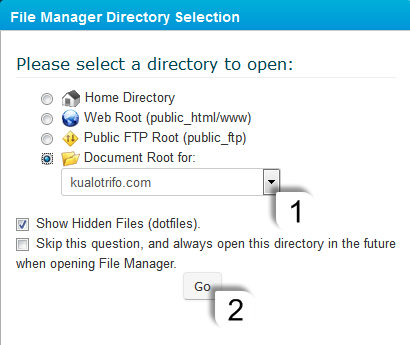
Navigate to the document root folder for your WordPress site.
-
Right-click wp-config.php and select Edit.
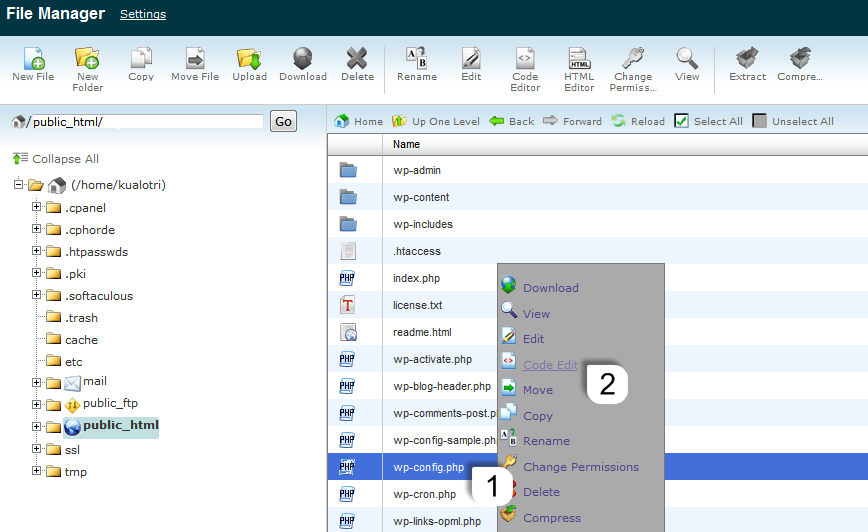
-
Immediately after the opening
<?phptag, add the following line:define('DISABLE_WP_CRON', true);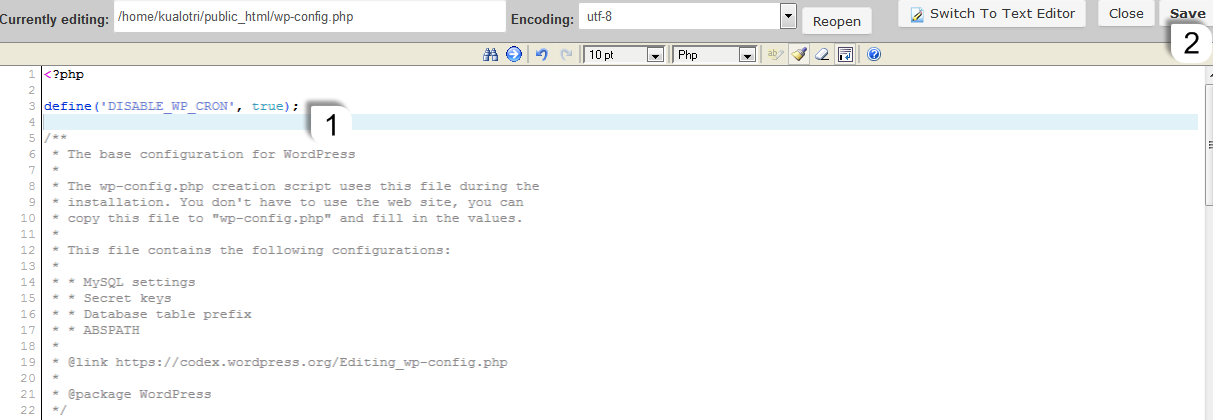
-
Click Save Changes.
Step 2 - add a cron job in cPanel
-
In cPanel, open Cron Jobs.
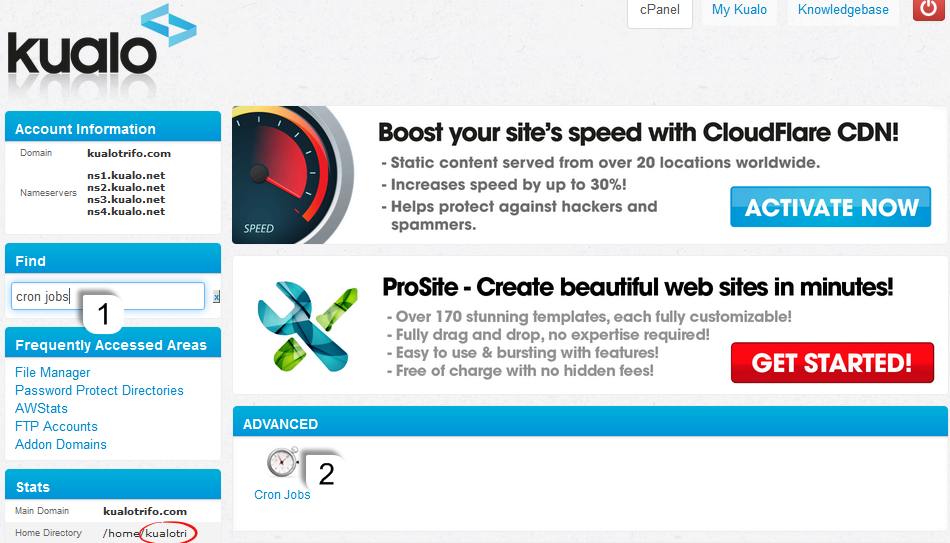
Make a note of your cPanel username - you will need it in the command below. It is shown in the Stats panel on the cPanel home screen.
-
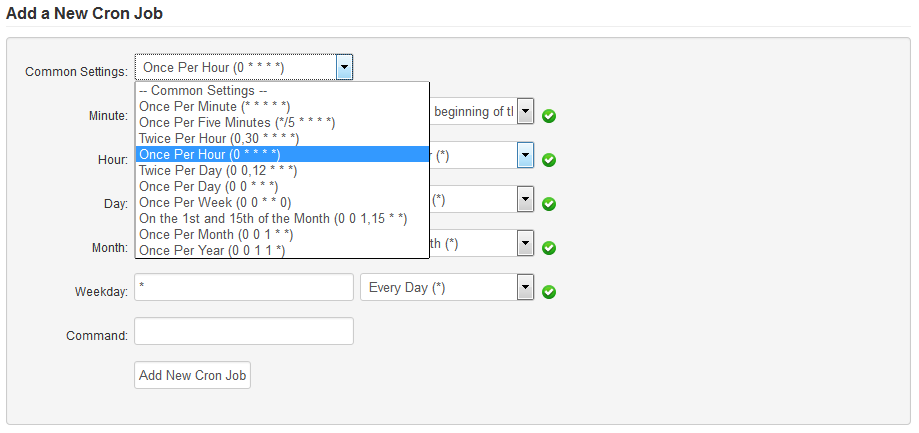
Scroll to Add New Cron Job. Under Common Settings, choose Once Per Hour.
-
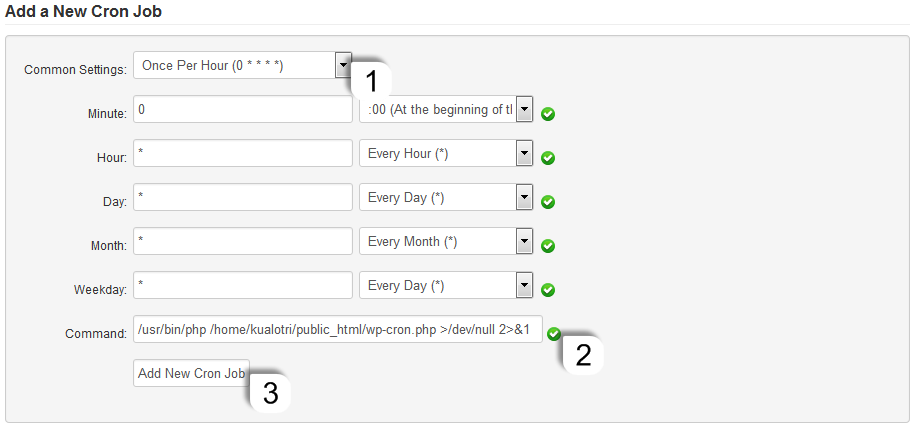
In the Command field, enter:
/usr/bin/php /home/USERNAME/public_html/wp-cron.php >/dev/null 2>&1Replace
USERNAMEwith your cPanel username andpublic_htmlwith your site's document root if it differs. -
Click Add New Cron Job.
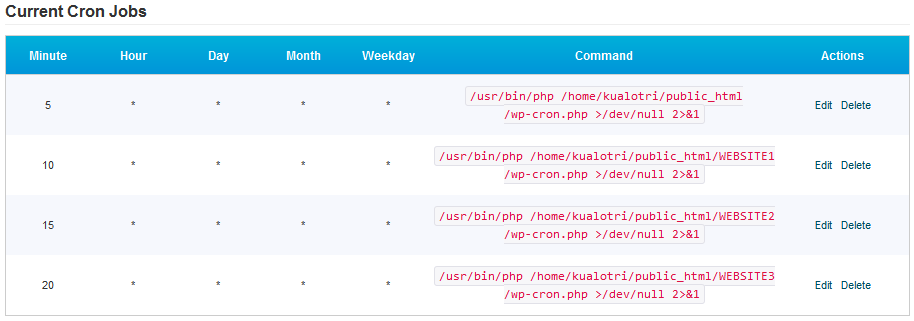
Multiple WordPress sites on the same account
If you host several WordPress sites under one cPanel account, stagger the cron jobs so they do not all run at the same minute. For example:
| Site | Minute | Hour |
|---|---|---|
| Site 1 | 5 | * |
| Site 2 | 10 | * |
| Site 3 | 15 | * |
| Site 4 | 20 | * |
Each site's cron will then run once per hour, offset by five minutes from the next.
For more detail on cron jobs in cPanel, see How to set up a cron job in cPanel.
If you need any help setting this up, open a support ticket from within your Kualo client area.