On this page
How to configure your settings in WordPress
A walkthrough of every settings section in the WordPress dashboard, from site title and date formats to comments, media, and permalinks.
The WordPress Settings menu gives you control over everything from your site's title and timezone to how comments are handled and how URLs are structured. This guide walks you through each section.
General settings
-
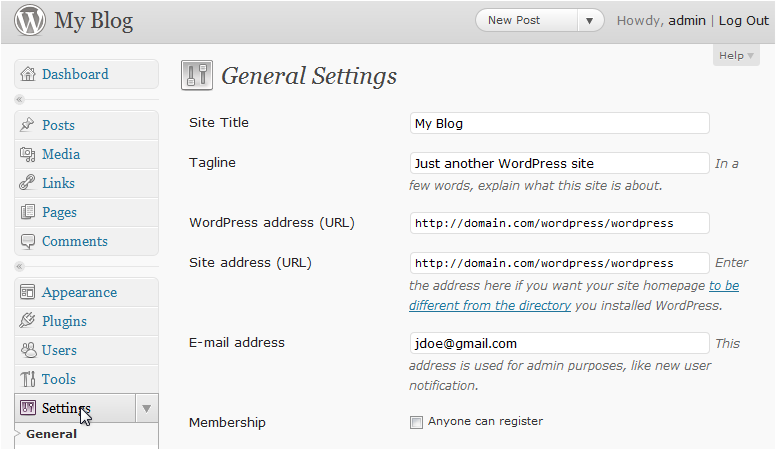
Log in to WordPress and click Settings in the left-hand sidebar.

-
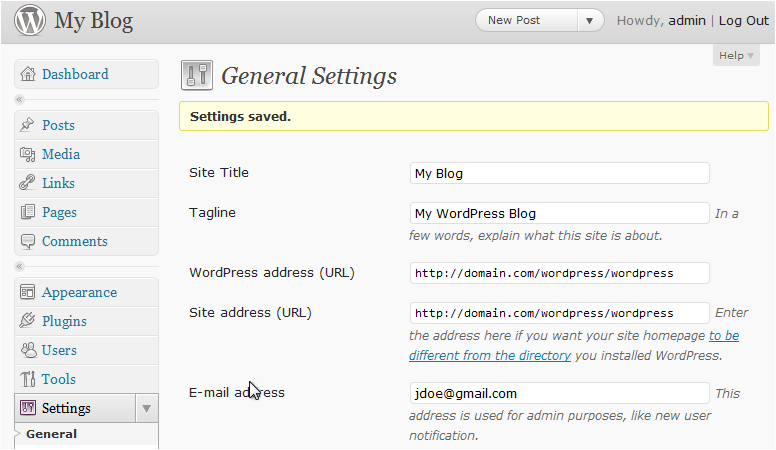
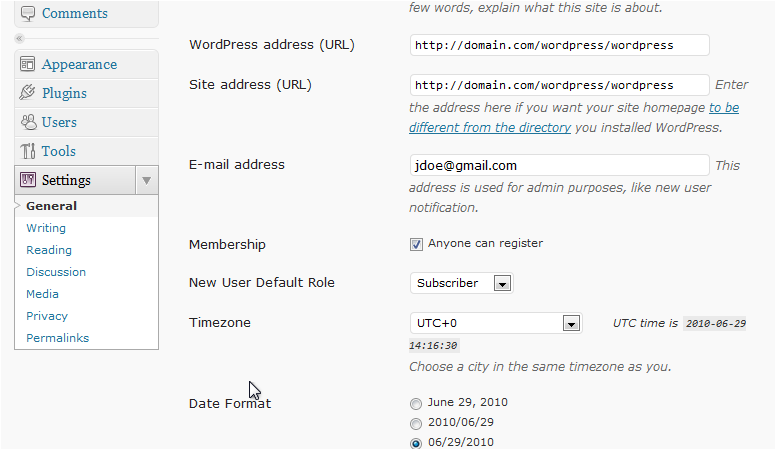
The General settings page lets you update your site title, tagline, and URL.
-
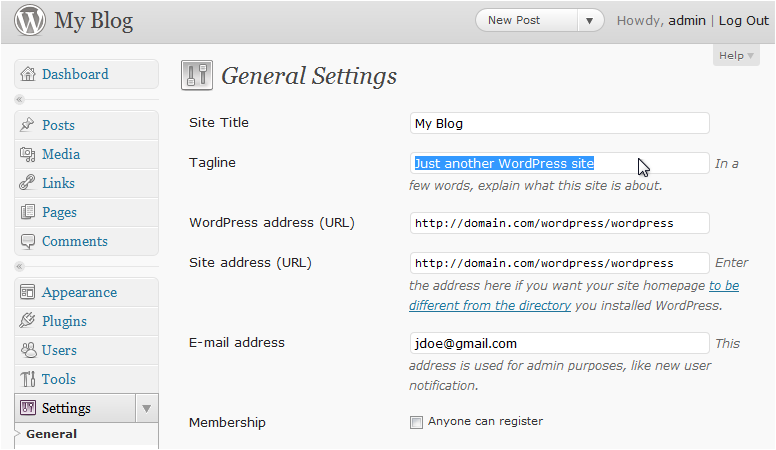
Update the Tagline field if you want to change your site's strapline.
-
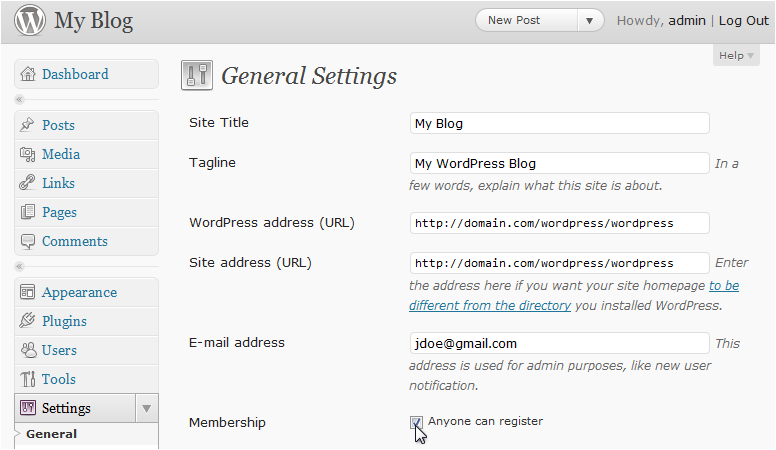
Under Membership, choose who is allowed to register on your site.
-
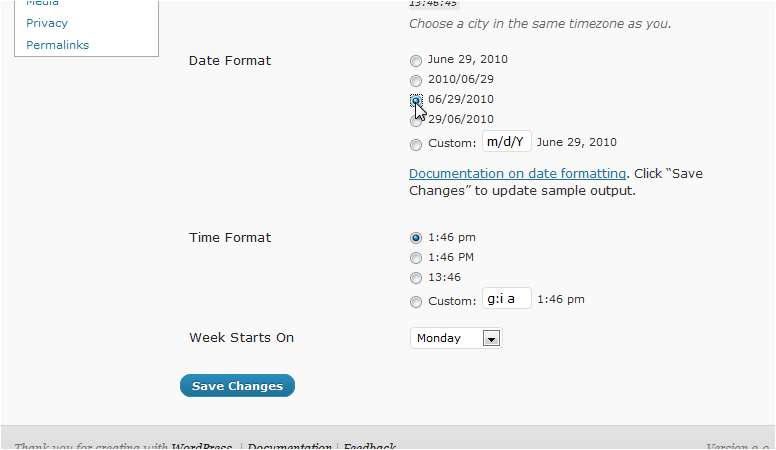
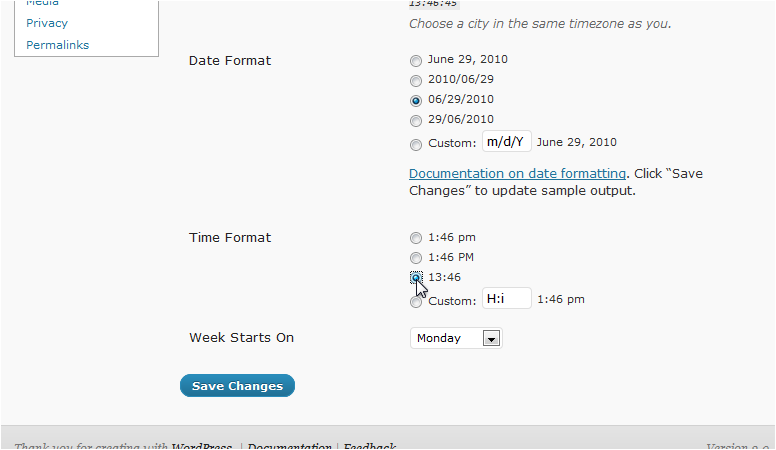
Scroll down and select your preferred Date Format.
-
Choose a Time Format.
-
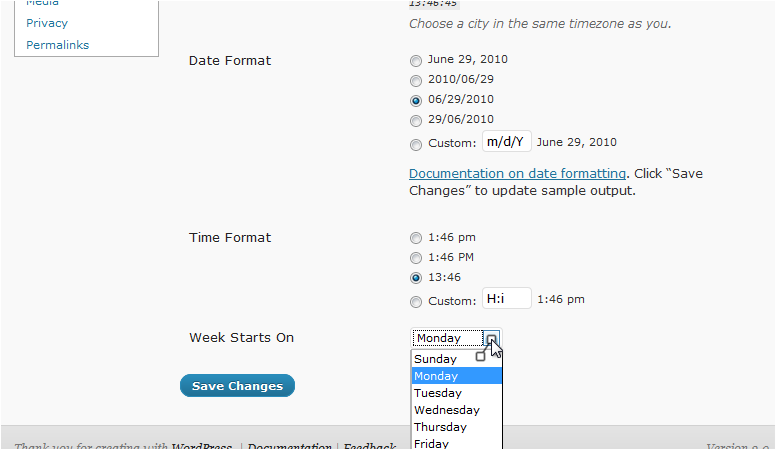
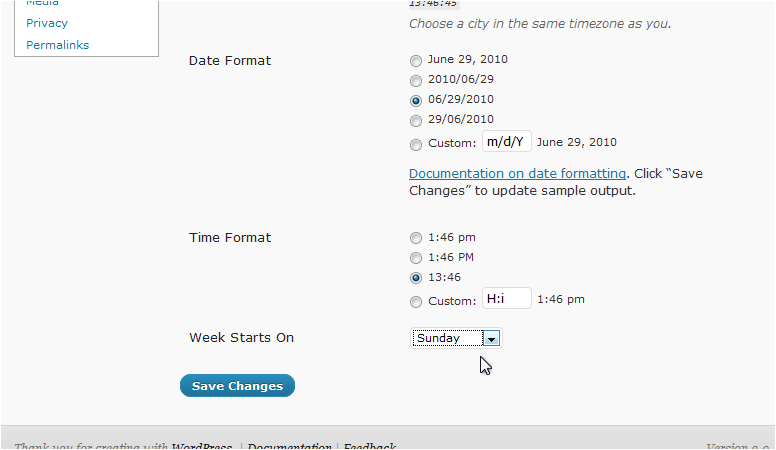
Select which day the Week Starts On.
-
Click Save Changes.
WordPress confirms the settings have been saved.
Writing settings
-
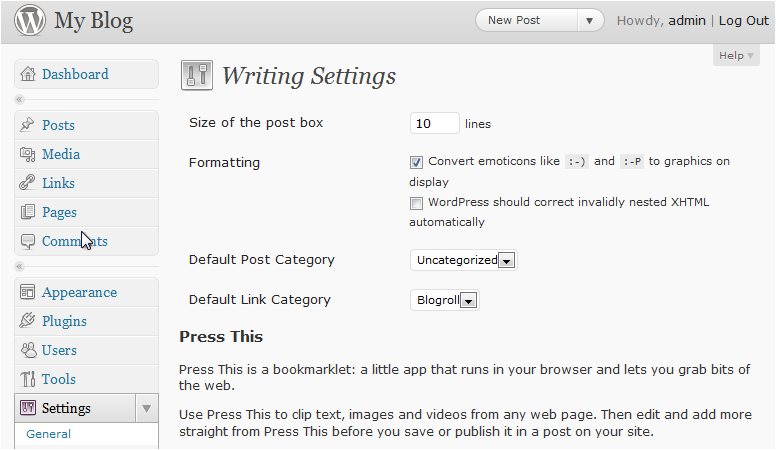
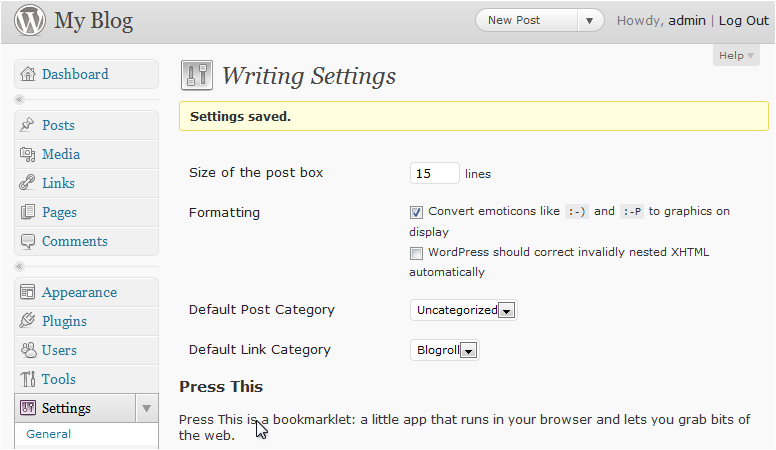
In the left-hand sidebar, go to Settings > Writing.
This page controls settings related to writing and publishing posts.
-
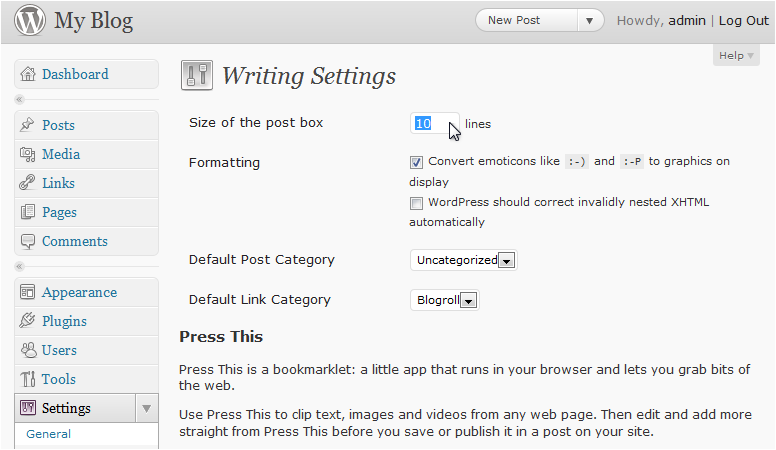
Enter a size (in lines) for the post editor box.
-
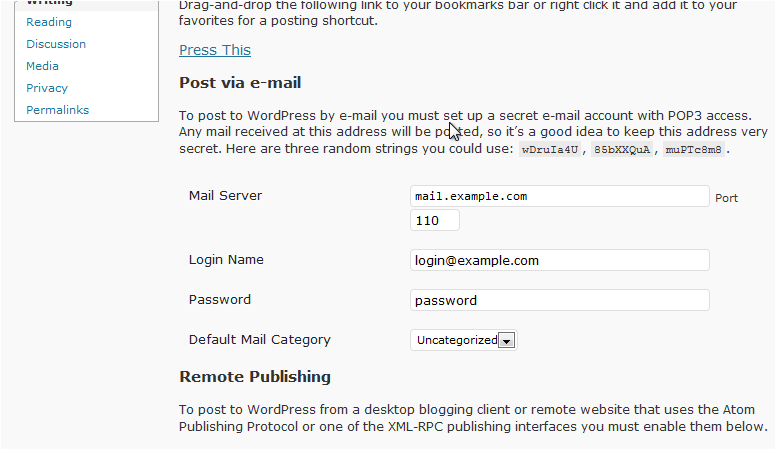
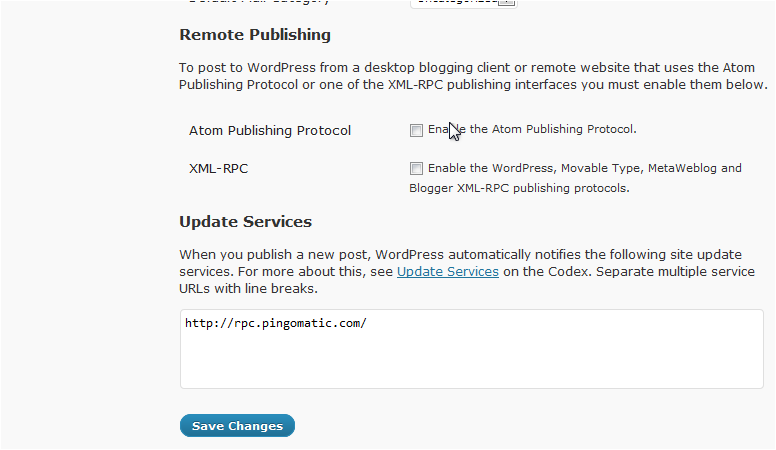
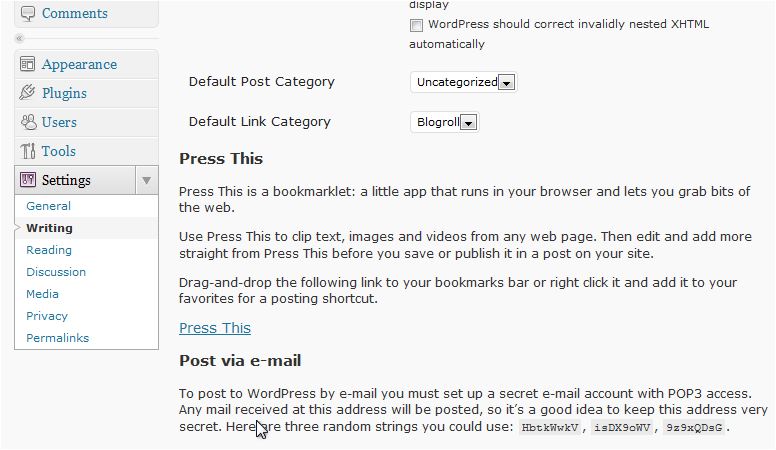
Scroll down to configure email posting if you want to publish posts by sending an email.
-
Click Save Changes.
WordPress confirms the settings have been saved.
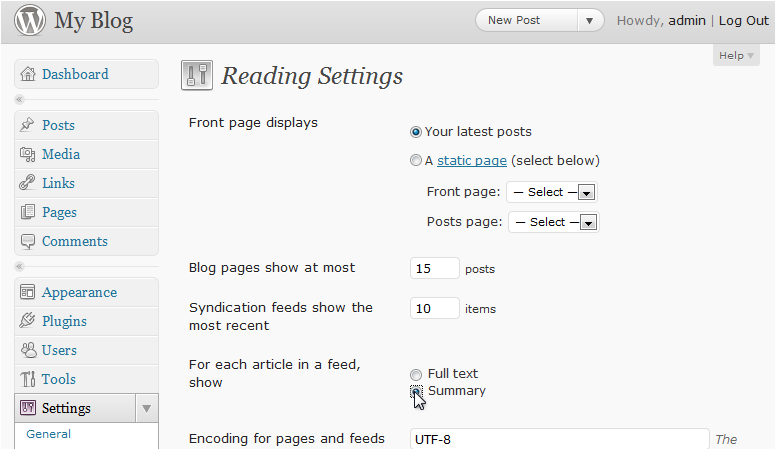
Reading settings
-
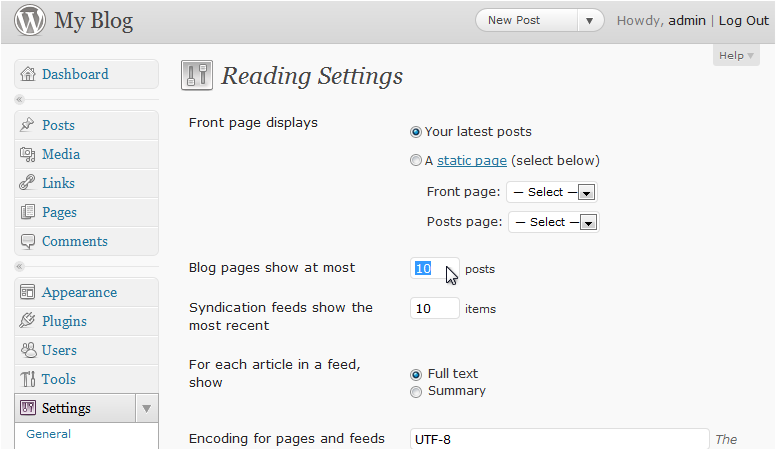
Go to Settings > Reading.
-
Set how many posts to show per page.
-
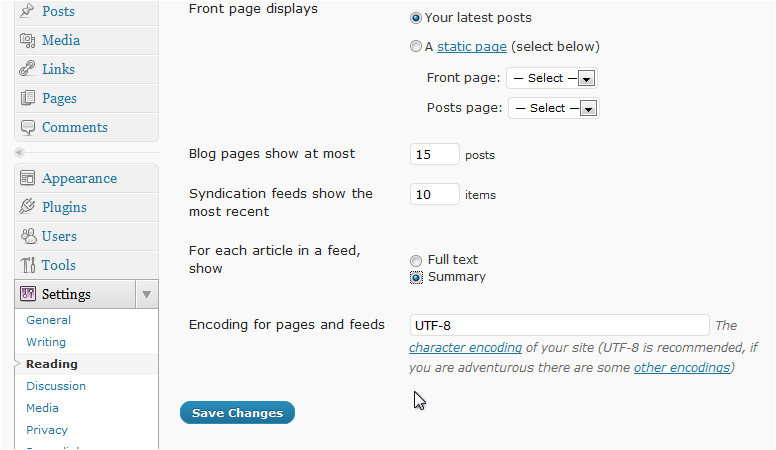
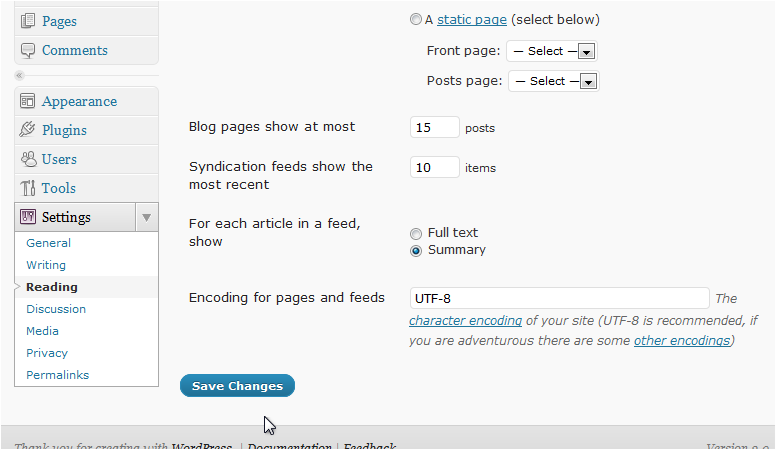
Choose whether your RSS feed shows the Full text or just a Summary for each post.
-
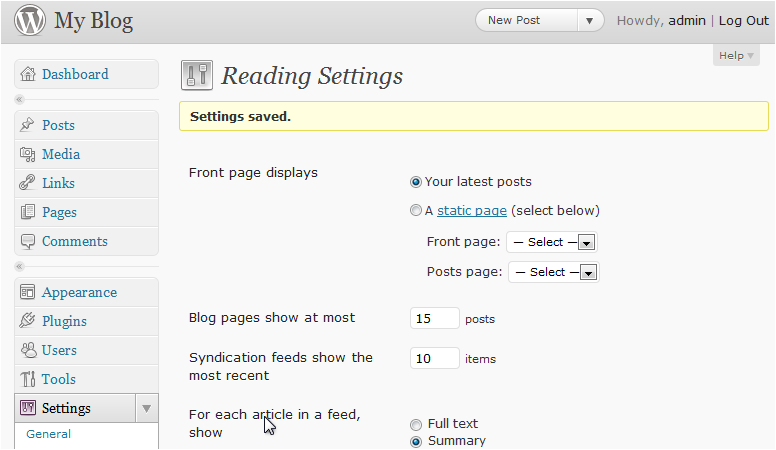
Click Save Changes.
WordPress confirms the settings have been saved.
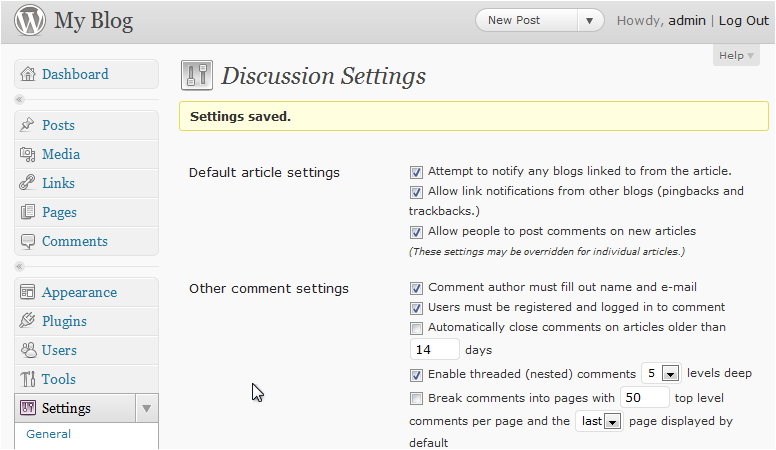
Discussion settings
-
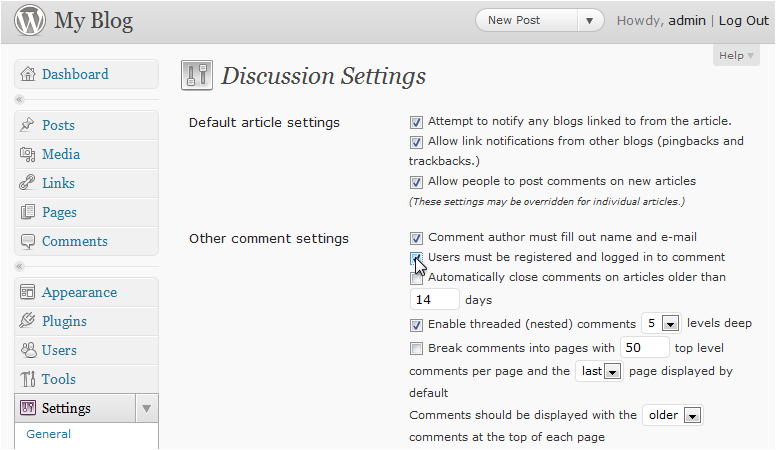
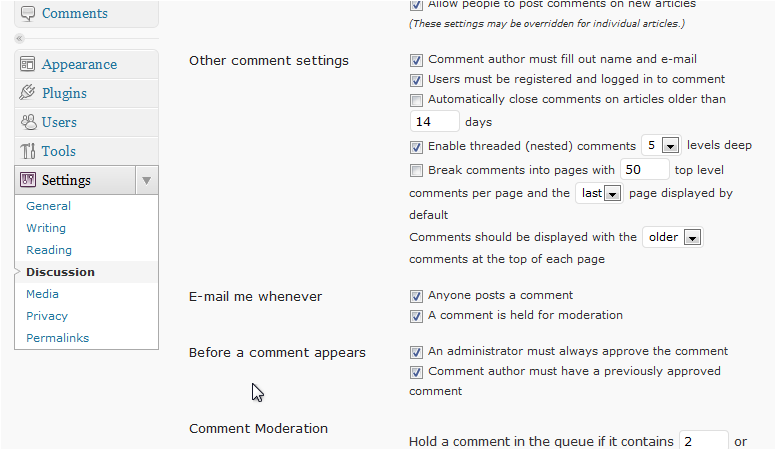
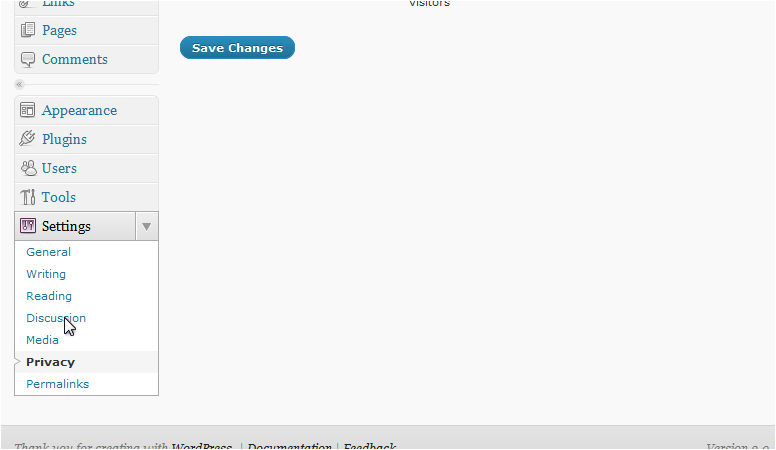
Go to Settings > Discussion.
This page controls comment behaviour and avatars.

-
Tick the box to require users to be logged in before they can comment.
-
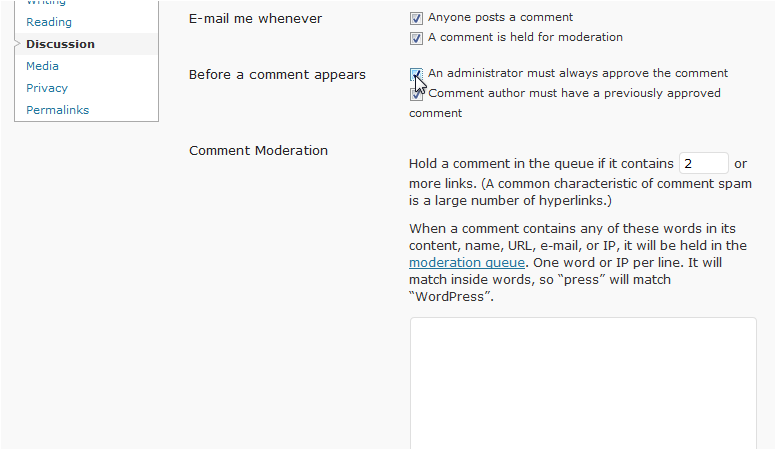
Scroll down and tick the box to hold comments for moderation before they appear.
-
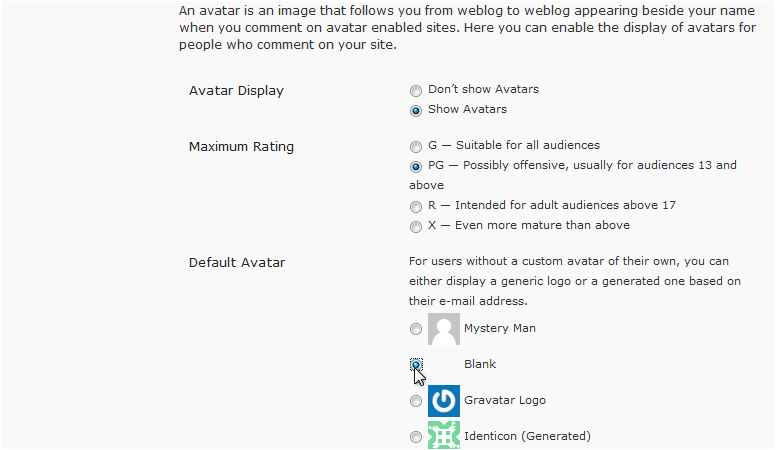
Scroll down to set the Maximum Rating for avatars displayed on your site.

-
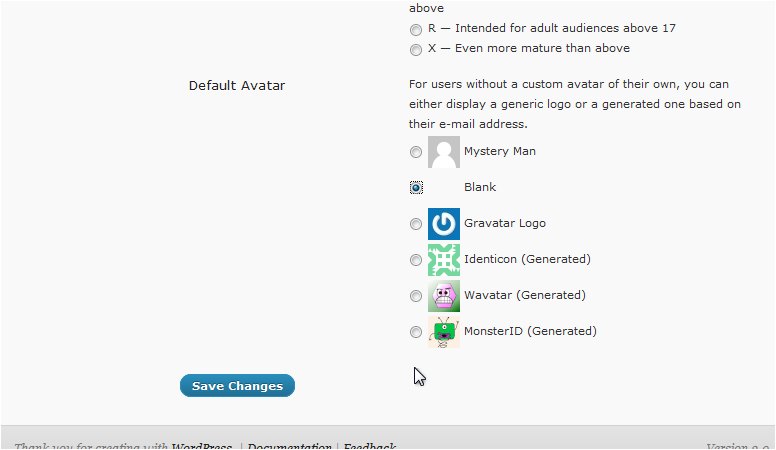
Select a Default Avatar for users who do not have one set.
-
Click Save Changes.
WordPress confirms the settings have been saved.
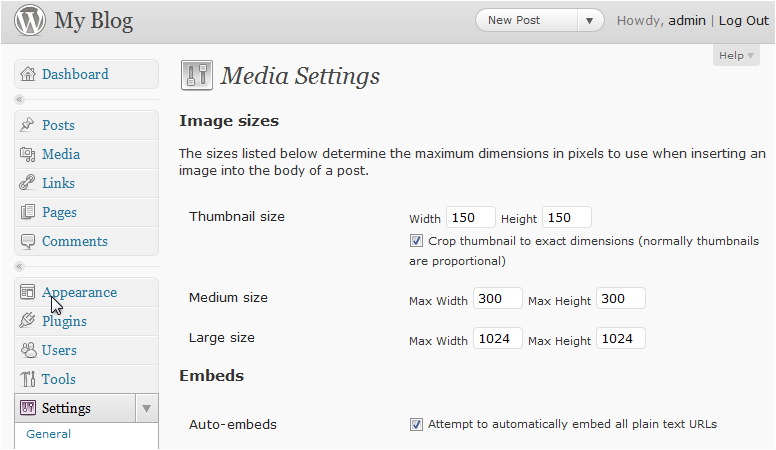
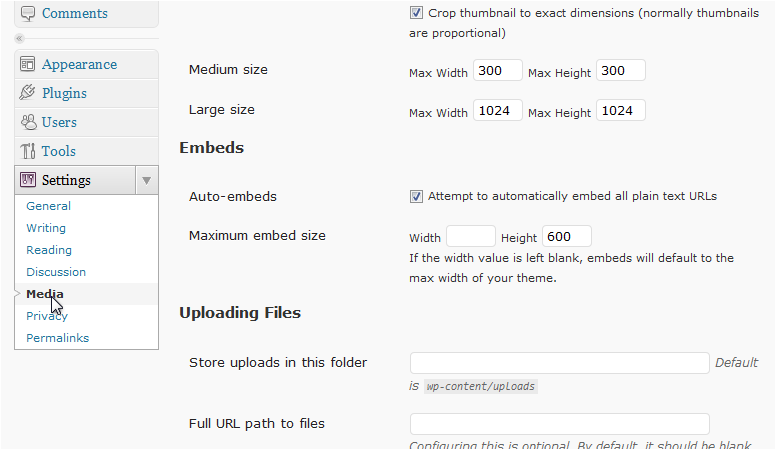
Media settings
-
Go to Settings > Media.
Here you can set the maximum dimensions for thumbnail, medium, and large image sizes, and control default image alignment.
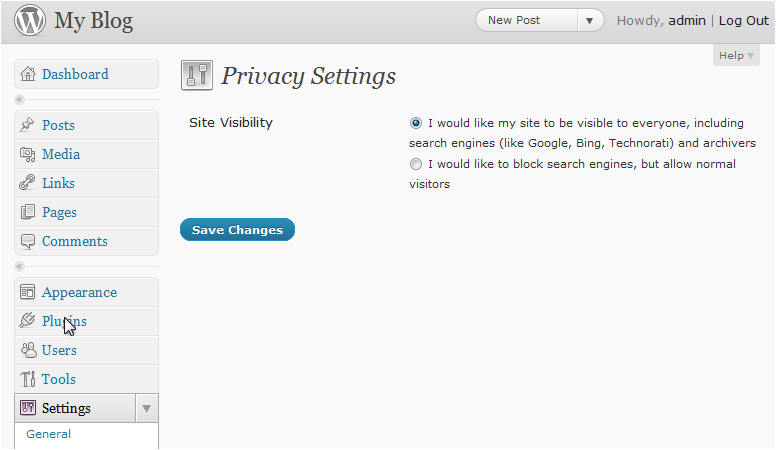
Privacy settings
In modern versions of WordPress, the Privacy settings page primarily manages your privacy policy page. The option to discourage search engines from indexing your site has moved to Settings > Reading.
-
Go to Settings > Privacy to manage your site's privacy policy page.
-
To control whether search engines can index your site, go to Settings > Reading and look for the Search engine visibility checkbox.
Permalinks
-
Go to Settings > Permalinks.
Choose the URL structure for your posts and pages. The Post name option (for example,
https://example.com/my-post/) is generally recommended for readability and SEO.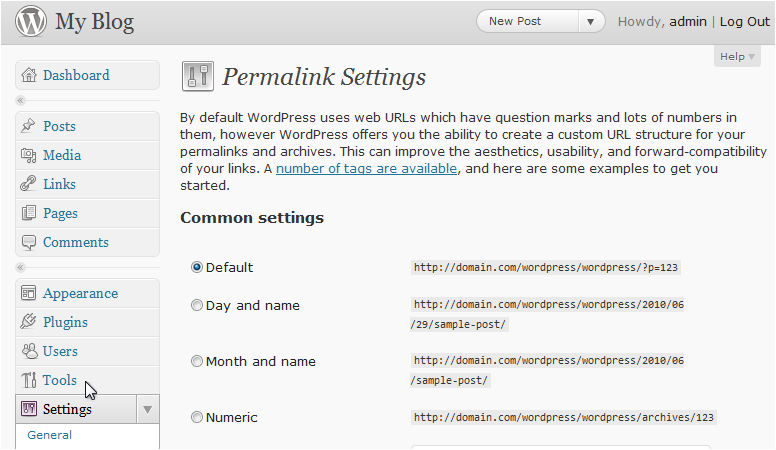
-
Click Save Changes once you have chosen your preferred structure.