On this page
How to manage your plugins in WordPress
Learn how to install, activate, and manage plugins in your WordPress dashboard.
Plugins extend the functionality of your WordPress site, letting you add features without writing any code. This guide walks you through the key tasks in the WordPress Plugins section.
Viewing your installed plugins
- Log in to your WordPress dashboard.
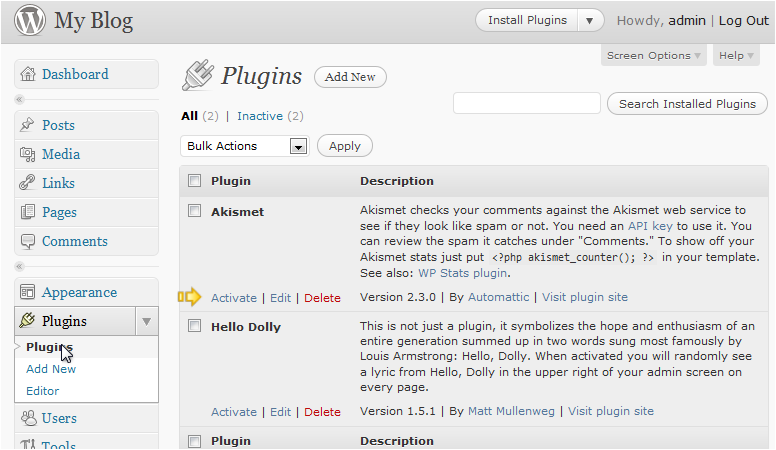
- In the left-hand menu, click Plugins, then click Plugins again from the expanded menu.
You will see a list of every plugin currently installed on your site, along with its status (active or inactive).
Activating or deactivating a plugin
- To activate an inactive plugin, click the Activate link beneath its name.
- To deactivate an active plugin, click the Deactivate link beneath its name.
Deactivating a plugin disables it without removing it, so you can reactivate it later if needed.
Adding a new plugin
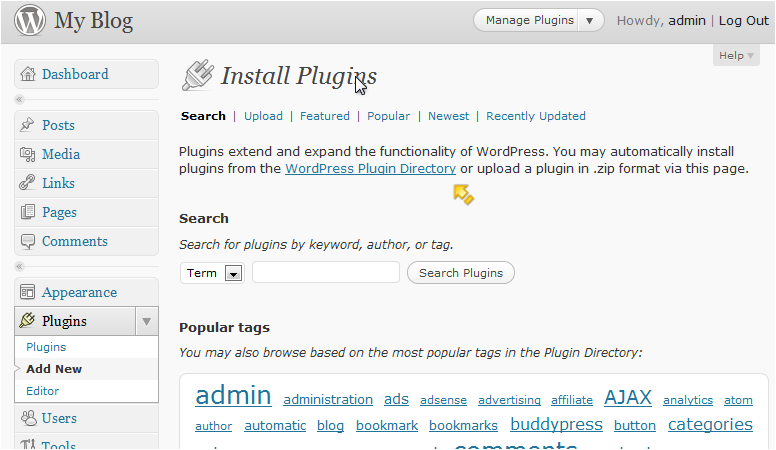
- Go to Plugins > Add New in the dashboard menu.
- Use the search box to find a plugin by name or keyword, or browse featured and popular plugins in the WordPress Plugin Directory.
- Click Install Now next to the plugin you want, then click Activate once installation is complete.
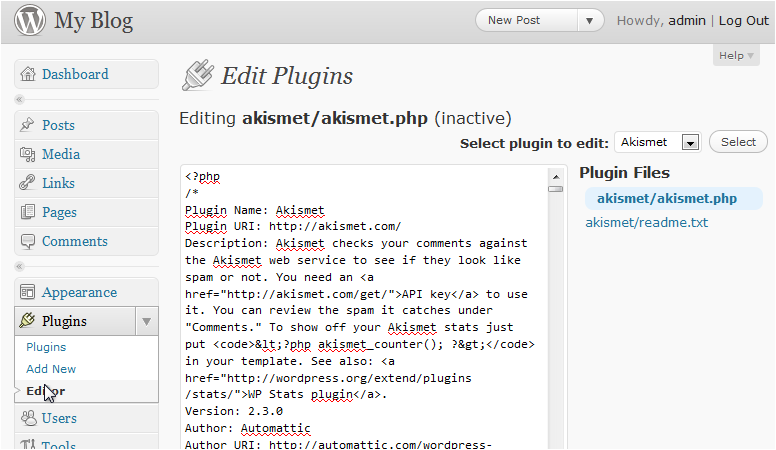
Editing a plugin's code
You can edit plugin files directly from Plugins > Plugin File Editor in the dashboard.
Editing plugin code directly is intended for advanced users only. A mistake here can break the plugin or your site. Always back up your files before making any changes - you can create a full account backup from cPanel.