On this page
How to clone a website with Softaculous
Clone a WordPress or other Softaculous-managed site to a new domain, subdomain, or subfolder in a few straightforward steps.
Cloning a website in Softaculous creates a full copy of your files, database, and configuration at a new location. This is useful when you want a duplicate site on a different domain or subdomain - for example, to hand off a finished build or repurpose an existing site.
If you want a temporary copy for testing changes, the Softaculous Staging feature may be more appropriate than a full clone.
What cloning does
Softaculous cloning copies:
- all application files
- the database
- the application configuration file, updated to reflect the new location
You end up with a second, independent installation registered in Softaculous. You can keep both copies or remove either one once you no longer need it.
Typical use cases include:
- moving a site from a subdomain to the main domain (e.g.
https://testwebsite.example.comtohttps://www.example.com) - copying a site to a completely different domain (e.g.
https://www.example.comtohttps://www.example2.co.uk) - copying a site into a subfolder of the same domain (e.g.
https://www.example.comtohttps://www.example.com/subfolder)
The steps below use a WordPress installation as the example, cloning from https://www.example.com to https://clone.example.com.
Step 1: Complete the prerequisites
Before you start the clone, check the following.
Create the destination domain or subdomain (if needed)
If you are cloning to a subdomain or addon domain, you must create it in cPanel first:
If you are cloning to a subfolder of the same domain, you can skip this - Softaculous creates the subfolder for you.
Set up SSL on the destination (if needed)
If your site uses https://, the destination domain or subdomain also needs an SSL certificate. cPanel's AutoSSL will usually provision one automatically, but this can take up to 24 hours. If you do not want to wait, you can issue a free certificate immediately via AutoSSL or Let's Encrypt in cPanel.
SSL can only be issued once the domain is registered and pointing at the server. If the destination domain is not yet live, sort that out before attempting the clone.
If you are cloning to a subfolder of a domain that already has SSL, no further SSL setup is needed.
Make sure the installation is registered in Softaculous
The source site must already appear in Softaculous. If it does not, follow the guide on importing existing applications into Softaculous before continuing.
Check for custom files or folders
Some plugins or developers place files outside the standard application folder structure - for example, a custom PHP file in the root of the site. Softaculous will not automatically include these in a clone unless you tell it to. The next section explains how.
Adding custom files to the installation record
-
Log in to cPanel and open Softaculous.
-
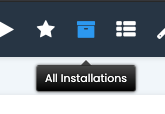
Click the All Installations icon (the box icon) at the top right of the screen.
-
Find the installation you want to clone. If it is not listed, you need to import it first (see above).
-
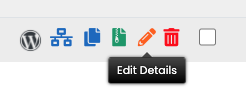
Click the pencil icon (Edit Details) next to the installation.
-
On the edit screen, click the + icon next to Select additional files/folders from the following list. This reveals any files or folders present in the application directory that Softaculous does not currently consider part of the installation.
-
Tick any files or folders that your application needs. In the example below, a custom file called
mycustomfile.phphas been selected.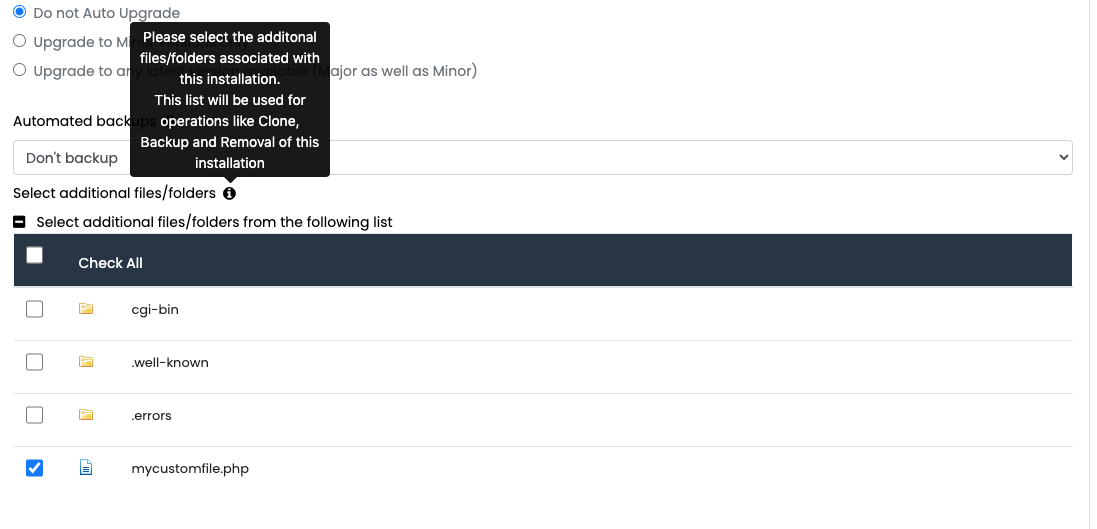
If your site is in the main
public_htmldirectory, you do not need to include default system folders such ascgi-bin. -
Scroll down and click Save Application Details.
Softaculous will now include those files and folders in any future clone or staging operation for this installation.
Step 2: Clone the installation
-
Click the All Installations icon (the box icon) at the top right of the Softaculous screen.
-
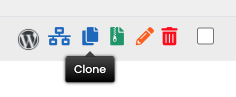
Click the Clone icon next to the installation you want to copy.
-
On the clone settings screen, configure the destination.
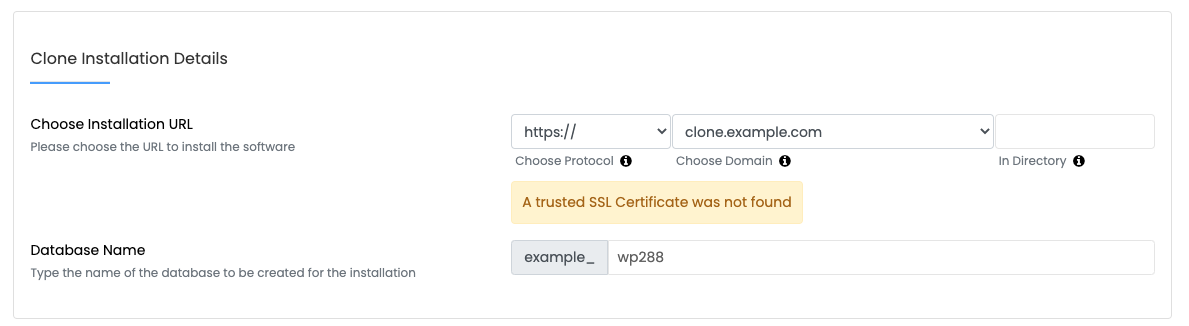
- Protocol - select
https://if the destination has SSL. For a standard domain (not a subdomain), you would typically choosehttps://www.. - Domain - select the destination domain or subdomain from the dropdown.
- In Directory - leave blank to install at the root of the domain. Enter a folder name (e.g.
clone) to install into a subfolder. - Database name - Softaculous fills this in automatically. You can change it to something more memorable if you prefer.
If Softaculous shows a warning that no trusted SSL certificate was found, the destination domain does not yet have SSL installed. Issue a certificate via AutoSSL or Let's Encrypt in cPanel before proceeding, then return to this screen.
- Protocol - select
-
Optionally, you can prevent the cloned site from being indexed by search engines, and give it a different site name.
-
Click Clone Installation. Softaculous will begin copying the files and database. The time taken depends on the size of the installation and may take several minutes.
Once complete, the cloned site will appear as a separate installation in Softaculous. The admin and user login credentials will be the same as the source installation.