On this page
How to set up Redis in cPanel
Enable and configure Redis on your Kualo hosting account using the cPanel plugin, connect your application via a UNIX socket, and monitor performance from the built-in dashboard.
Redis is a high-performance, in-memory data store that can dramatically speed up your website by caching frequently accessed data. Instead of querying your database on every request, your application serves data straight from RAM, making responses far faster.
On Kualo we provide Valkey under the Redis name - a high-performance, fully compatible open-source fork of Redis. It behaves exactly like Redis and works with all standard Redis clients, so your application needs no changes.
Redis is available on our Performance and Magento hosting plans, and on our Agency reseller plan.
Enabling Redis
-
Log in to cPanel and, in the Software section, click Redis.
-
Redis starts out inactive. Under Get Started you will see the dedicated cache memory included with your plan. Click Enable Redis.
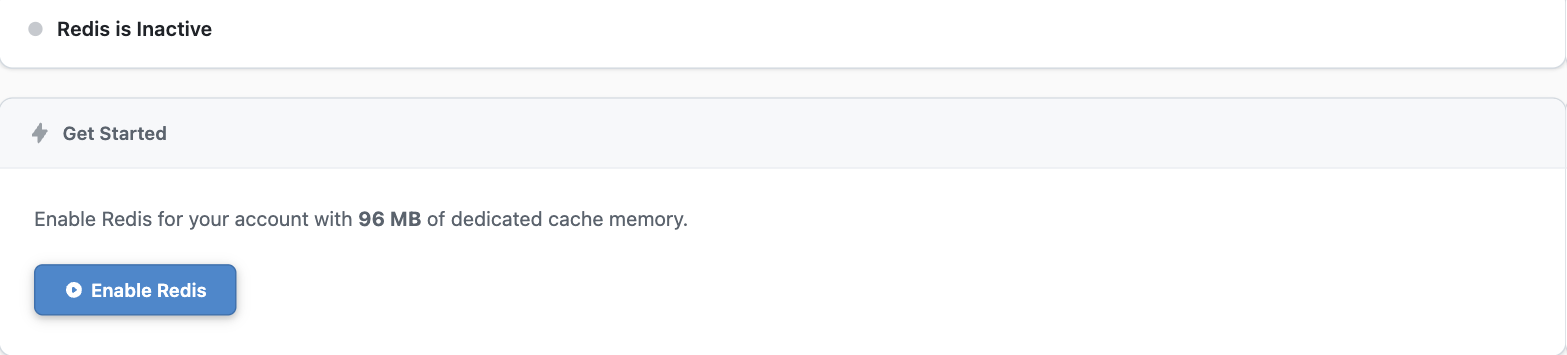
Redis activates straight away and the page switches to a live dashboard.
Your Redis dashboard
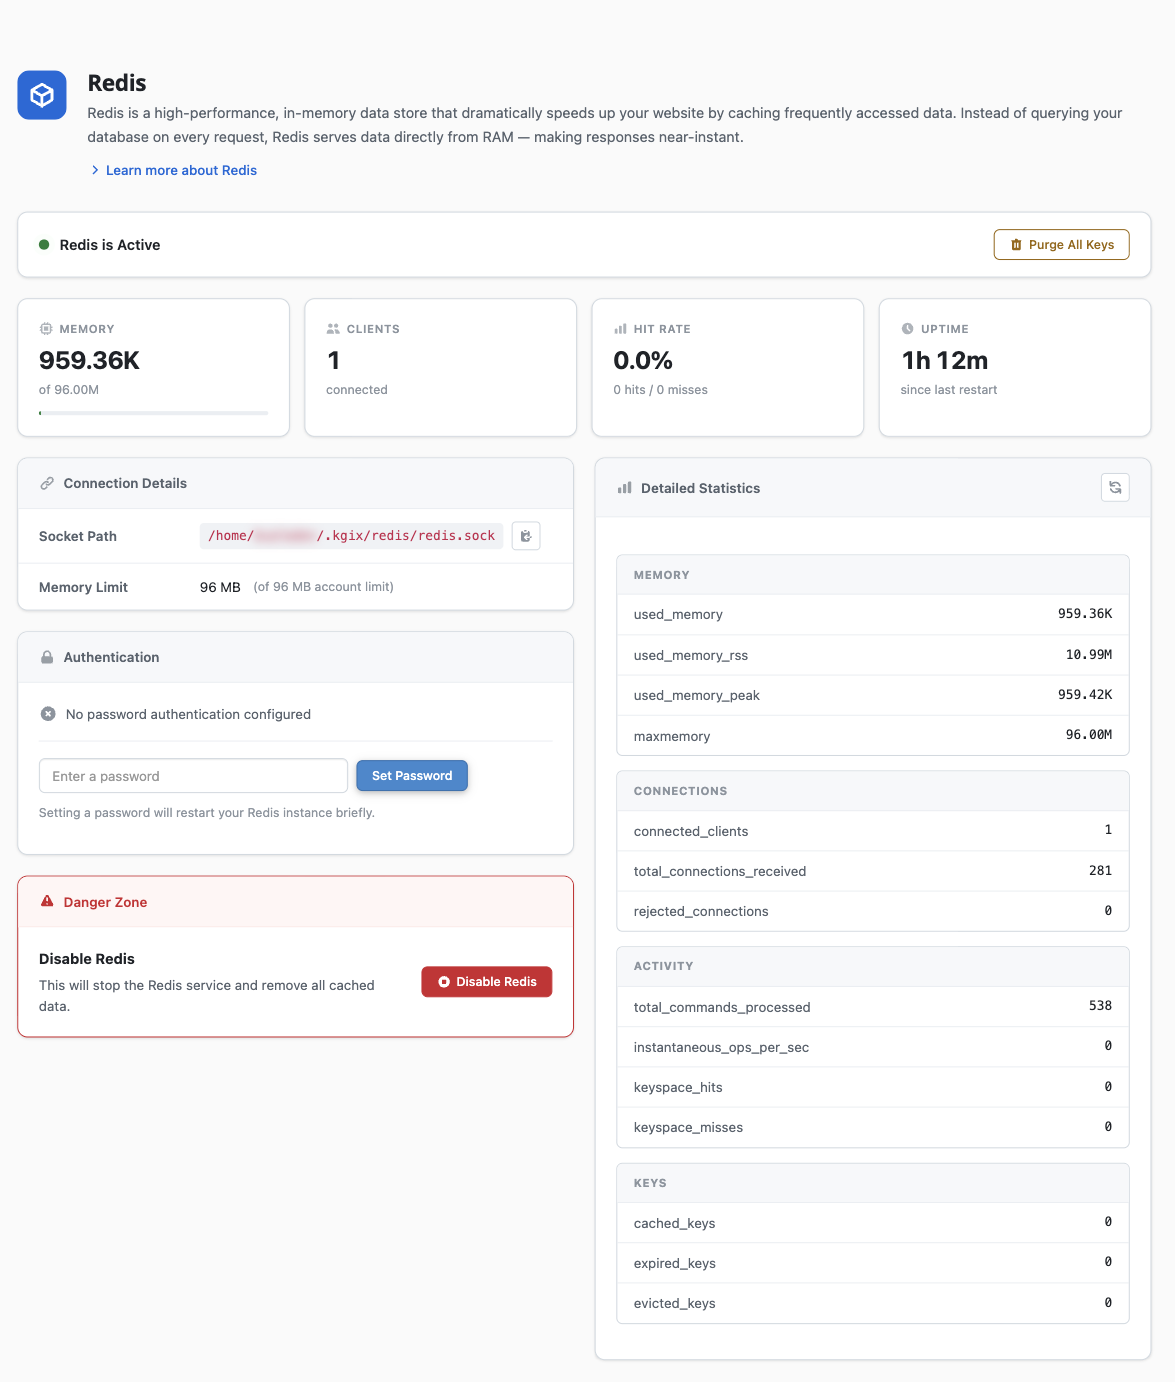
Once Redis is active, everything you need sits on a single dashboard - the current status, live performance metrics, your connection details, password and cache controls, and detailed statistics.
The sections below walk through the parts you will use most.
Connecting your application
Redis on our platform runs over a UNIX socket rather than a TCP port. This avoids network overhead and is faster than a standard 127.0.0.1:6379 connection.
Your unique socket path is shown in the Connection Details card. It includes your account username, so yours will differ from the example below.
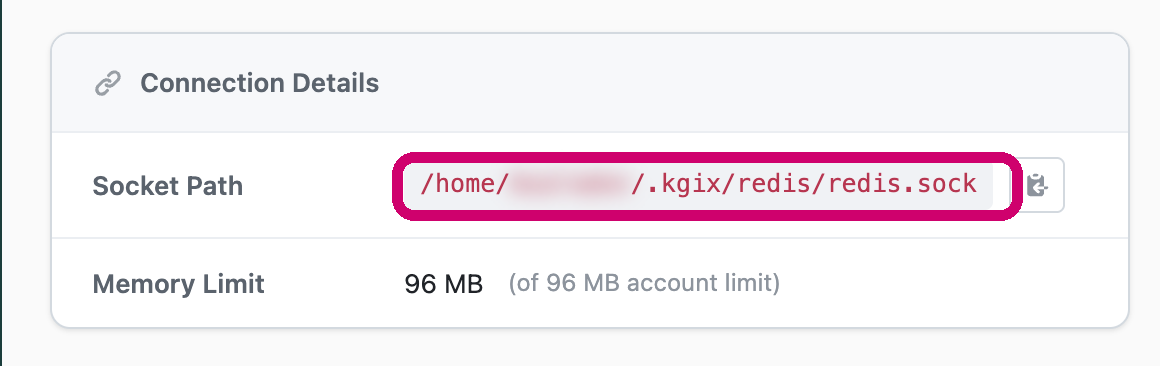
The socket path follows this format:
/home/your-username/.kgix/redis/redis.sock
How you enter it depends on your application or Redis client library.
Method 1 - a dedicated socket setting
Many applications and libraries let you specify a UNIX socket path directly, using a setting such as unix_socket_path, socket, or path. If yours does, enter the full socket path - you usually will not need to set a port.
'unix_socket_path' => '/home/your-username/.kgix/redis/redis.sock'
Method 2 - using the host and port fields
If your application only offers host and port fields (expecting something like 127.0.0.1:6379), you can still connect using one of these formats.
Option A (preferred for most PHP apps) - pass the socket path as the host and 0 as the port. Libraries such as phpredis recognise this and use the socket:
'host' => '/home/your-username/.kgix/redis/redis.sock',
'port' => 0
Option B - pass the socket and port together as a single string, for tools that do not accept them separately:
/home/your-username/.kgix/redis/redis.sock:0
If one format does not connect, try the other - the right choice depends on how your application parses Redis connection settings.
Using separate database IDs
Redis provides 16 databases per account, numbered 0 to 15. Give each use case its own ID so different applications or components do not overwrite each other's data.
| Use case | Database ID |
|---|---|
| Magento cache | 0 |
| Magento sessions | 1 |
| Magento backend cache | 2 |
| WordPress object cache | 6 |
Never reuse the same database ID for two different sites or purposes - it can cause data conflicts or loss. Keep a note of what each ID is used for.
Enabling the redis PHP extension
If you are connecting from a PHP application, you also need the redis PHP extension enabled.
-
In cPanel, open Select PHP Version and go to the Extensions tab.
-
Tick redis. Its dependencies (
igbinaryandmsgpack) are enabled automatically.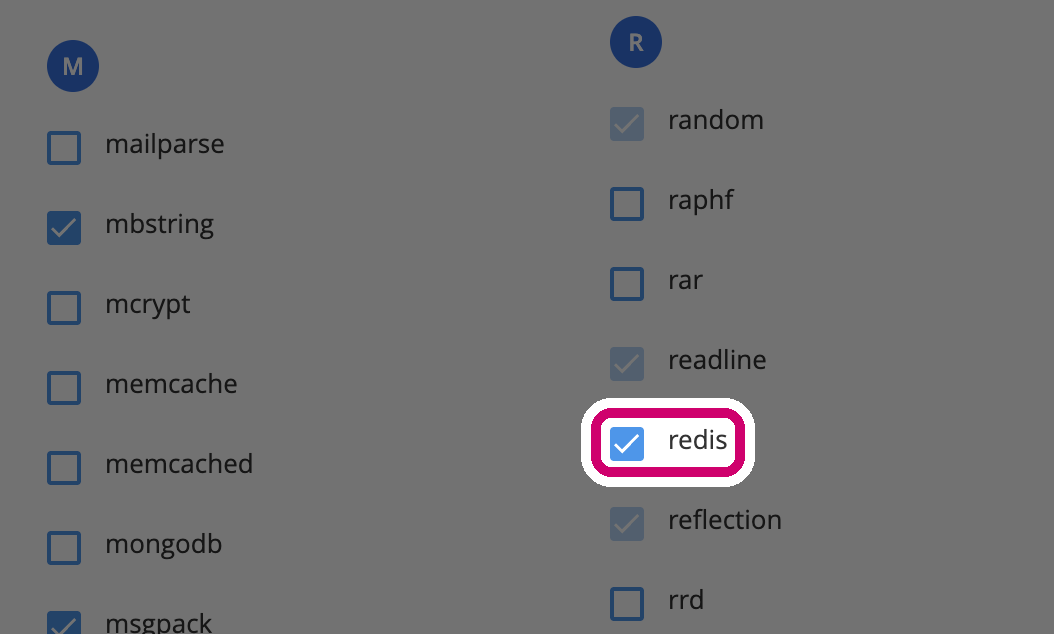
Monitoring performance
The dashboard's Detailed Statistics panel breaks down memory, connections, activity and keys in real time.
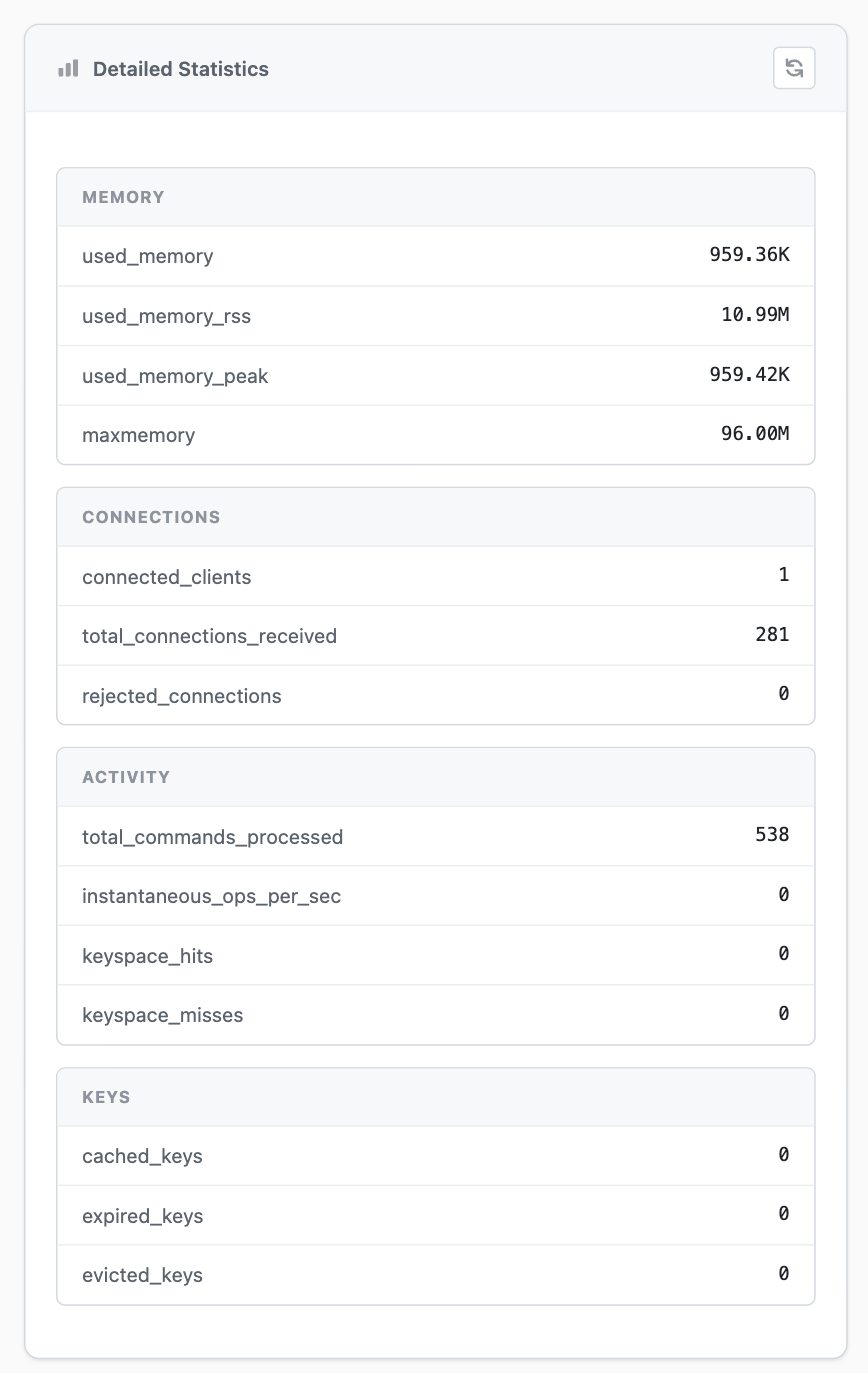
The headline figures to watch:
| Metric | What it tells you |
|---|---|
used_memory / maxmemory |
How much of your cache allowance is in use |
connected_clients |
How many processes are connected to Redis |
keyspace_hits / keyspace_misses |
How often requests are served from the cache; lots of misses can mean your app is not caching effectively |
evicted_keys |
Keys removed to free space - if this keeps climbing, your cache may be too small for your workload |
For a deeper look from the command line, see monitoring Redis with redis-cli.
Setting a password (optional)
By default your Redis instance is reachable only by your own account over the local socket, so a password is not required. If you would like to add one, use the Authentication card on the dashboard.
Setting or changing the password restarts your Redis instance briefly, which clears anything currently cached.
How Redis manages memory
When Redis nears its memory limit it automatically evicts the least recently used data to make room for new entries, so frequently used data stays cached while stale data is cleared first. On shared hosting your limit is set to a sensible value for your plan; on VPS and dedicated servers we can raise it - contact our support team if you need more.
Stopping, restarting or disabling Redis clears everything currently in memory - cached pages, sessions and object caches all have to be rebuilt by your application. Plan restarts for a quiet period, especially if Redis holds user sessions.
Clearing the cache and disabling Redis
- Purge All Keys, at the top of the dashboard, immediately clears all cached data without disabling the service - handy for a clean slate after a deployment.
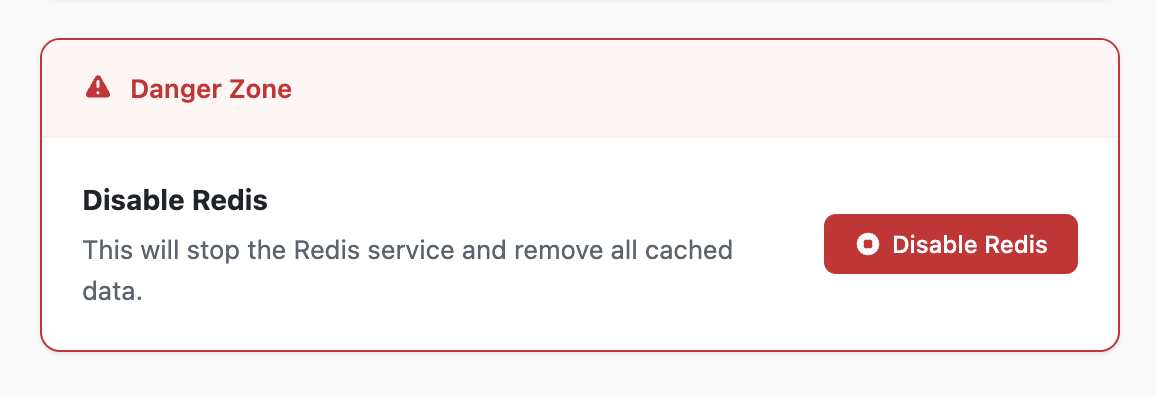
- Disable Redis, in the Danger Zone at the bottom of the dashboard, stops the service entirely and removes all cached data. You can re-enable it again at any time.
Accessing Redis from the command line
If you have SSH access, you can connect to your instance directly:
redis-cli -S /home/your-username/.kgix/redis/redis.sock
Most standard Redis commands work; configuration changes are disabled for security.
Next steps
If you need a hand setting Redis up or interpreting your stats, open a support ticket and our team will be glad to help.