
After the introduction of Lets Encrypt SSL it is now extremely easy to get an SSL certificate for your domain name.
In this tutorial, I will show you how to move your established WordPress web site to HTTPS in 5 easy steps.
What is HTTPS?
HTTPS is a URI scheme which has identical syntax to the standard HTTP scheme, aside from its scheme token. HTTPS signals the browser to use an added encryption layer of SSL to protect the traffic.What is SSL?
Secure Sockets Layer, is the standard security technology for establishing an encrypted link between a web server and a browser. This link ensures that all data passed between the web server and browsers remain private and integral in order to prevent eavesdropping and tampering.Why should I bother moving to HTTPS?
- General security. Many visitors will not do business or even submit their details on a web site that does not have an SSL certificate. The Secure sign or the
 tells visitors that they can shop or use a web site with assurance, knowing they are protected.
 - Better Google rankings! Google recently announced that it has started using HTTPS as a ranking signal.
What you will need?
- Valid SSL certificate. Either a free Let's Encrypt SSL or another trusted SSL, should you require Dynamic Trust Seal or a Green Address Bar.
- Admin access to the WordPress Dashboard.
- 20 minutes of your time.
Before you begin, make sure that your SSL certificate is already installed on your domain and that you can access it via HTTPS.
You can also use a SSL Checker tool.
Do not forget to backup your entire web site - files and database, before you make any changes, to prevent you from losing it if something goes wrong.
Once that’s done, you can continue.
Step 1: Change the web site's address to HTTPS
Login to your WordPress Dashboard and go to: Settings General.Change both: WordPress Address (URL) and Site Address (URL) to https:

Click on Save Changes at the bottom.
Step 2: Fixing "mixed content warnings".
If you open your web site right after the URL change, you will most probably run into mixed content warnings and you will see the browser showing:This can be easily resolved by using a plugin called "Better Search Replace".
Install it as any other plugin in your WordPress - go to the Dashboard Plugins Add New Search for: Better Search Replace Install now Activate.
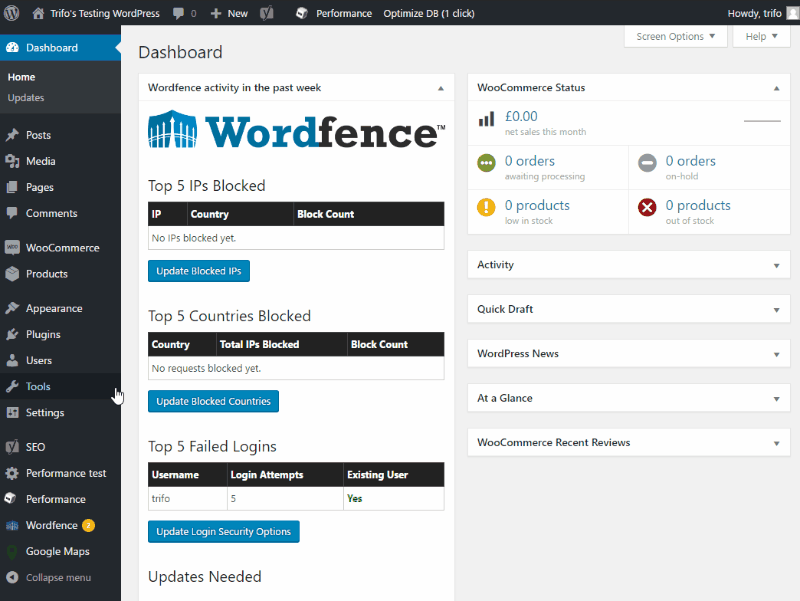
Once activated, go to: Dashboard Tools Better Search Replace.
Search for: Should be your WordPress web site old URL - http://
Replace with: Should be the new URL that includes https://
Select tables: Select all tables with Shift+Click or Ctrl-Click for Windows and Cmd-Click for Mac.
Case-Insensitive and Replace GUIDs must be left unchecked. You have the option to do a dry run, by leaving Run as dry run checked, but that needs to be unchecked as well, for the changes to take effect.
Once you are ready to proceed, click on the Run Search/Replace button:
For the advanced users - this step can be easily completed via SSH by using the WP-CLI tool, which is available on most of our web hosting services.
Login to your account via SSH, cd into the WordPress web site's document root and run:
wp-cli search-replace http://domain.com https://domain.com --all-tables
Replace domain.com with your actual domain.
Now if you visit the HTTPS version of your web site, you should get the Secure sign or
Step 3: Redirect all traffic through HTTPS
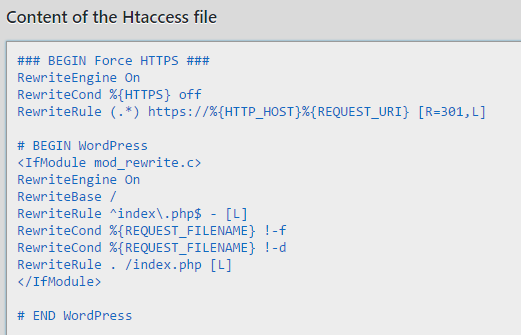
Even when you switch the WordPress to HTTPS, visitors will still be able to access your web site via http://To force HTTPS and redirect all traffic from HTTP to HTTPS, you would need to add the following code to your web site's .htaccess file:
### BEGIN Force HTTPS ###

RewriteEngine On

RewriteCond %{HTTPS} off

RewriteRule (.*) https://%{HTTP_HOST}%{REQUEST_URI} [R=301,L]
The .htaccess file can be edited via:
- Your web hosting control panel's File Manager.
- FTP.
- WordPress Dashboard using the WP Htaccess Editor plugin, if you do not have access to the first two options.
- If you are using the Yoast SEO plugin, then you can edit the .htaccess via SEO Tools File Editor.
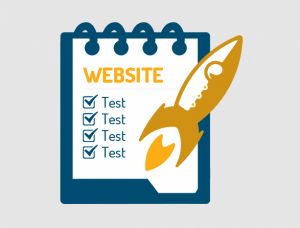
Step 4: Testing!
Double check your web site and make sure that it displays and functions properly.Try browsing the inner pages and check if all of your images are showing. If you are running an Ecommerce web site, then try placing an order.
If you still get mixed content warnings, you can use the Why No Padlock? tool to investigate further.
Step 5: Notifying the search engines for the change.
Add the new address in Google Webmasters, Google Analytics, Bing Webmaster and any other tools you are using.Google Webmasters:
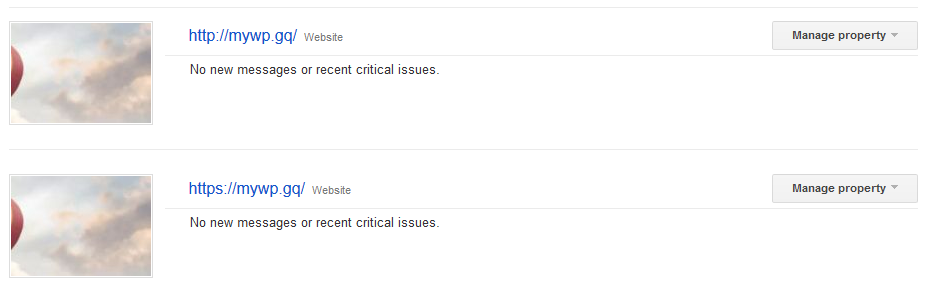
Google treats http://domain.com and https://domain.com as separate web sites. When you switch to HTTPS, you would need to add the HTTPS version of your web site as a new Property in your Google Webmasters account.
Within a week you will notice the traffic and the rankings transferred from the HTTP to the HTTPS version of your web site.
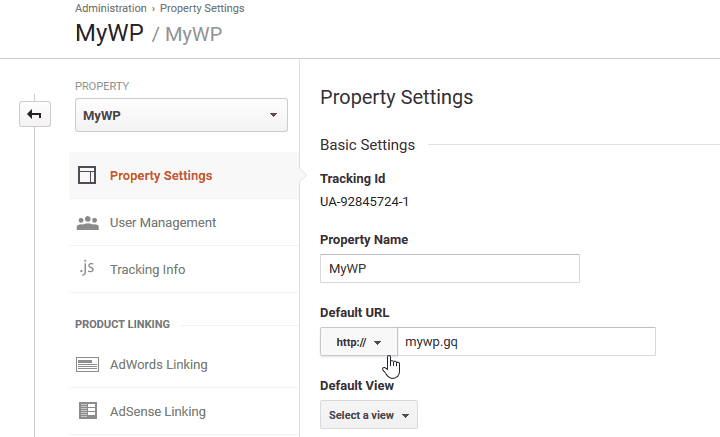
Google Analytics:
Go to Property Property Settings Default URL switch to https://
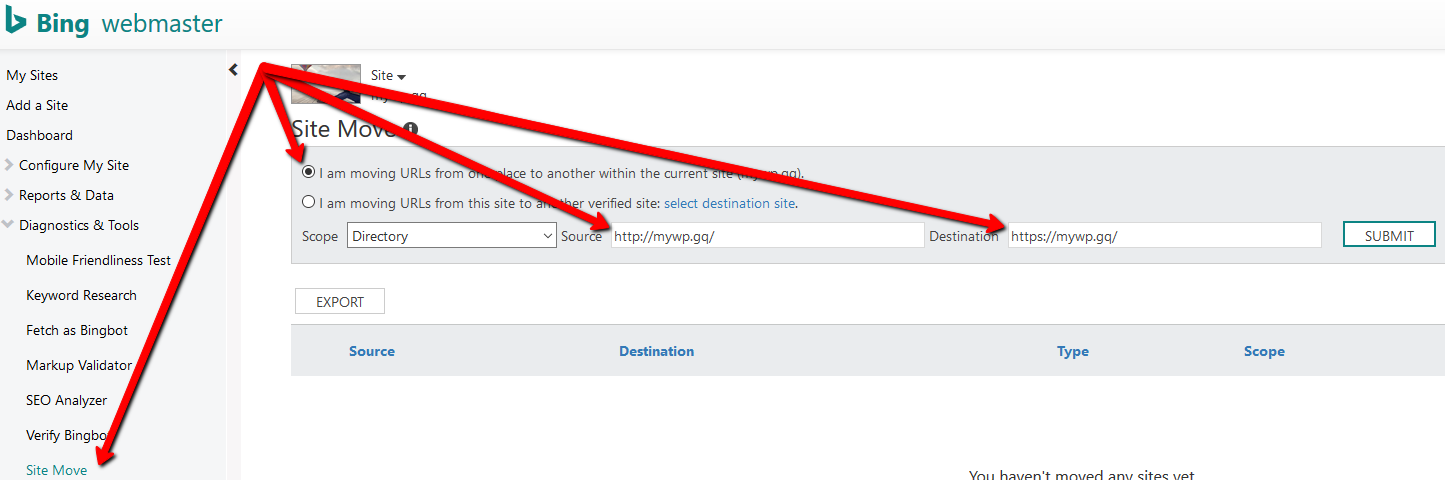
Bing Webmaster:
Use the Site Move tool to move your URL from HTTP to HTTPS:
And that's how you move established WordPress web site from HTTP to HTTPS.
Should you need any further information or assistance, please do not hesitate to contact us.
If you are a Kualo customer and are facing any issues with the move, feel free to submit a ticket to our support team so we could help.