

WordPress is great ♥.
One of the reasons WordPress is great, is there are literally hundreds and thousands of plugins, which will help you to change it into the system you need, by adding completely new set of functions and features to it, without the need of writing a single line of code.One of the functions and features in question is turning your WordPress it into an Ecommerce web site.
Note: This articles assumes that you have a registered domain name connected to your web hosting plan, and also that you have installed WordPress.
Creating Ecommerce web site with WordPress is possible, by activating a FREE plugin called WooCommerce!
Step 1 - Installing WooCommerce!

With more than 16 million downloads, WooCommerce powers over 37% of all online stores in the world.
There are other WordPress Ecommerce plugins, however WooCommerce is the most popular, it is free, and it comes with endless premium features to customize your store.
Activating WooCommerce on your existing WordPress web site, will add Ecommerce functionality to it, in the form of 4 pages:
- Shop: shop page which will display your products.
- Cart: cart page, where the customers will go to view their cart and begin checkout.
- Checkout: checkout page, where the customers will go to pay for their items.
- My Account: Registered customers will be able to manage their account details and view past orders on this page.
After activating WooCommerce, you will be welcomed by the setup wizard:
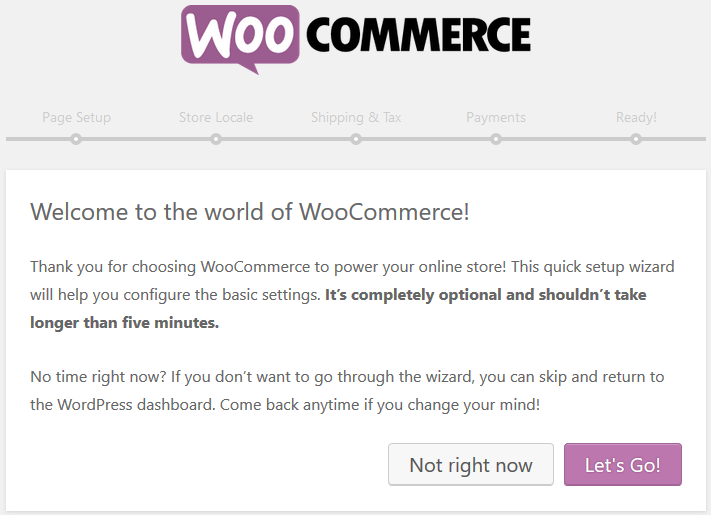
Click on Let's Go and complete the initial setup of your store :
Page setup - Creation of the Shop, Cart, Checkout, My Account pages.
Locale setup - Filling information about your store. Where it is based, currency, unit used for product weights, unit used for product dimensions.
Shipping & Tax Setup - If you will be charging sales tax, or shipping physical goods to customers, you can enable these below. This is optional and can be changed later.
Payments - Select the desired payment methods. WooCommerce can accept both online and offline payments, such as PayPal, stripe, checks, bank transfers, cash on delivery and etc. Additional payment methods can be installed later and managed from the checkout settings screen.
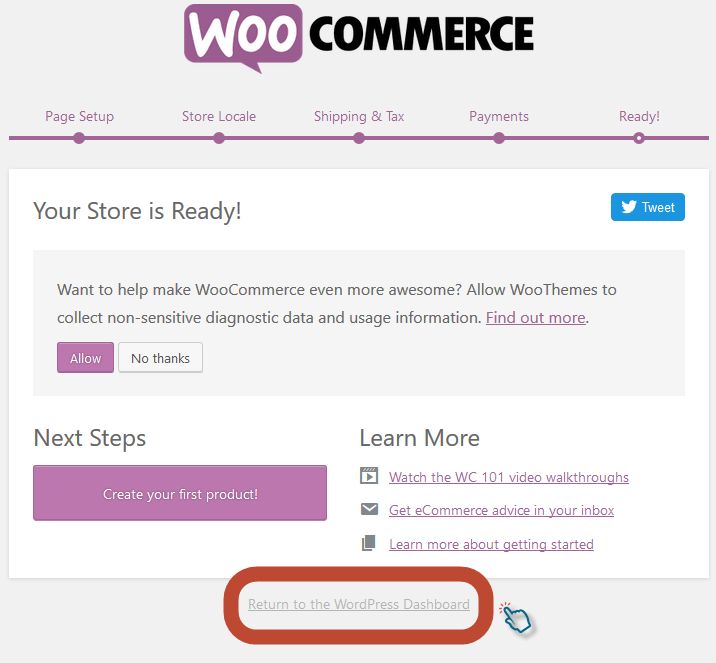
That's all, Your Store is Ready! Click on "Return to the WordPress Dashboard" to go back:
Step 2 - Setting up your store.
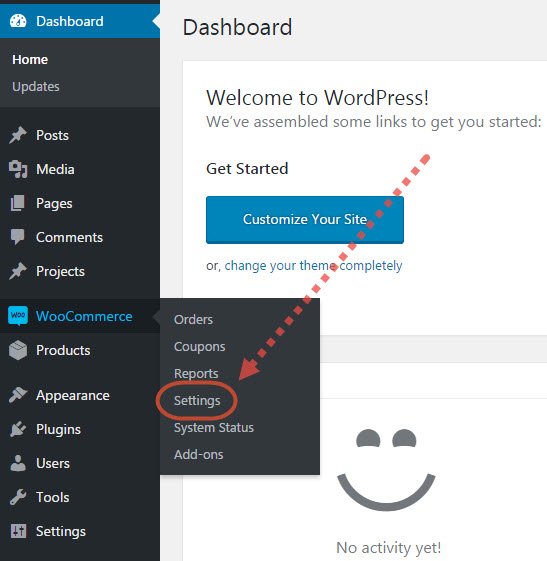
The initial setup done by the WooCommerce wizard set some ground rules to your store. This is where WooCommerce gets really impressive. It will allow you to easily customize almost every aspect of your Ecommerce web site - from the currency options to the shipping methods and checkout options.To access the WooCommerce settings, go to your WordPress Dashboard WooCommerce Settings:
Don't forget to click "Save Changes" after making any changes!
The Settings page is divided into several tabs:

The General tab will help you setup the basic options of your store, such as the base and selling locations, currency, as well as enable taxes and a site-wide notice:
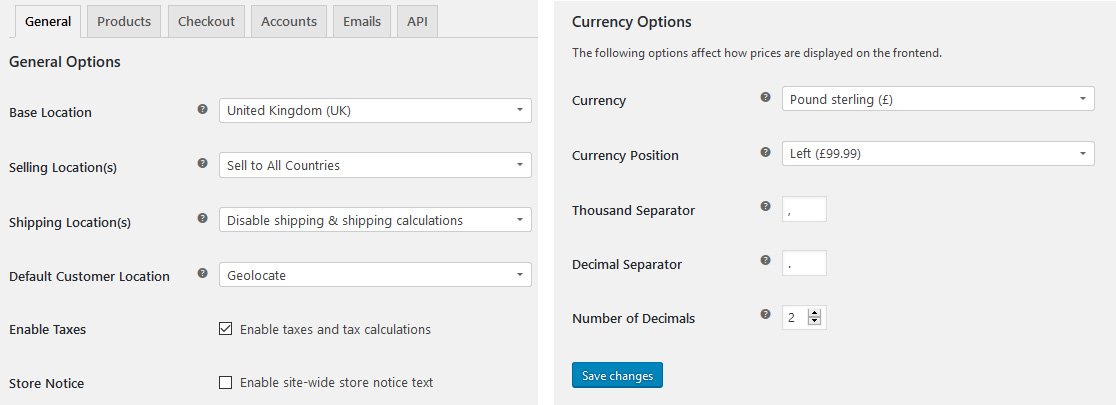
Make sure to enable the Shipping, if you will be shipping physical goods:
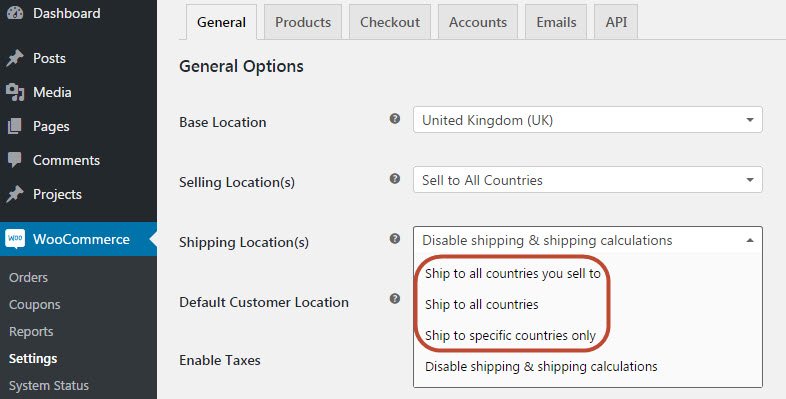
You will find more information about the Shipping tab below.
The Products tab lets you choose the products options:

General: Allows you to manage the weight and dimension units of the products, as well as enable the product ratings.
Display: This section allows you to define the shop page, what to display on that page, the default product sorting, the "Add to cart" button behavior, as well as the product images sizes.
Inventory: Allows you to enable stock management for your store.
Downloadable Products: Allows you to specify a download method, if you are selling digital products.
The Checkout tab is one of the most important in the setup... it let's you control how the visitors go through the Checkout process, as well as the behavior of the web site.

You can enable the use of Coupons, and if you have an SSL certificate installed on your web site, you can force the use of it on your checkout page.
Checkout Pages:
Lets you select the pages for the Cart, Checkout, and Terms and Conditions page (needs to be created manually).
Checkout Endpoints:
Endpoints are appended to your page URLs to handle specific actions during the checkout process. In most cases, the default parameters would be just fine.
Payment Gateways:
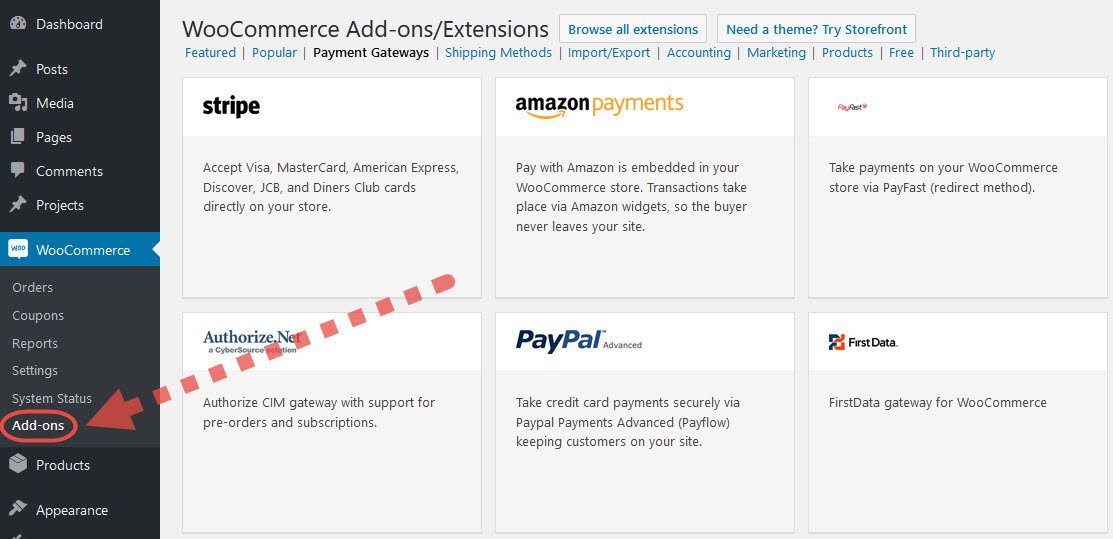
By default, you can get paid by: bank, check, cash on delivery or PayPal but you can add many more from the Add-ons menu:
Click on the link of each Gateway to edit it's options:
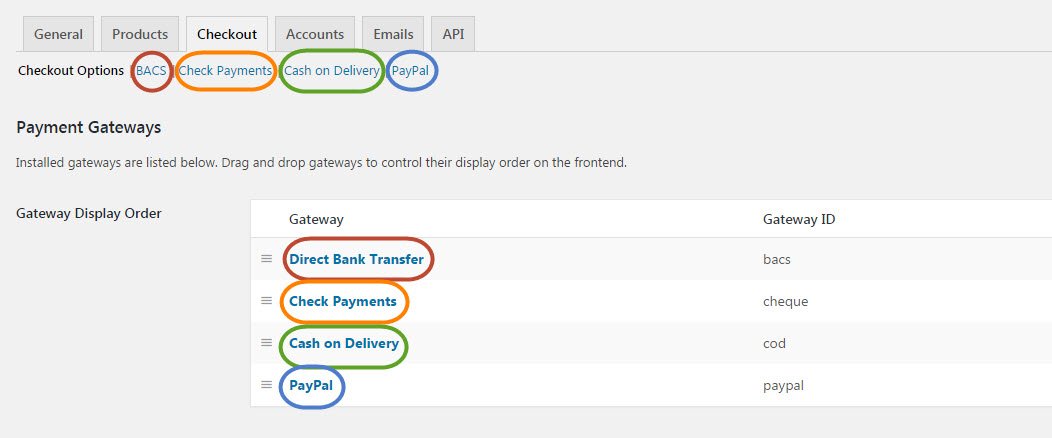
Drag and drop Gateways to rearrange their display order on the frontend of your store.
The Accounts tab allows you to select the My Account page, enable or disable the account registration on the Checkout and My Account pages, and also to auto generate the username and password of the client, who is registering on your web site.
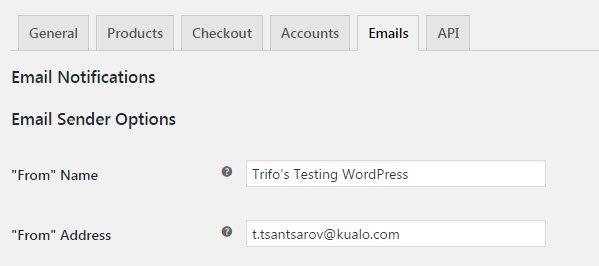
In the Emails tab, you can tailor all Email notifications sent from WooCommerce, from the sender:
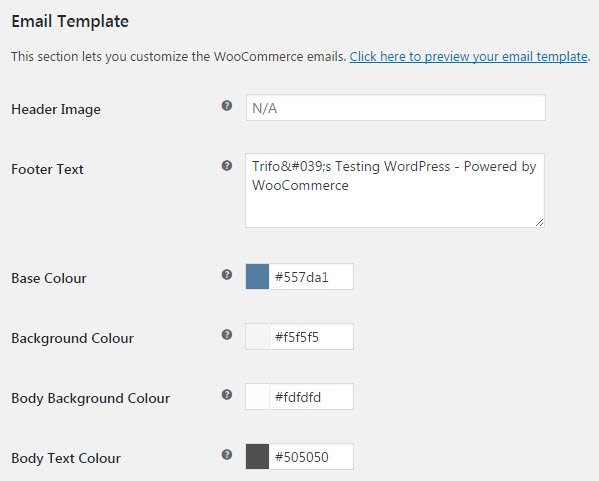
through the content:

and colours:
The Shipping tab allows you to create Shipping Zones, where a certain set of shipping methods and rates apply.
For example:
Local Zone = California ZIP 90210 = Local pickup
US Domestic Zone = All US states = Flat rate shipping
Europe Zone = Any country in Europe = Flat rate shipping
You can add as many zones as you need – customers will only see the methods available for their address.
The API tab gives you access to the Rest API, which can be used by developers for programmatic reading, creating, updating, and deleting of stored WooCommerce data using the JSON format.
Step 3 - Adding your first product.
To add a new product to your store, go to your WordPress Dashboard Products Add New and fill all of the required details:Enter the title, description, price and picture of your product and you are good to go!
WooCommerce allows you to customize and sell different kind of products, such as digital and variable products, but we will cover that in the next article.
We hope that you found this tutorial useful. As always - should you need any further assistance, do not hesitate to contact us or comment below.