
At Kualo, we are passionate about web sites, but moreover, we are passionate about ensuring they don't damage our environment.
That's why we're not only committed to using renewable energy to power our servers, but also to becoming a truly climate positive business - by planting thousands of trees and investing in certified projects that remove many times more carbon than we've created.
One of the most important tools in the fight against climate change is collective action. Tackling climate change will only work if more and more people take action themselves and encourage others to do so.
As part of our host it green campaign, we released a beautiful, yet thought-provoking Infographic, to outline the impact of the Internet on our environment, and show you 6 things you can do to help!
If you're hosting your website with Kualo, you can do your part to raise awareness and proudly let your visitors know that your web site runs on green hosting, by adding a green web hosting badge.
We have created a large range of different badges to suit different web site styles, with each badge being fully adjustable to work on different background colours.
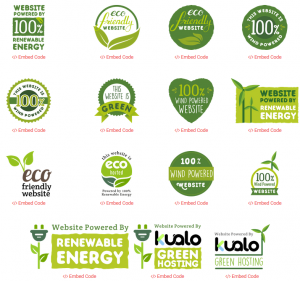
What's more, if you sign up for our affiliate program, not only will you be able to show your site's green credentials with pride, but you'll also earn commission from anybody who clicks through to our site and switches their own site to green hosting!
So how can you add one?
How do you add a green hosting badge to your website?
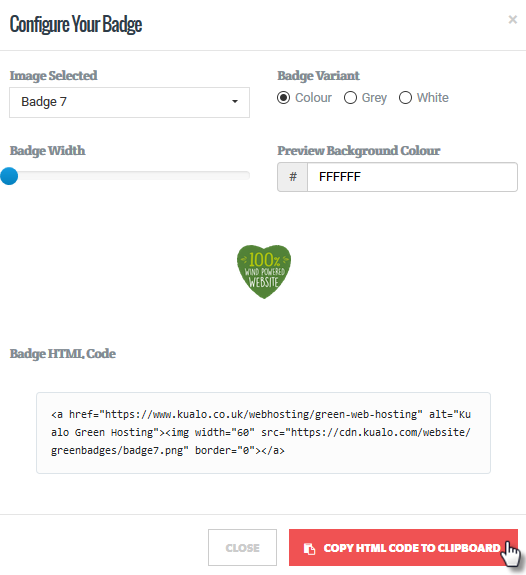
It's simple! Navigate to our Green Web Hosting Badges page, and you can easily generate the embed code of the banner you like, in several different variations and sizes so they work on any kind of website regardless of the design.To get the code, click on the </> Embed Code under the desired badge select Badge Variant select Badge Width Copy HTML Code to Clipboard:
This code needs to be added to your web site's HTML code, wherever you'd like it to display.
Depending on the type of web site you are running, the embed code implementation may vary, so please refer to the information below, based on the most commonly used applications:
Quick Links: WordPress | Joomla | Magento
WordPress
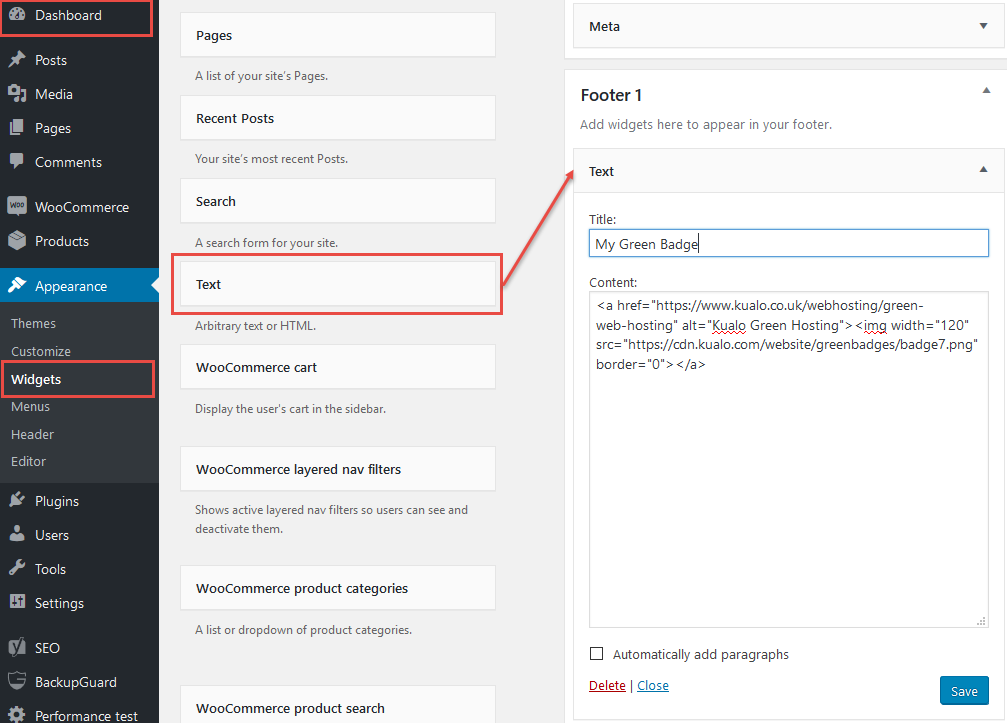
Option 1) Adding the badge as a widget:
- Go to the WordPress Dashboard Appearance Widget
- Drag the Text Widget to the desired section on your web site
- Paste the Badge HTML Code
- Save
Option 2) Embedding the code in a post or a page:
- Open the post/page where you would like to display the badge
- Switch to the Text mode editor
- Paste the Badge HTML Code
- Update

Joomla
Login to your admin area and go to:- Components Banners Banners and click on New to create a new banner:
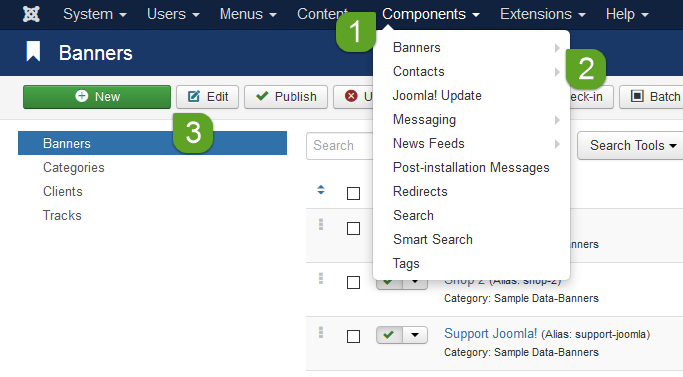
Type: switch it to custom and paste in the Badge HTML Code:
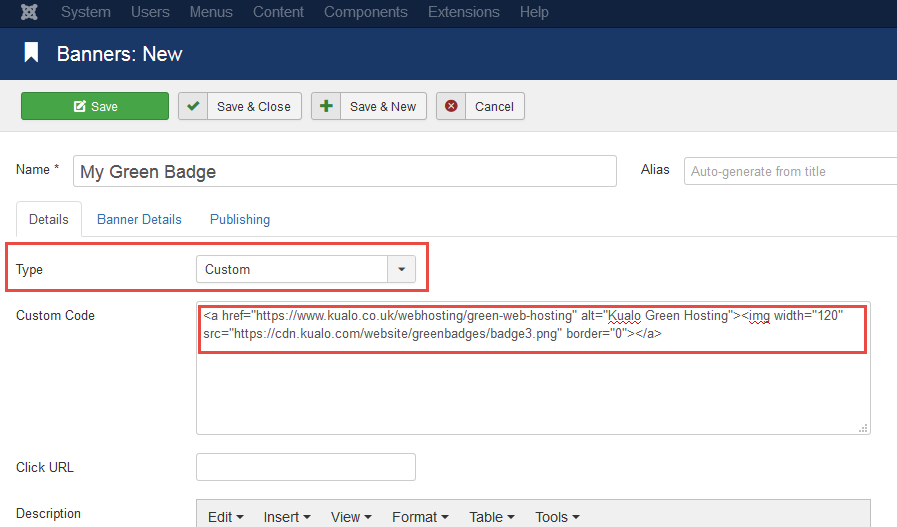
then click on Save & Close.
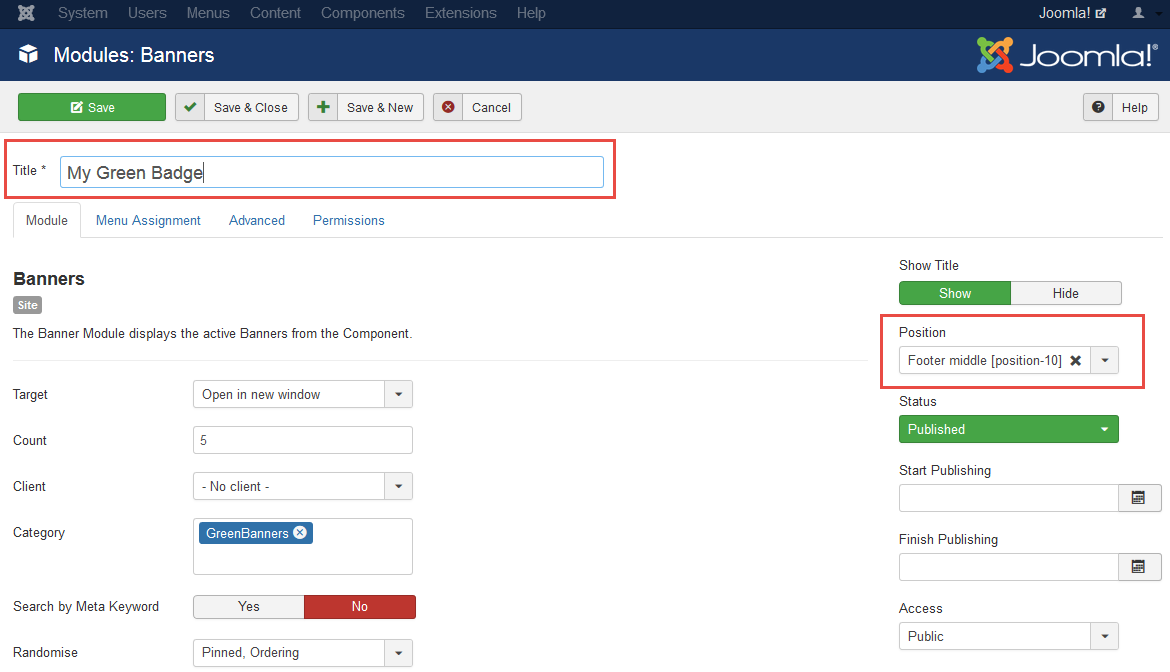
Now you need to publish a New Module to display your newly embedded badge. To do this go to Extensions Modules.
Click New Banners
Тhe available positions and their titles depend on the template you are currently using.
Different templates have different positions where you can place modules (in our case - badges).
For the purpose of this tutorial, we will add our badge in the Footer middle - position 10 of the Joomla Beez template.
Once you chose title and position for the module, press the Save button at the top left corner of the page:
Magento
Login to your admin area and go to: Content Blocks: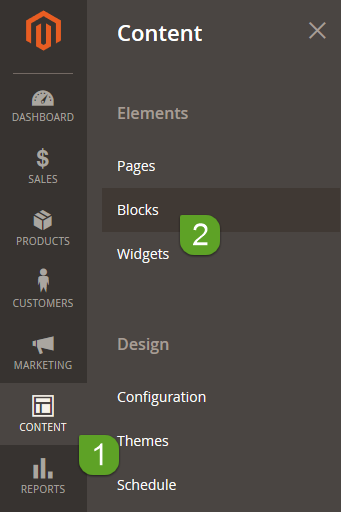
Add New Block by filling in the Block Title and Identifier:
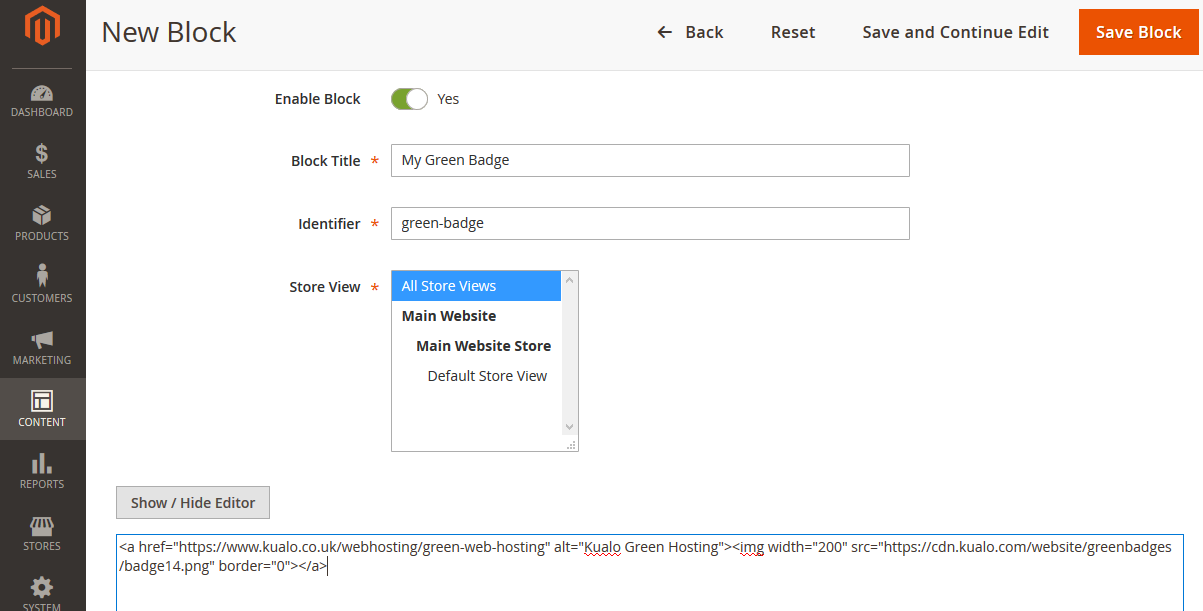
Once you have the block, you can either add it globally on the web site via: Content Widgets or on a specific page via Content Pages.
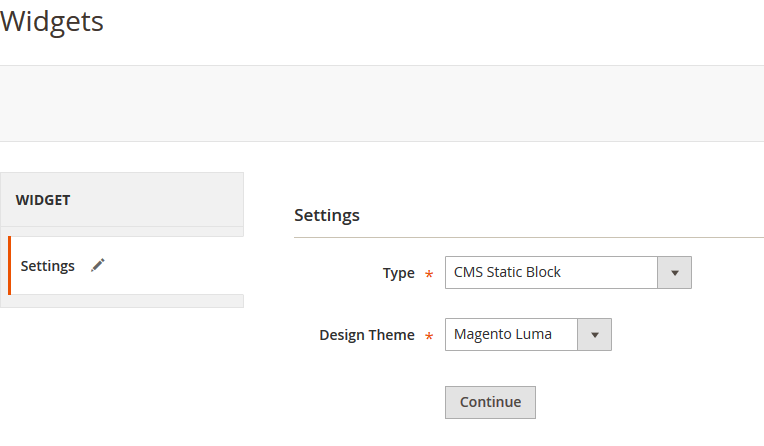
To create a global Widget, go to: Content Widgets Add Widget.
Select: Type CMS Static Block and Design Theme as per your desire, then Continue:
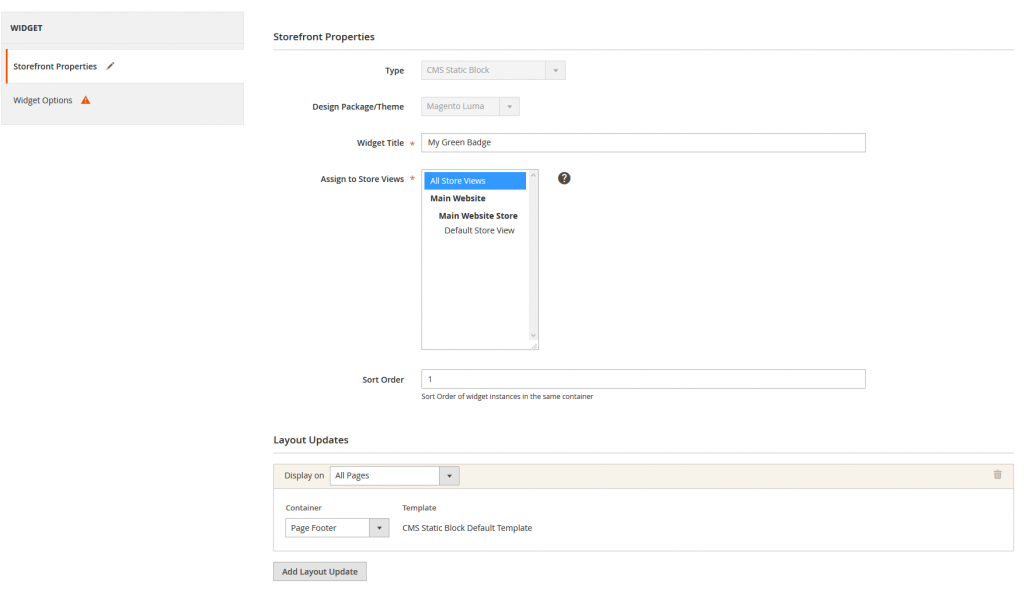
- Give the widget a title and assign it to a store view.
- If you have multiple widgets, then use the Sort Order field to arrange these.
- Update the layout by selecting the Display on and Container for the position where you would like to display the widget:
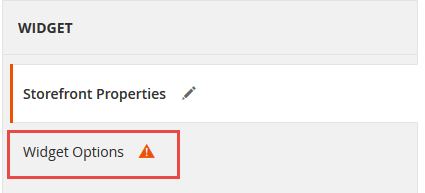
On the left side select Widget Options and select the Static Block you created above:
Finally, Save and Flush Magento Cache.
Badges are both simple to implement and offer a number of clear benefits – so they can definitely be part of your web site.
If you need further assistance with implementing the code on your web site - just let us know.