On this page
Introduction to WP Toolkit (for resellers)
This article will introduce you to WP Toolkit and show how to use it. WP Toolkit is a set of tools that allows you to manage WordPress websites easily. With WP Toolkit, you have everything you need to control all your WordPress websites. Its single management interface allows you to easily install,...
WP Toolkit is a set of tools that allows you to manage WordPress websites easily.
With WP Toolkit, you have everything you need to control all your WordPress websites. Its single management interface allows you to easily install, configure, and manage one or more WordPress websites, including:
- Admin and database password management
- Search engine indexing management
- Single sign-on functionality
- Automatic security hardening
- Plugin and theme set management
- Staging and cloning functionality
- Mass automatic and smart updates
In other words, it provides you with a central location. It streamlines the process of creating, managing and securing WordPress websites.
Enabling WP Toolkit
WP Toolkit is a feature of our Studio and Agency reseller plans. You'll need to be on one of these plans to use WP Toolkit.
If you are on one of these plans, you will find a button to enable WP Toolkit in MyKualo.
- In MyKualo, navigate to your My Services page.
- Locate your reseller plan in the list, and click View Details
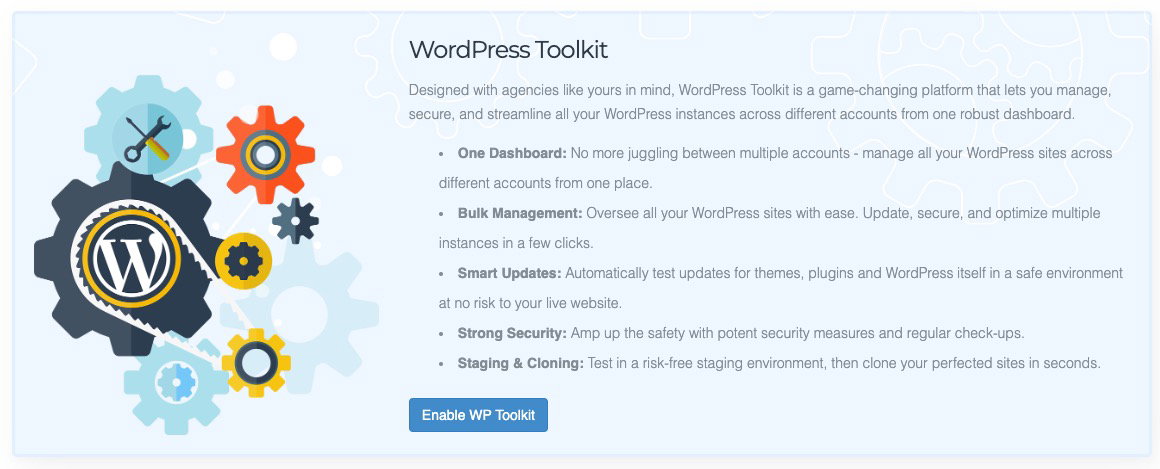
- You will see a WP Toolkit banner. Click Enable WP Toolkit
WP Toolkit will be scheduled to be turned on. It takes approximately 5 minutes for WP Toolkit to become enabled on your Reseller Plan.
Configuring Packages & Feature Lists
Once this is enabled, after around 5 minutes you will see WP Toolkit as an option in your WHM. However, it can only be used by accounts which have WP Toolkit in their feature list.
This means that if you are using the server wide 'default' Feature List, you will not be able to use WP Toolkit on that website.
To use WP Toolkit, you should create a custom feature list, and assign this to your package. It is not possible to use WP Toolkit if you are not using packages, or if the packages you are using are set to the server's default feature list.
Here's how to create a custom feature list and assign to an existing package.
If you have previously been using WordPress Manager by Softaculous, and want your end users to use WP Toolkit exclusively to manage WordPress sites, you may disable WordPress Manager by Softaculous in your new feature list. This may save your end users confusion about which WordPress Manager to use.
Once your package is using a custom feature list, any new accounts you create will use this feature list. If you have existing users on that package, they will remain on the feature list that the account was originally provisioned on. You should use the Modify/Upgrade Multiple Accounts feature to ensure existing users are set to the new feature list of the package.
How to access WP Toolkit
Provided the above steps are done, WP Toolkit will be available within cPanel, so end-users can install new or manage existing WordPress installations within a single cPanel account.
For you as our reseller, WP Toolkit is also available via WHM, for the first time giving you a way to manage all of your WordPress sites from one central dashboard.
cPanel users
-
Login to your cPanel.
-
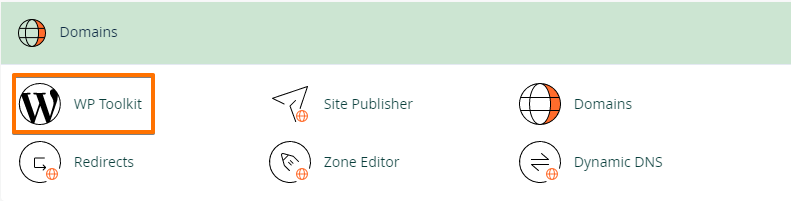
Click WP Toolkit under the Domains section.
-
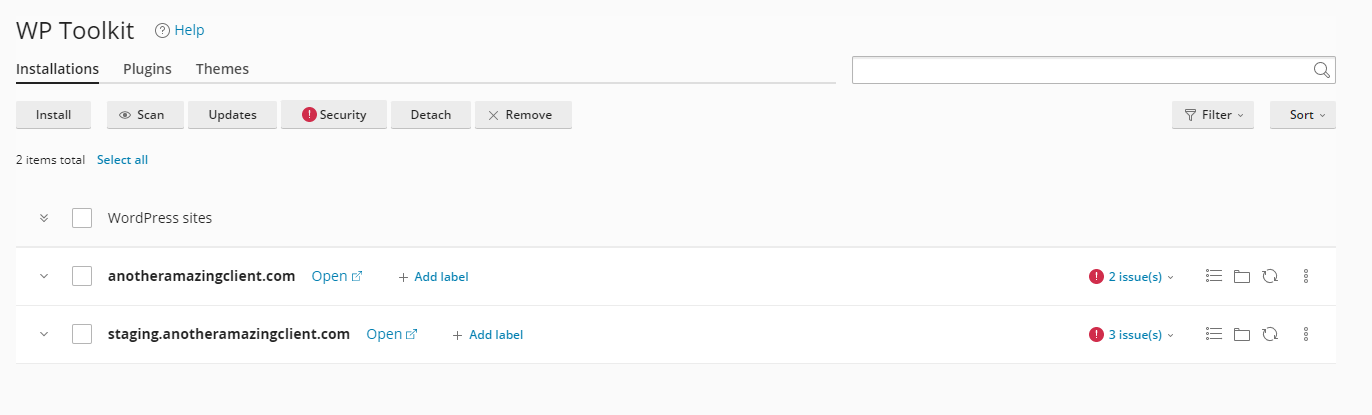
You'll see the WordPress websites on the WP Toolkit page on your account.
An easy alternative is clicking the WP Toolkit shortcut on the Left Navigation bar.
Resellers
-
Log in to your WHM.
-
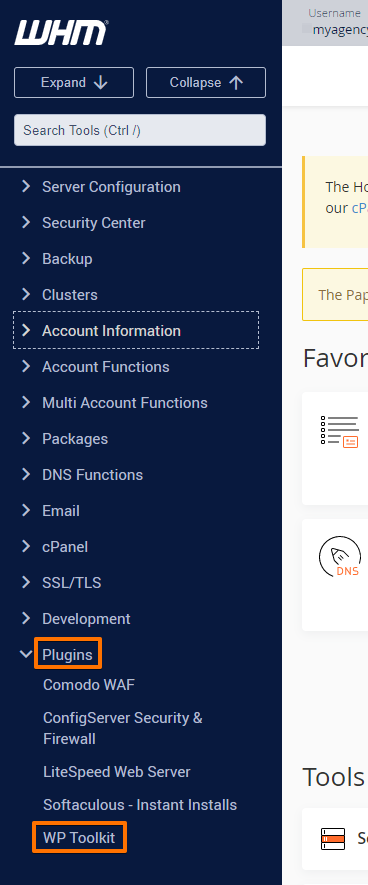
Click WP Toolkit under the Plugins section.

-
On the WP Toolkit page, you'll see the WordPress websites on your server.

Another way to access WP Toolkit on WHM is under Plugins on the Left Navigation bar, click on WP Toolkit.
Introduction to WP Toolkit
Now that you know how and where to access WP Toolkit, there are a few things you'll need to familiarise yourself with the WP Toolkit page.
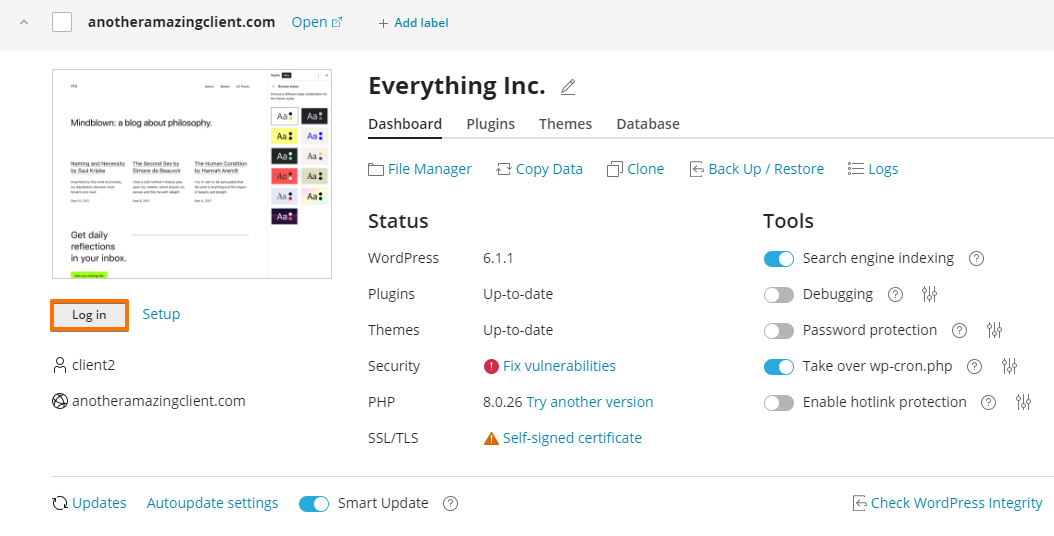
Dashboard
Many different features allow you to control certain features of your WordPress site. You'll notice a one-click login to get into your WordPress Dashboard or Admin area.
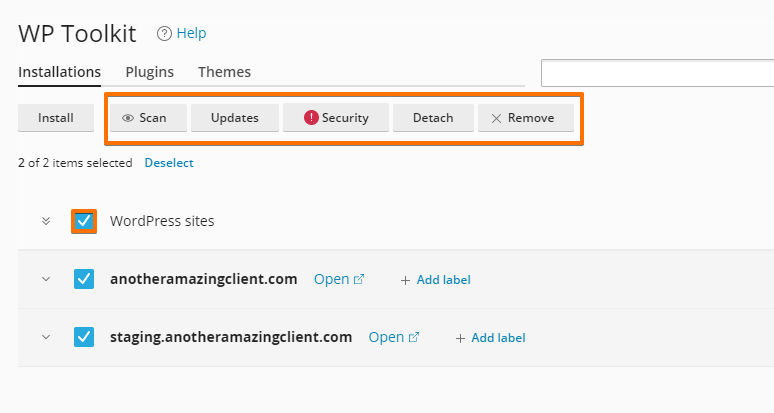
If you have multiple WordPress installations, you'll notice the check box beside WordPress sites to allow you to manage multiple sites.
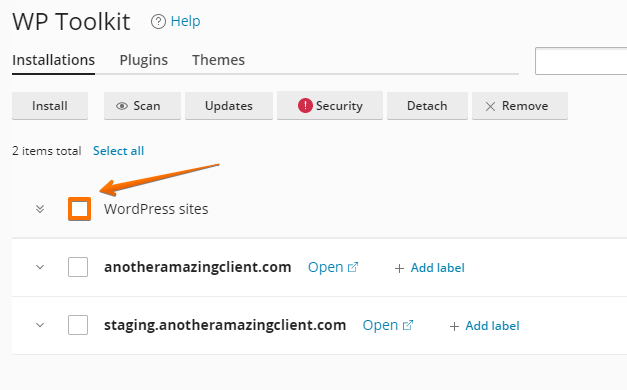
That means it'll be easier for you to manage the websites that you have. You can check for updates, scan for malicious codes, check security vulnerabilities, or even delete WordPress installations in bulk.
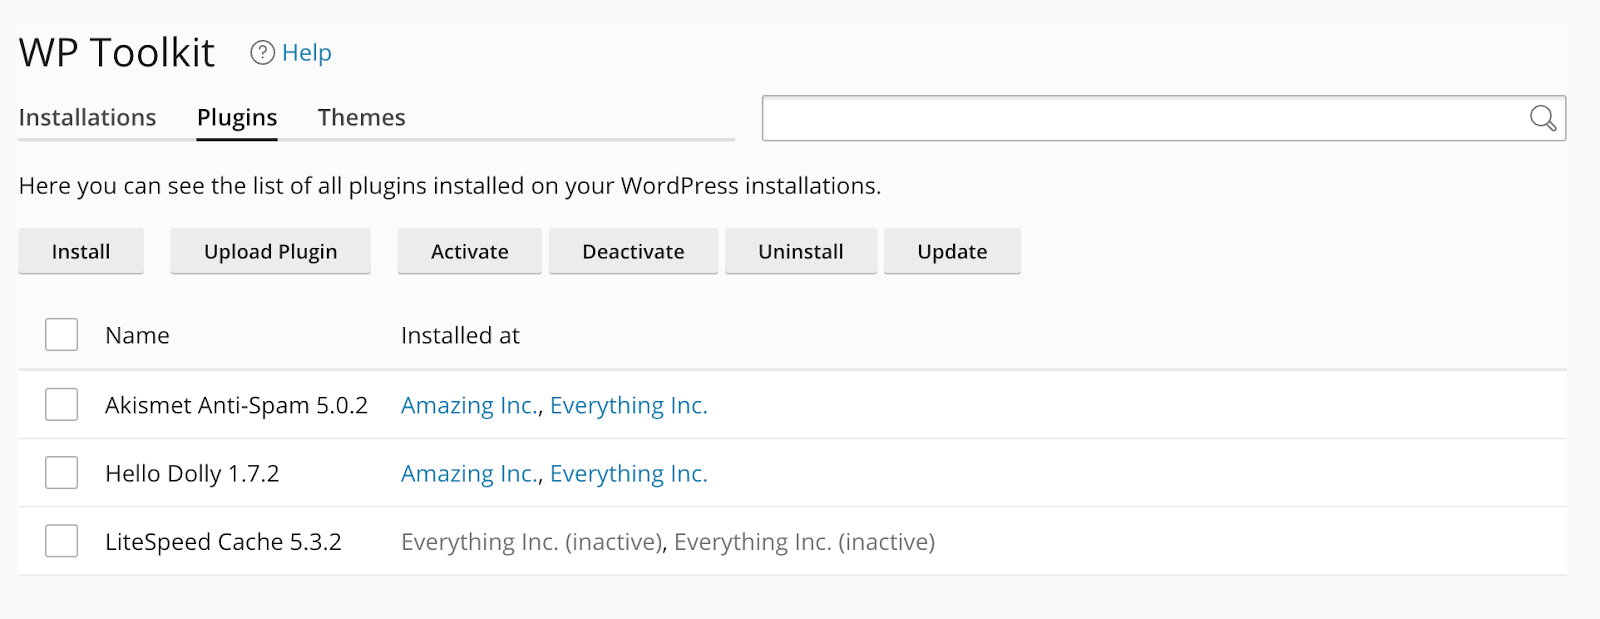
You can also bulk install, remove or update plugins and themes across multiple WordPress installations by using the Plugins or Themes tab.
Site Management
The rest of the features are built around managing your website from more of a project perspective.
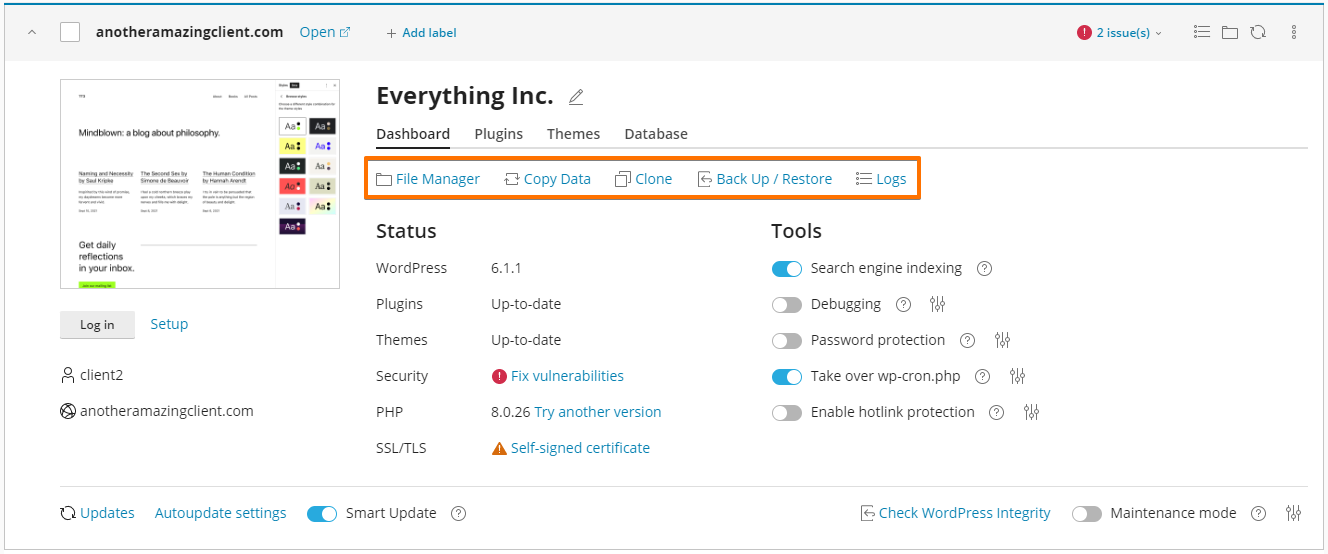
- File Manager: This takes you to the cPanel file manager to directly access the files in your WordPress installation.
- Clone: You can create a copy of your website for any purpose, such as to test new features in a staging copy.
- Copy Data: This allows you to copy data from one WordPress site to another, for instance, to copy changes you made in a staging version of your site back to the production site.
- Back Up/Restore: This enables you to save a backup of your website. The backup can be downloaded and moved, allowing you to keep that record of your site in a specific place in time to restore it later if you need to.
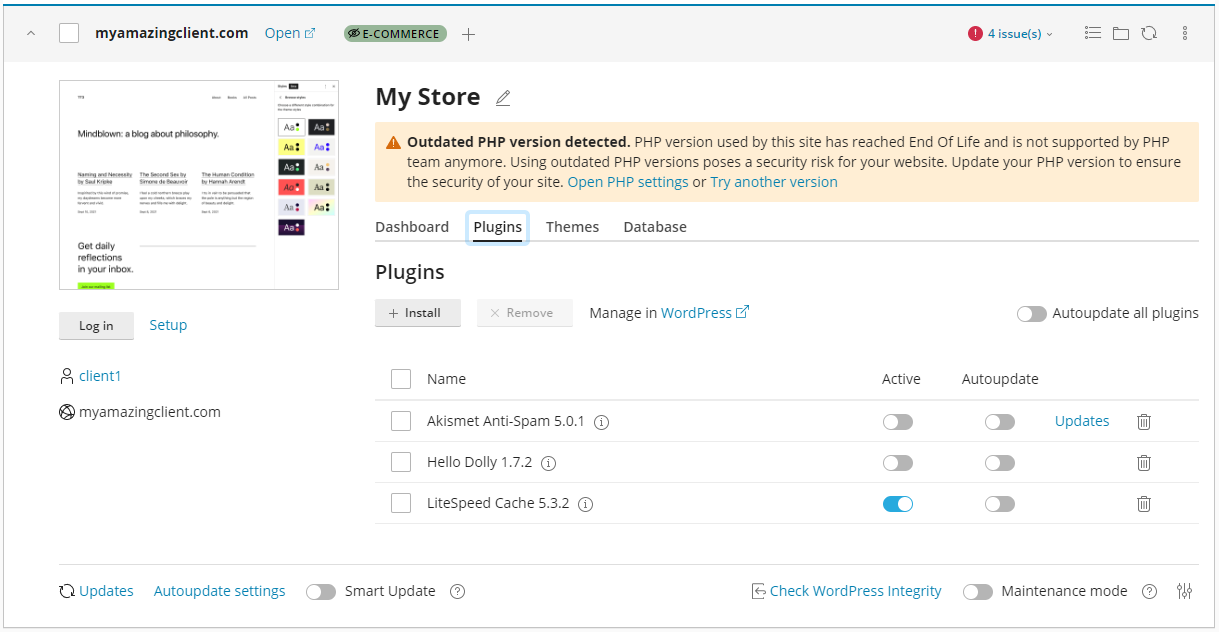
Plugins & Themes
You can now manage your plugins and themes without going to the WordPress Dashboard. You can install and remove them. You can also see which plugins are active on your site and whether they're set up to auto-update.
Status & Updates
This section provides the status of your WordPress website. It keeps you updated with the WordPress version, Plugins and Themes.
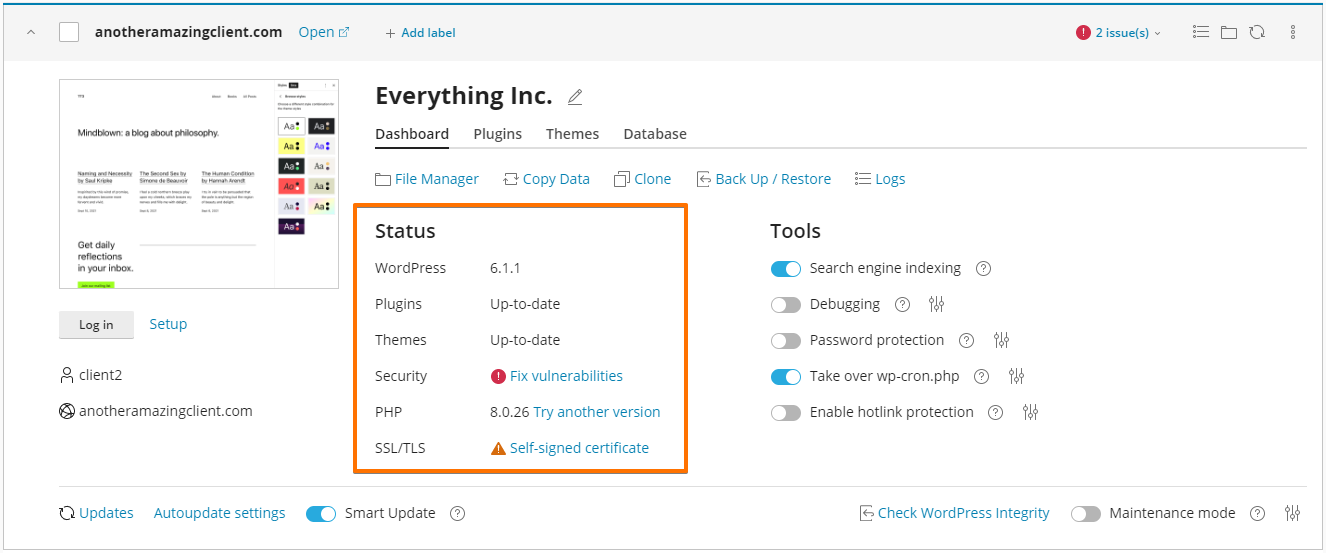
It is always essential to keep things updated to ensure your website is secure from known vulnerabilities. This section lets you know what updates to apply to your website as soon as they're available.
Tools
This section is more advanced, and you can utilise it when changing how your site interacts with the outside web.
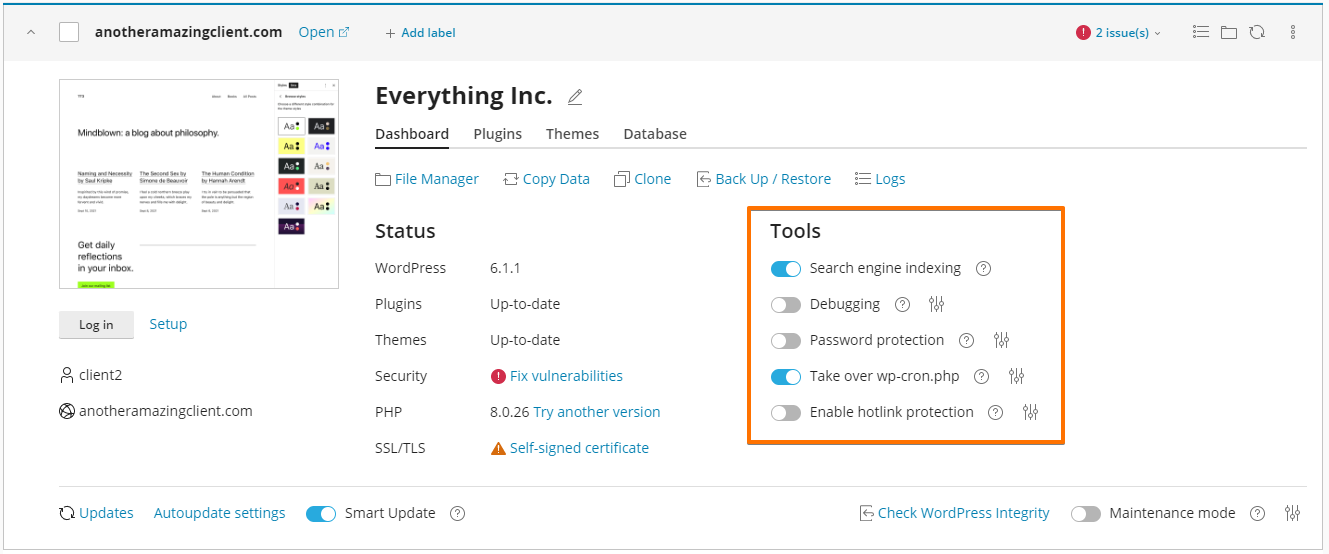
- Search Engine Indexing: This is where you can turn off search engine indexing and prevent your site from being listed in search results. This can be useful if you're working on a new project or creating a staging copy of the site.
- Debugging: This provides a simple way to quickly turn various WordPress debugging logs on or off so you can diagnose any issues. These logs are helpful when developing a site, but better to turn them off once in production.
- Password Protection: This will allow you to set a password to access your website. This can be useful if you're still working on your site and it's not ready for publishing.
- WP-Cron: WordPress runs many scheduled tasks in the background, however, they periodically run when users access pages on your website. The background tasks can cause the page to render more slowly. This tool allows you to prevent these background tasks from loading with your page execution, converting them to be executed by the server itself. Hotlink Protection: This prevents other websites from displaying, linking or embedding files, usually images. Hotlinking can quickly drain your bandwidth and make your website unavailable.
Security
You can run a security check one by one or in bulk. WP Toolkit will pull up a predefined list of security measures you can implement for your websites.
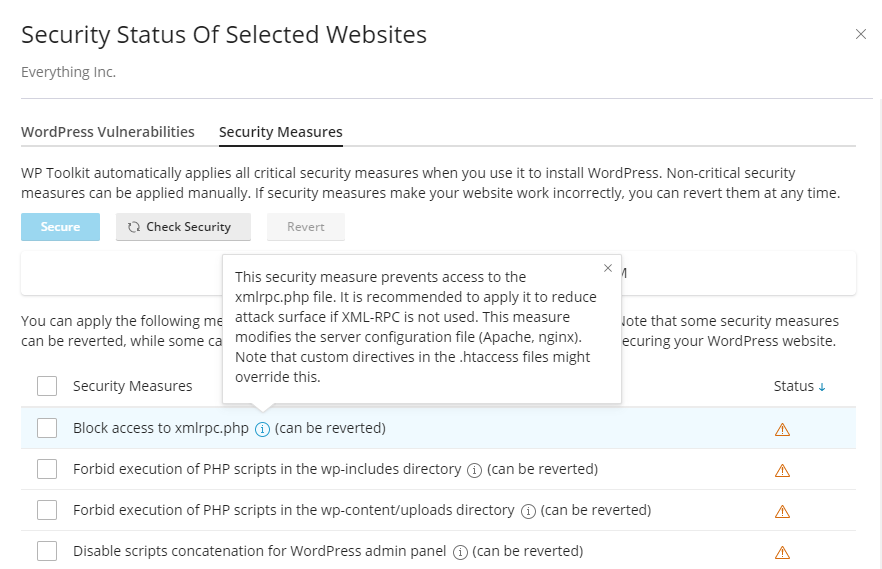
There could be some tasks that you're unfamiliar with, you can click the (i) icon, and it'll provide you with more information. You can decide from there if you want to move forward. Once you've gone through the updates, you can select all or the ones you think are important and click the Secure button at the top.
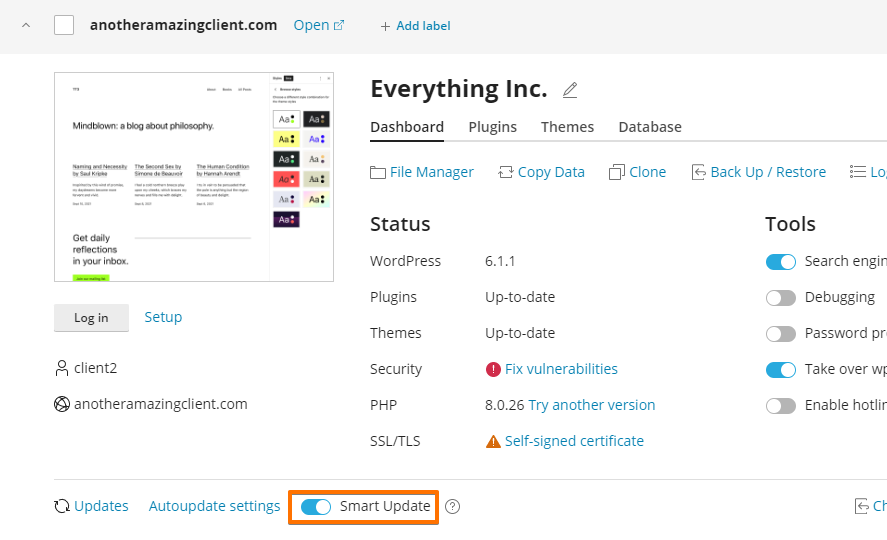
Smart Updates
This is a feature that you're going to love. When you upgrade WordPress, your themes or plugins, you can sometimes run into compatibility issues that can break your website. Smart Updates helps prevent such problems by creating a temporary clone of your website in a safe environment to ensure compatibility and security.
Smart Updates analyses the possible consequences of installing updates and advises whether doing so is safe by running various checks on the temporary clone of your site, such as analysing error logs. It will generate a temporary URL so you can inspect the site to ensure it looks as expected visually, and it will report any detected problems.
There are three ways you can run updates using WP Toolkit
-
Manual Updates: You can run updates manually by clicking the Updates button. This will scan for available updates and allow you to run the updates there and then. With Smart Updates turned on, you'll have the additional peace of mind of knowing that the update should complete successfully.
-
Automatic Updates: WP Toolkit can automatically update your website's WordPress themes and plugins as soon as new updates are available. Automatic updates can often be risky, however, you can combine Autoupdates with Smart Updates so that any automatic updates go through WP Toolkits tests and only proceed if no errors are detected. Finally, you can fine-tune how Autoupdates work by specifying if you want minor or significant updates to be applied or exclude certain themes or plugins.
-
Staged Updates: A final option is to use the Clone feature and create a copy of your website in a staging environment. You can then run your updates, test them yourself, make any other changes you need and finally use the copy function to transfer your updates to your live website. The copy function provides advanced features to allow you to specify how to handle file changes as well as selectively copy only certain tables. This is useful where you need to exclude certain tables containing new posts, orders or other data that may have been added to your production website after you cloned it.
These options allow you to choose how you run updates to your websites, with Smart Updates giving you the peace of mind that the updates won't break your site.
Other Features for Resellers
Sets
On your WHM, you can manage multiple cPanel accounts from a single location. This feature is called "Sets", which allows you to group various cPanel accounts for easier management and configuration.